Blair Academy Photography
Different Ways to Include Words/Text in Your Photos

1.) Edit Text on After the Photo

For the magazine text edit I found photos of magazine covers online and cropped different letters from different covers to eventually spell out the words I wanted. You can edit or add the letters on top of the photo with photoshop or I like to use the app “picsart” and do it on my phone too!
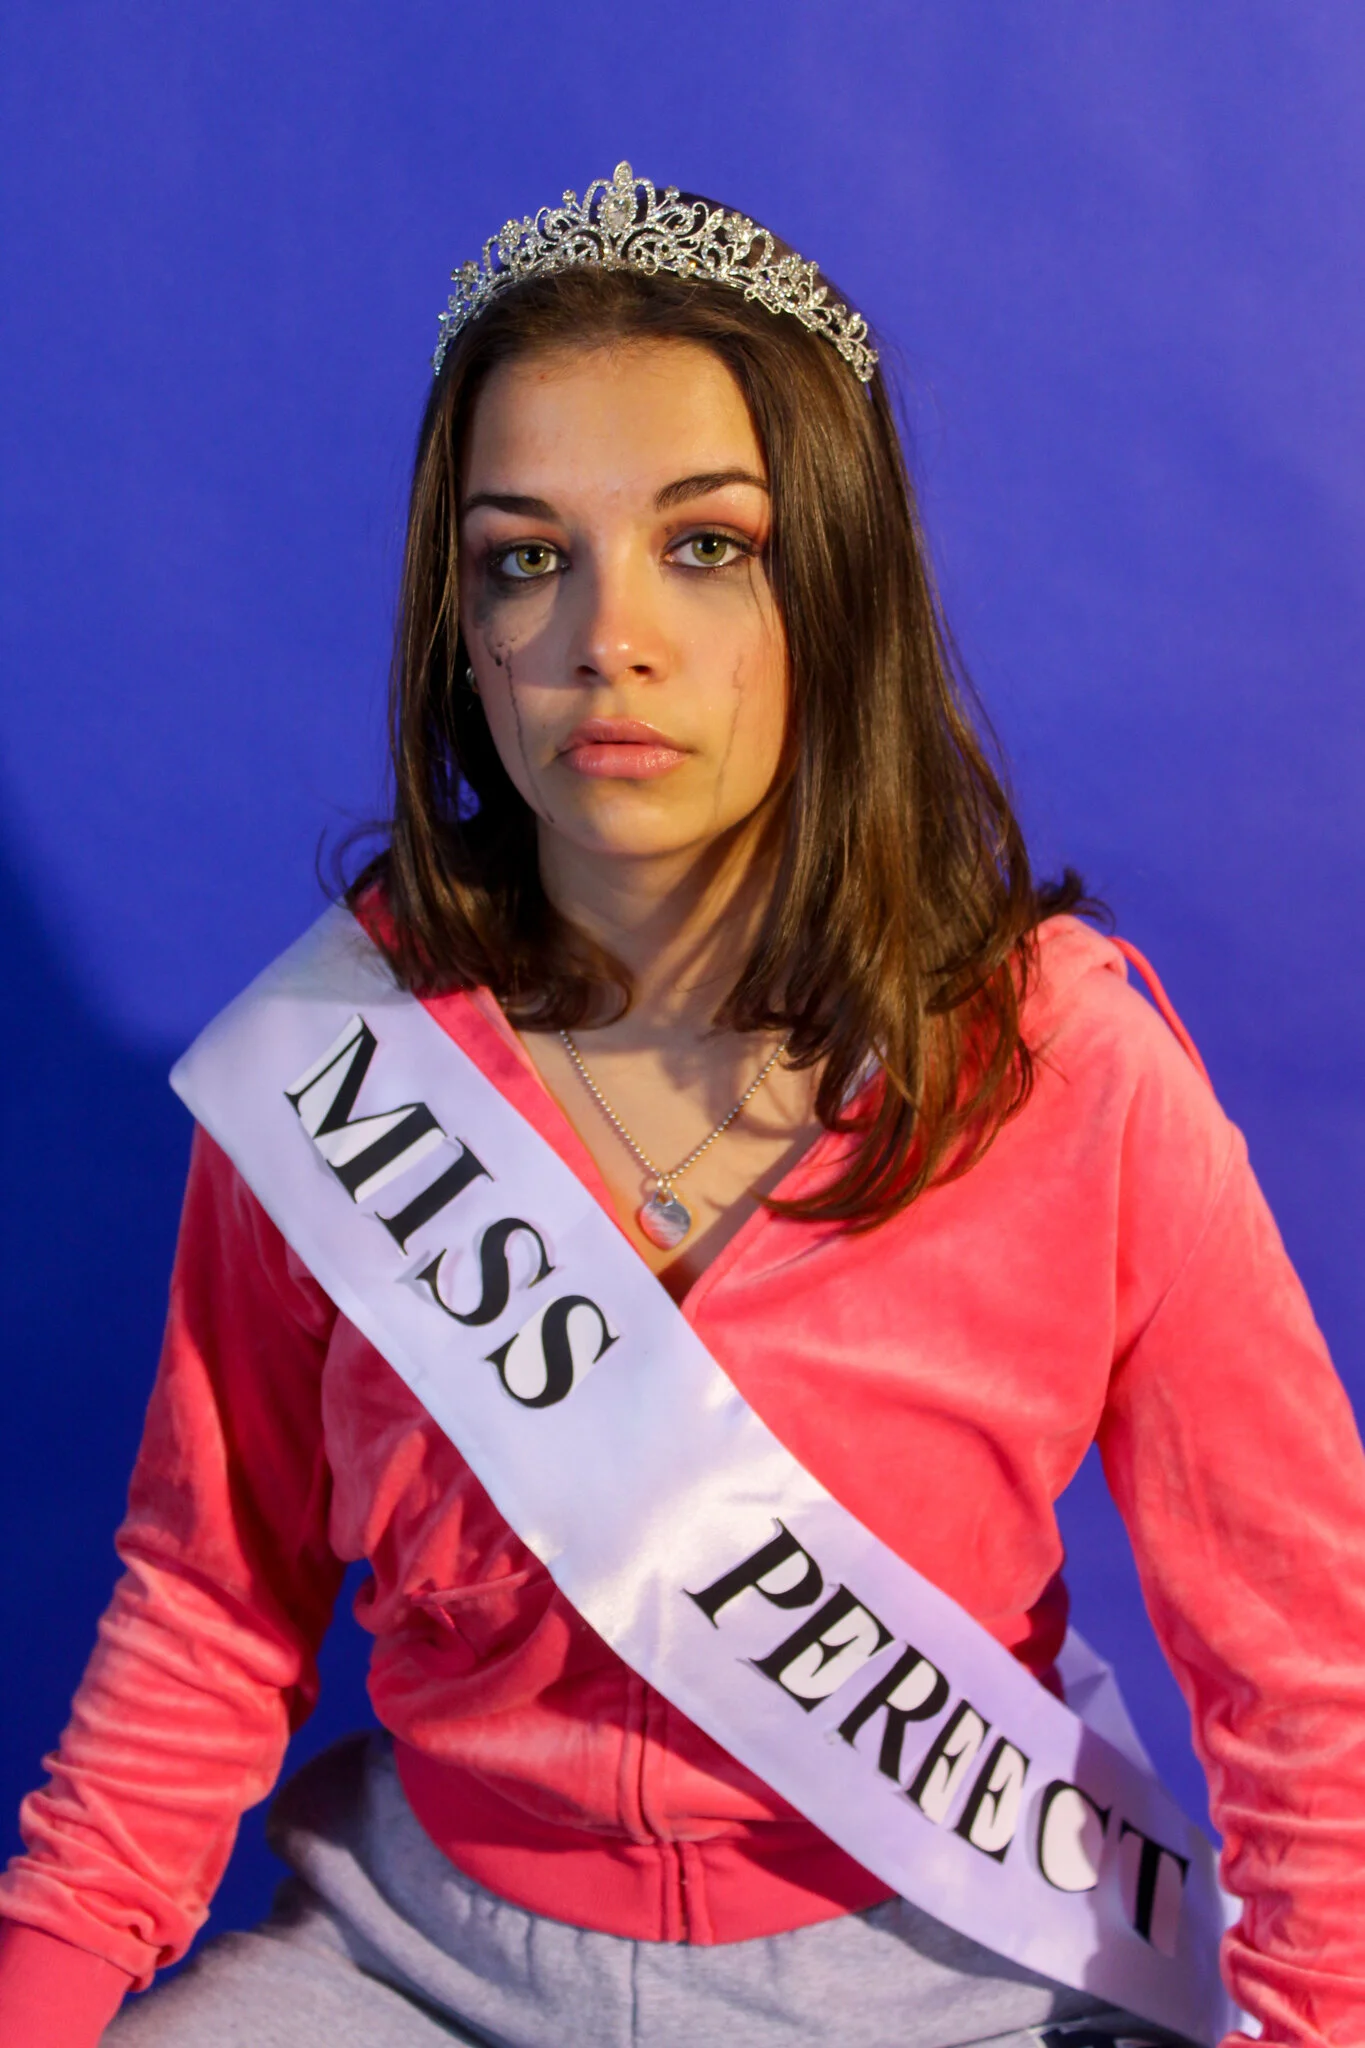
2.) Put Words on a Prop
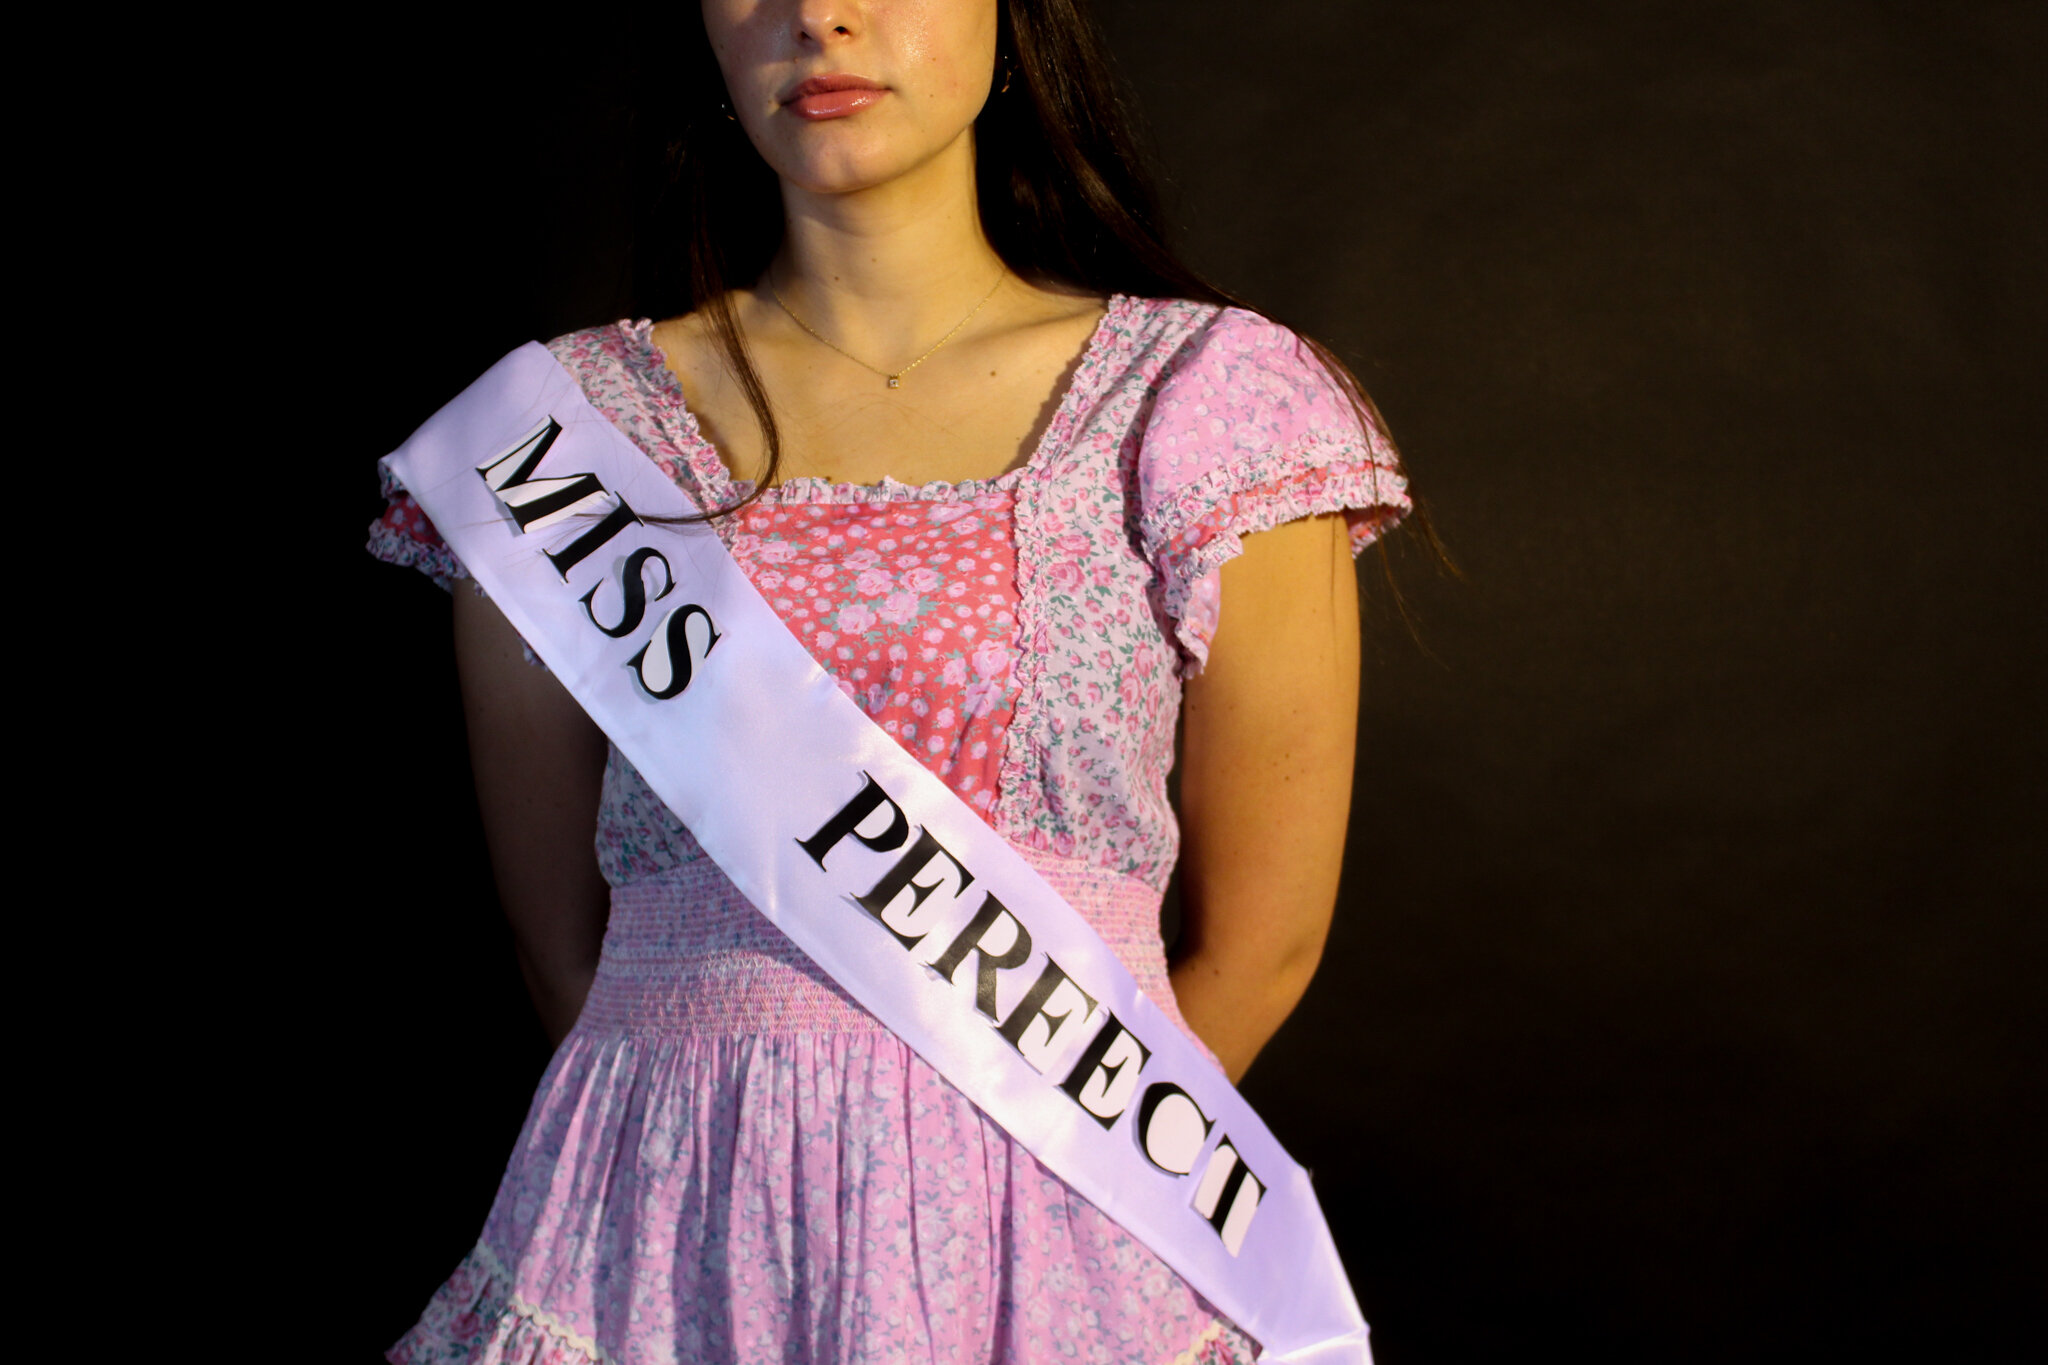
For this prop I ordered a blank sash off of amazon and printed and cut out letters and then taped them onto the sash to spell out the words I wanted. It works well when you add or replace words to an object that would already have text on it. So here since a sash would already have Miss ___ on it, it looks nice that I filled in the blank with a different word but then kept the Miss so it looks natural and normal still
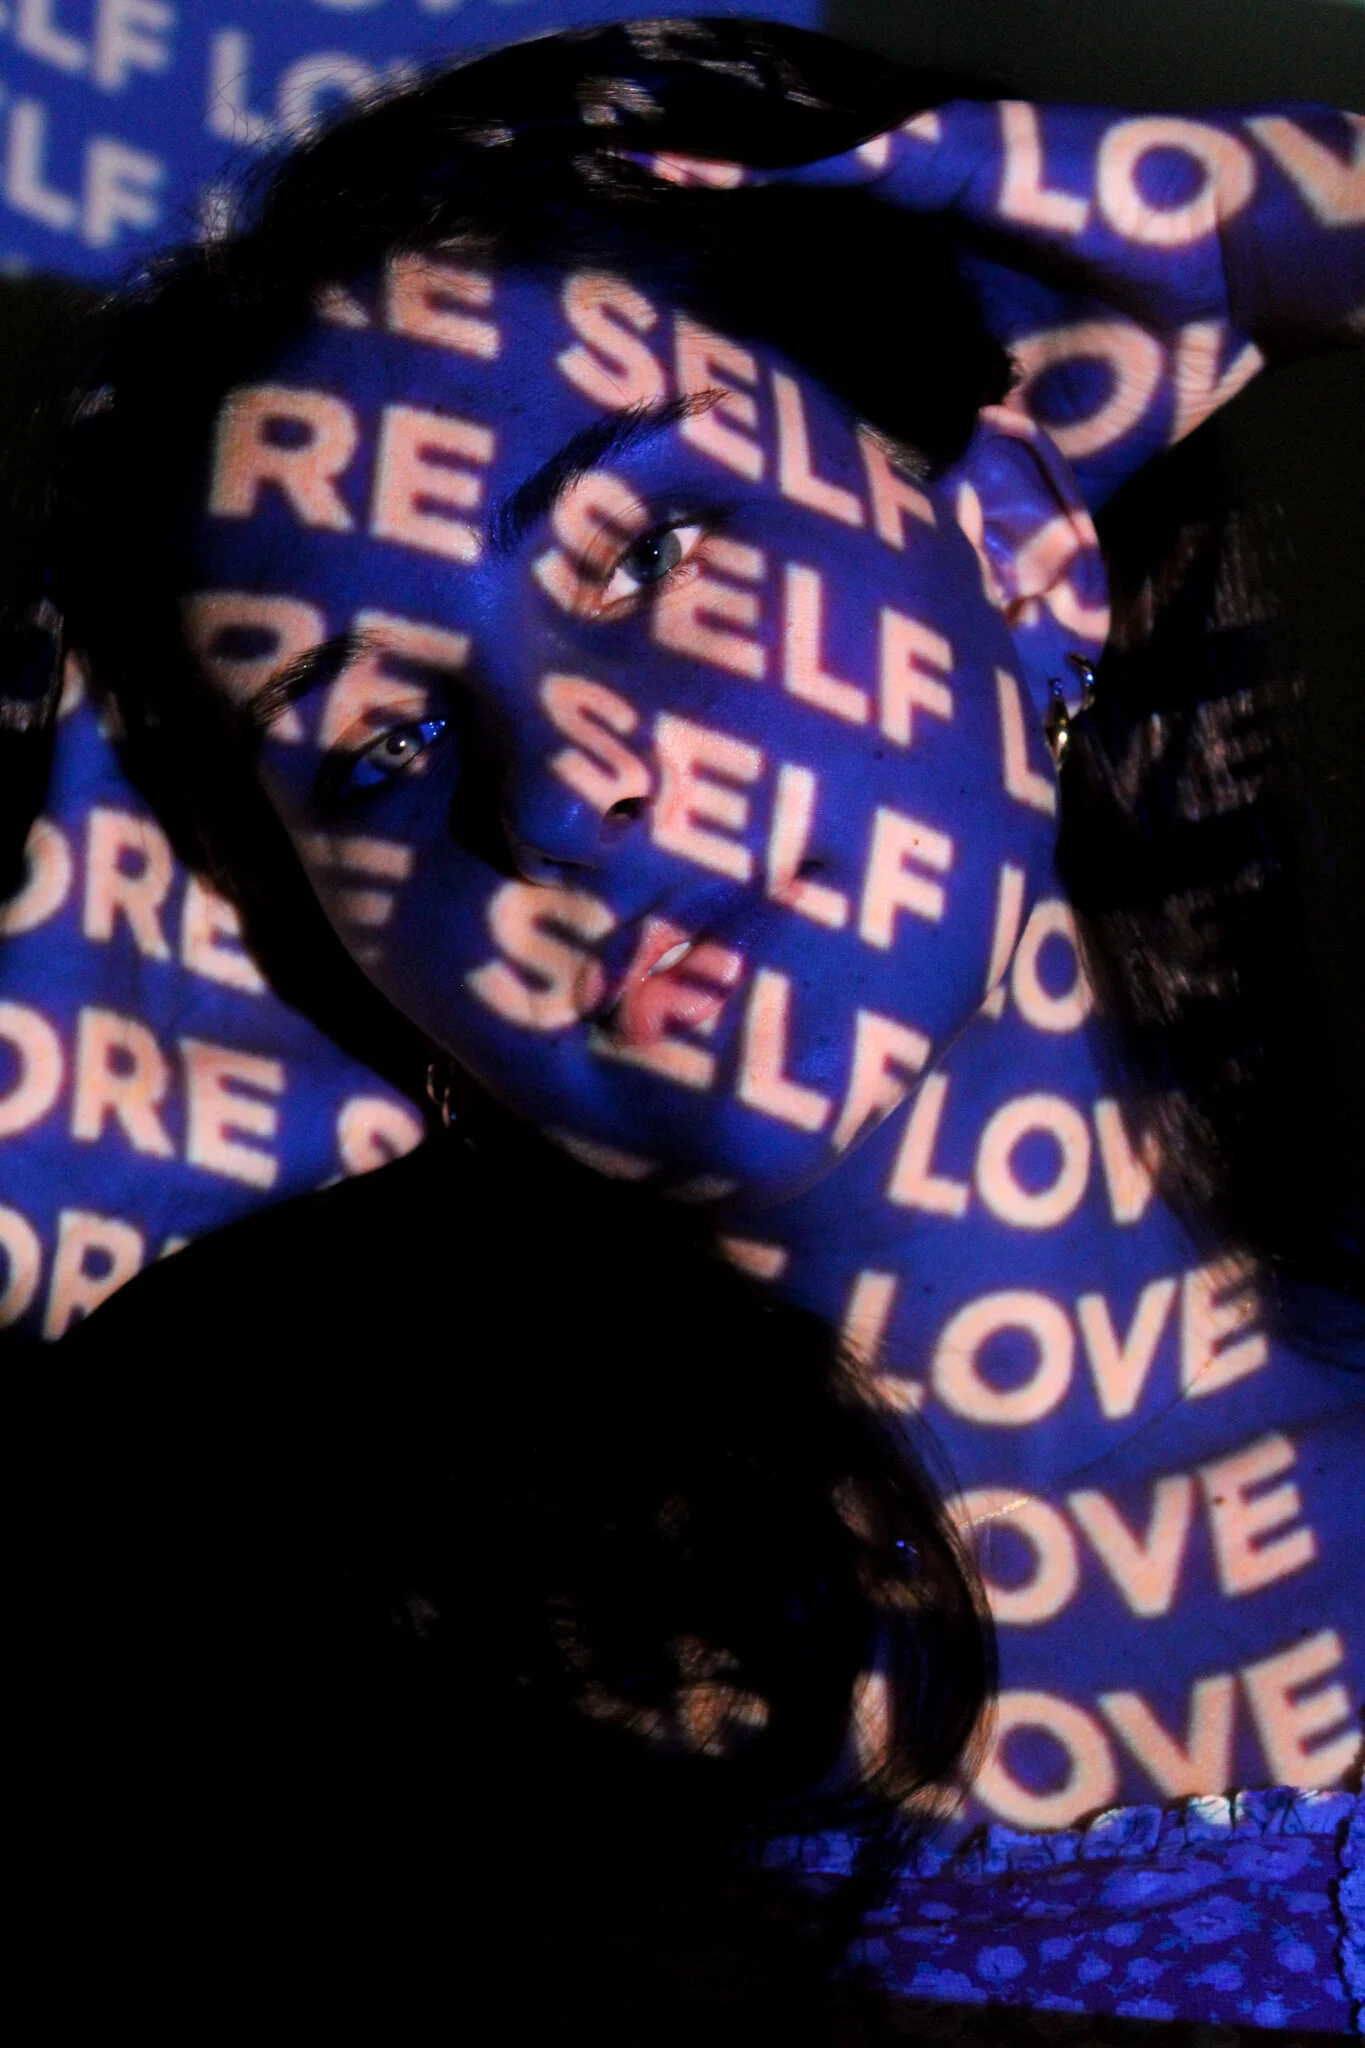
3.) Project Your Text on to the Subject
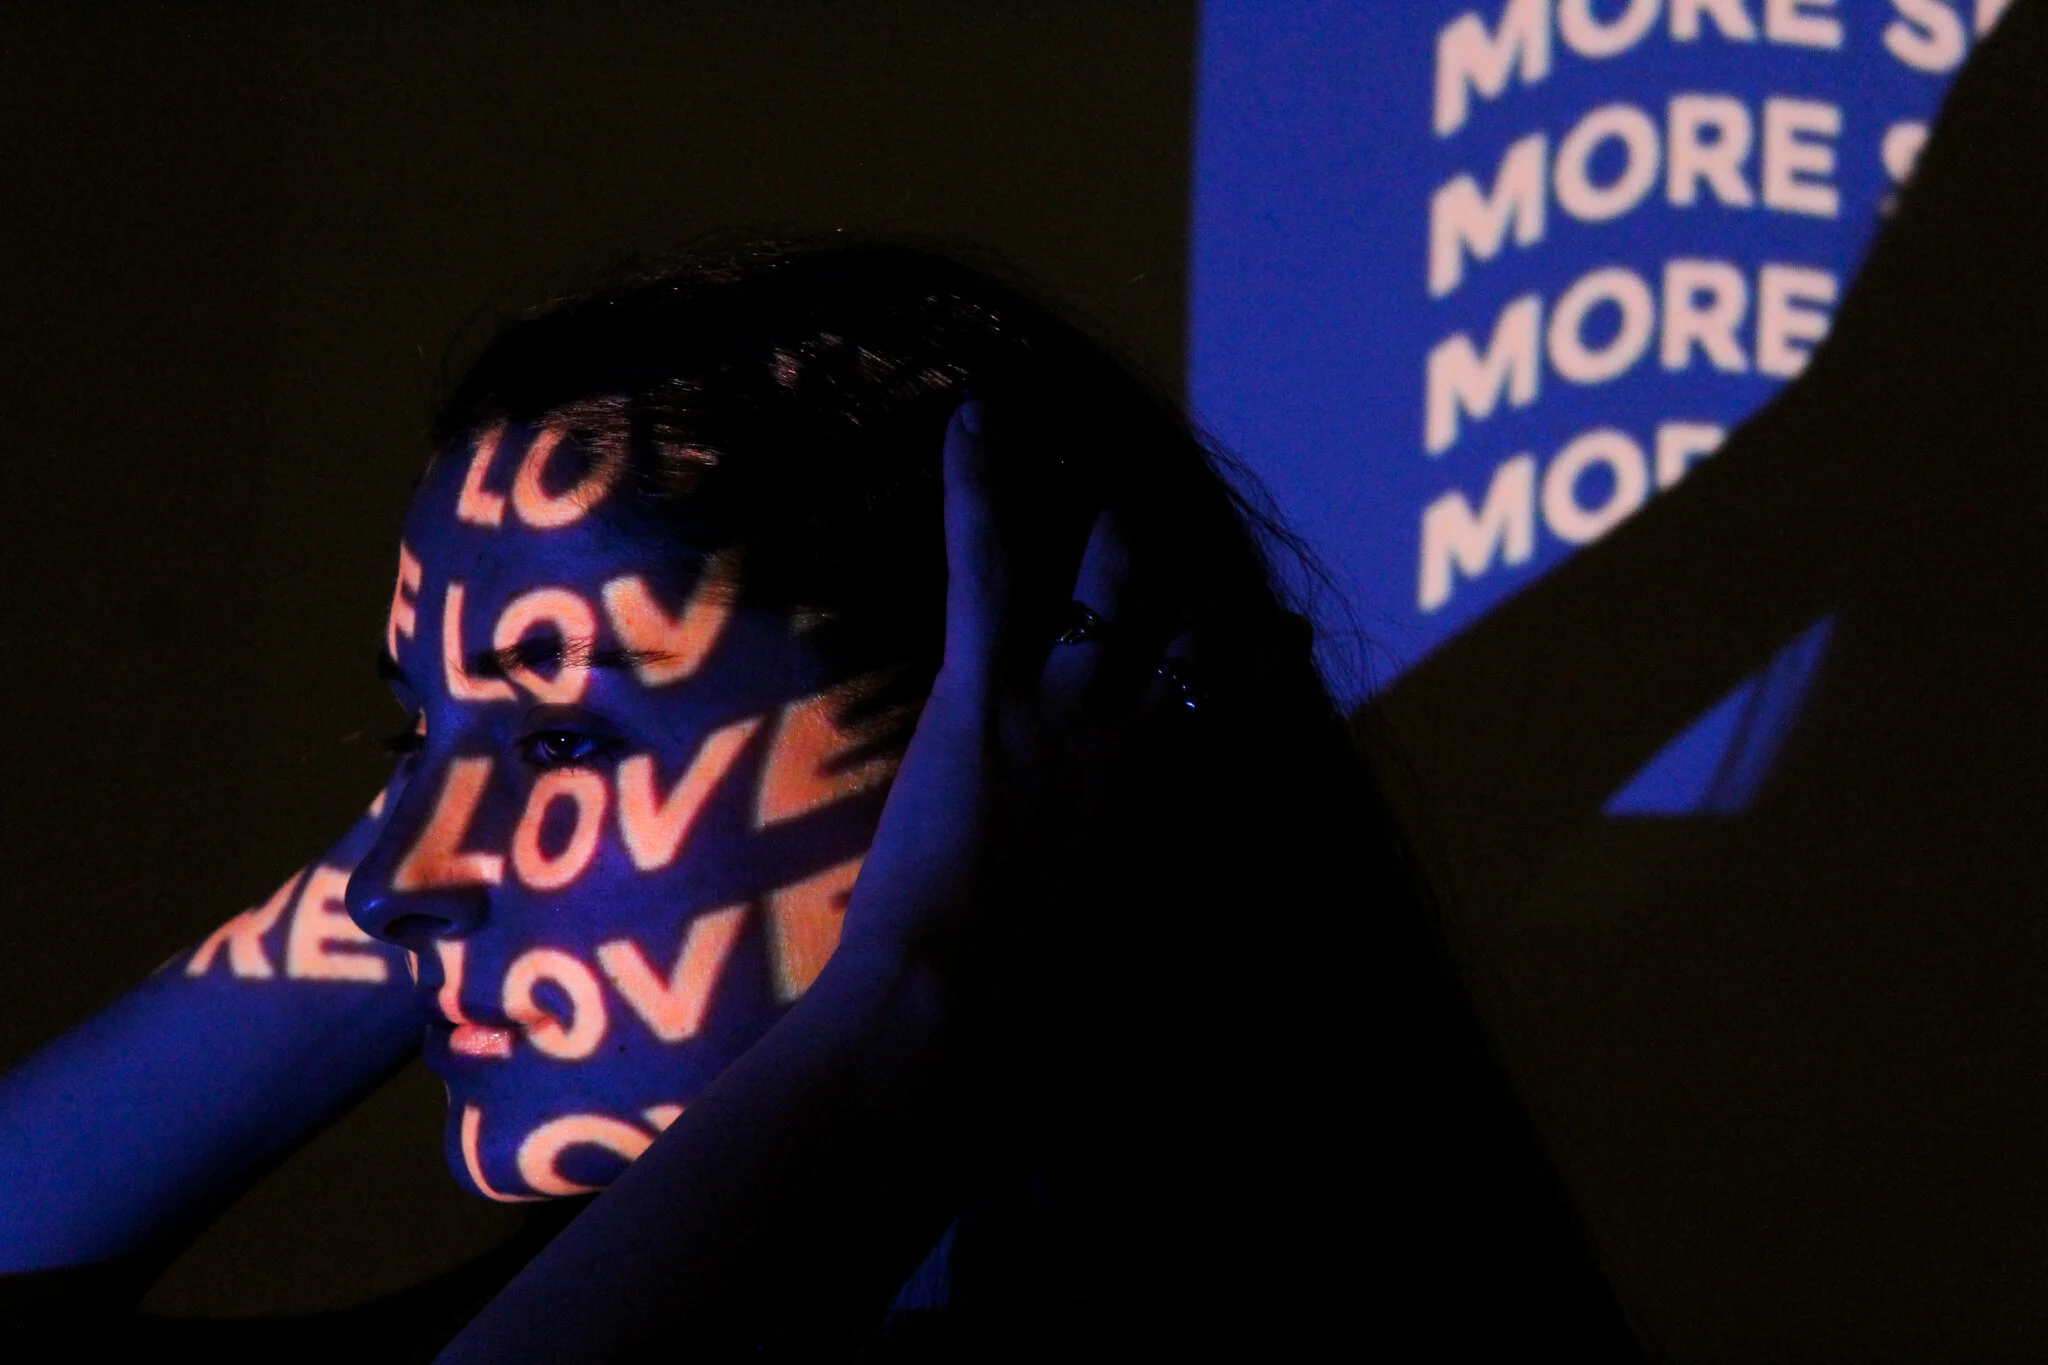
For projecting text onto my subject I found a nice colorful background online. For projector photography it is wise to take photos from all different angles (side or straight on) and to experiment with the subject’s shadow. Often times the projector photo’s look best when the color hits the subject’s eye
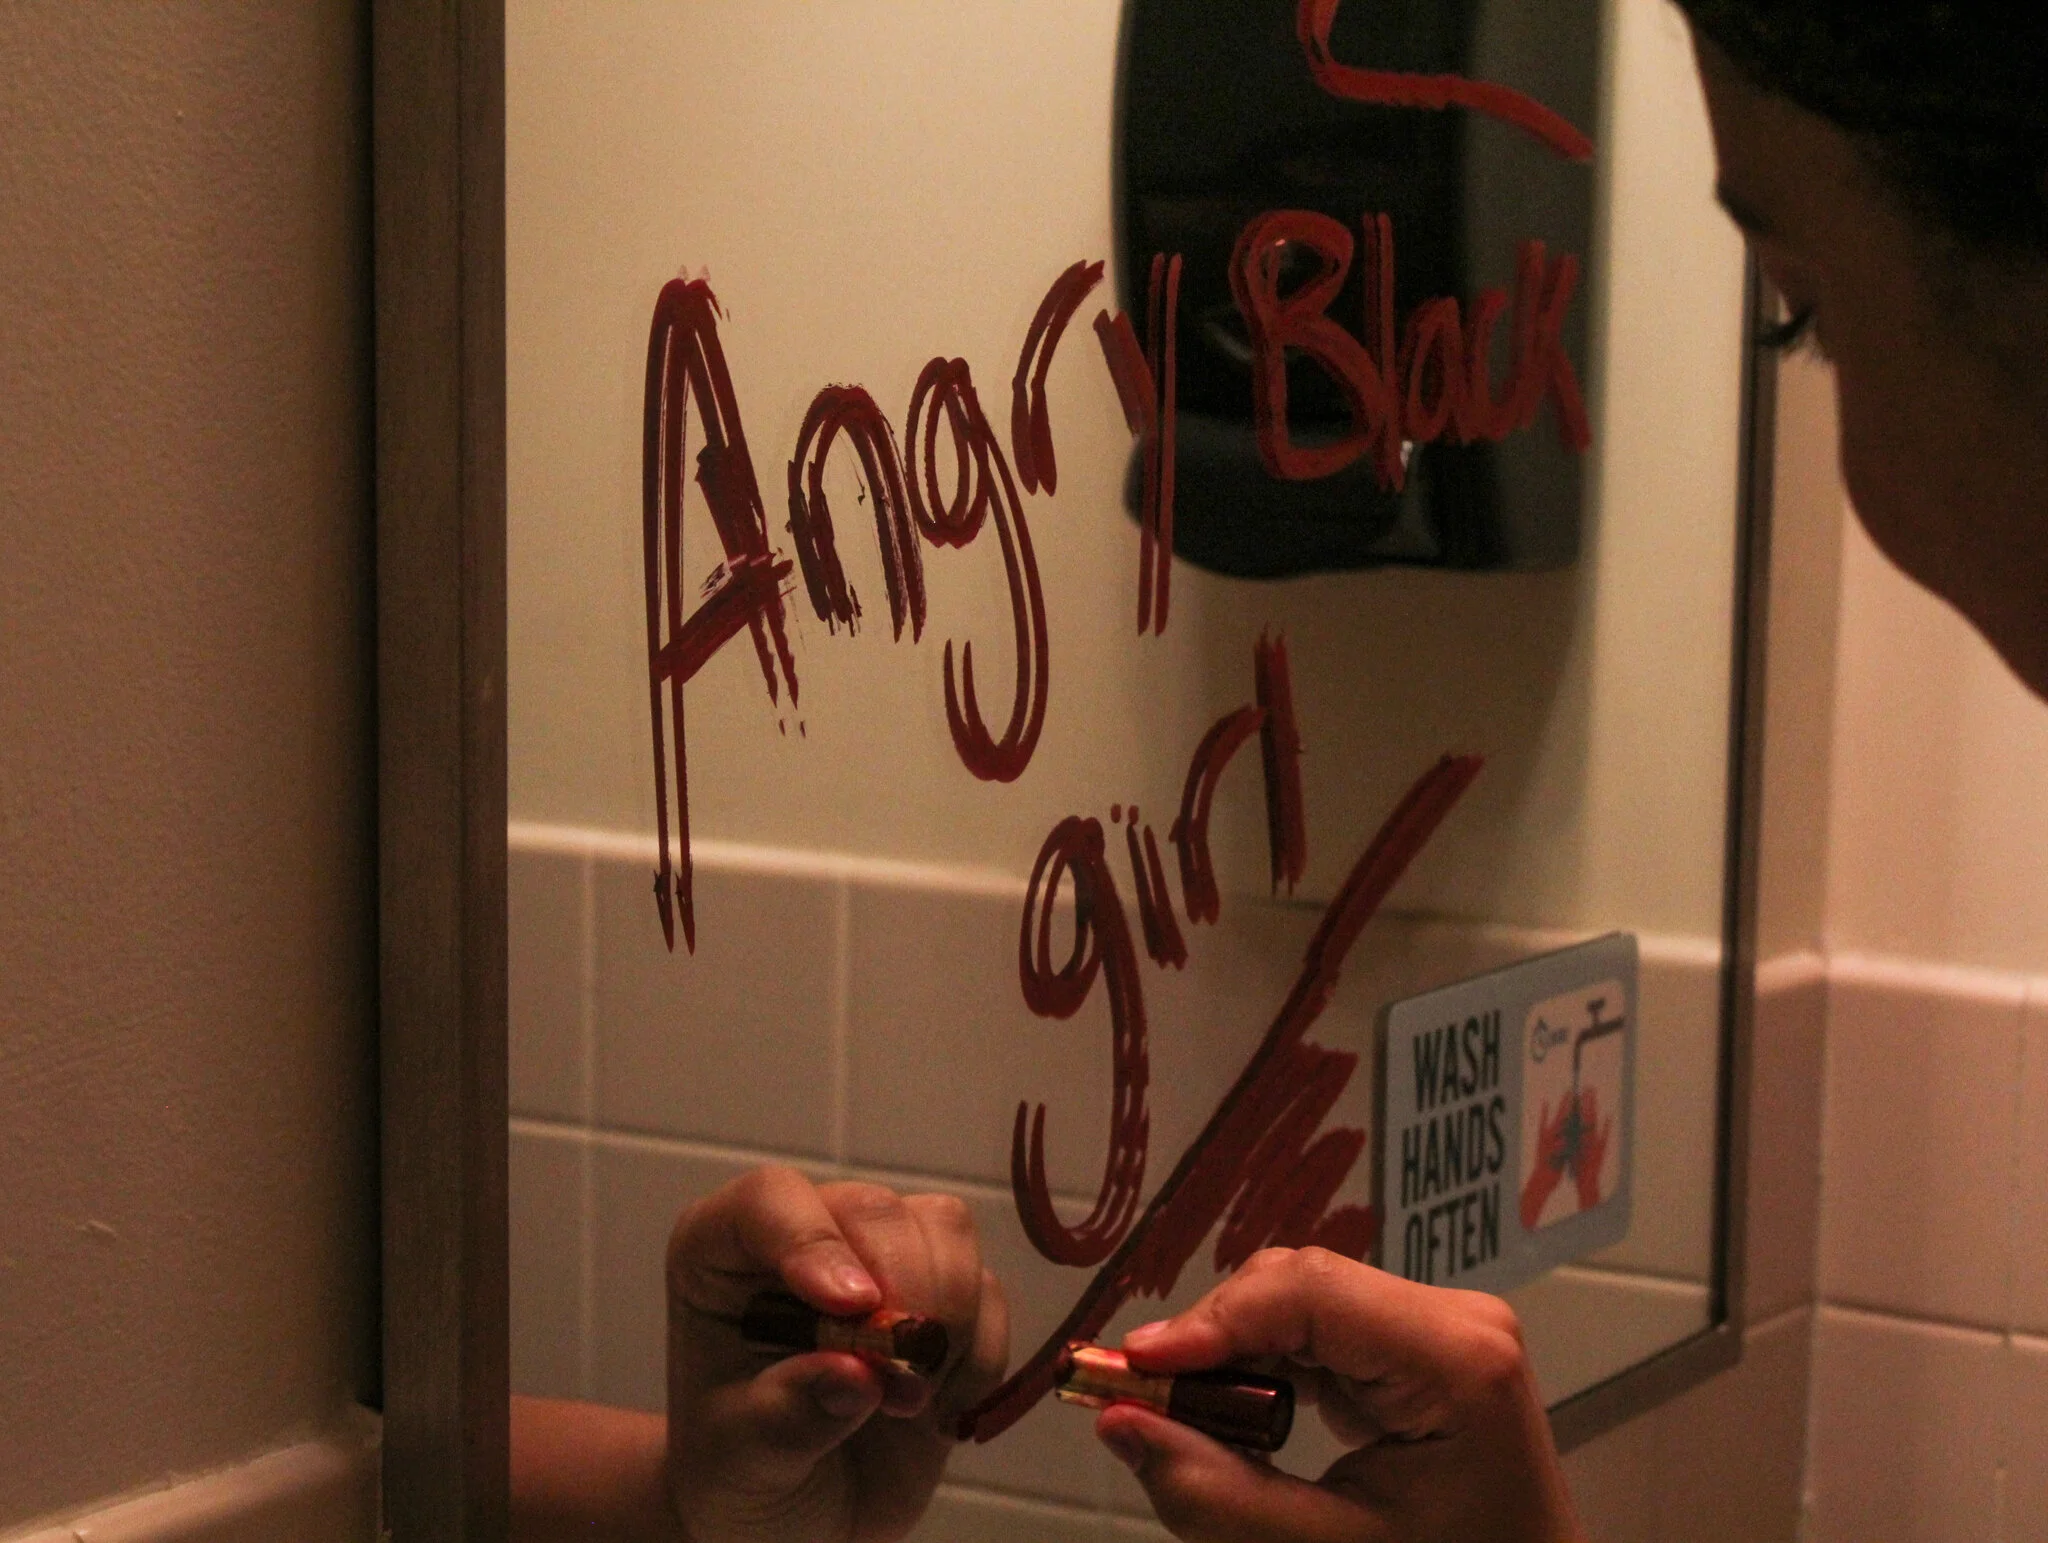
4.) Have Subject Write Something and Capture that

For this photo I wanted to experiment with mirror photography and I found inspiration for this photo from lipstick mirror writing on Pinterest. I had to use different angles to make sure my own reflection was not shown in the mirror and to show different sides of the subject writing
Important tips for including text in your image
1.) Consider what you want to say!!! The image and the text should have correlation, and the more powerful the text is, the more powerful the photo will be
2.) It is good to mix it up with different text styles! I tried to include a variety of ways to include words in photos because it is impactful when the same message can be conveyed in multiple ways
3.) Experiment!!! Take risks and be creative with different ways to add words!!!