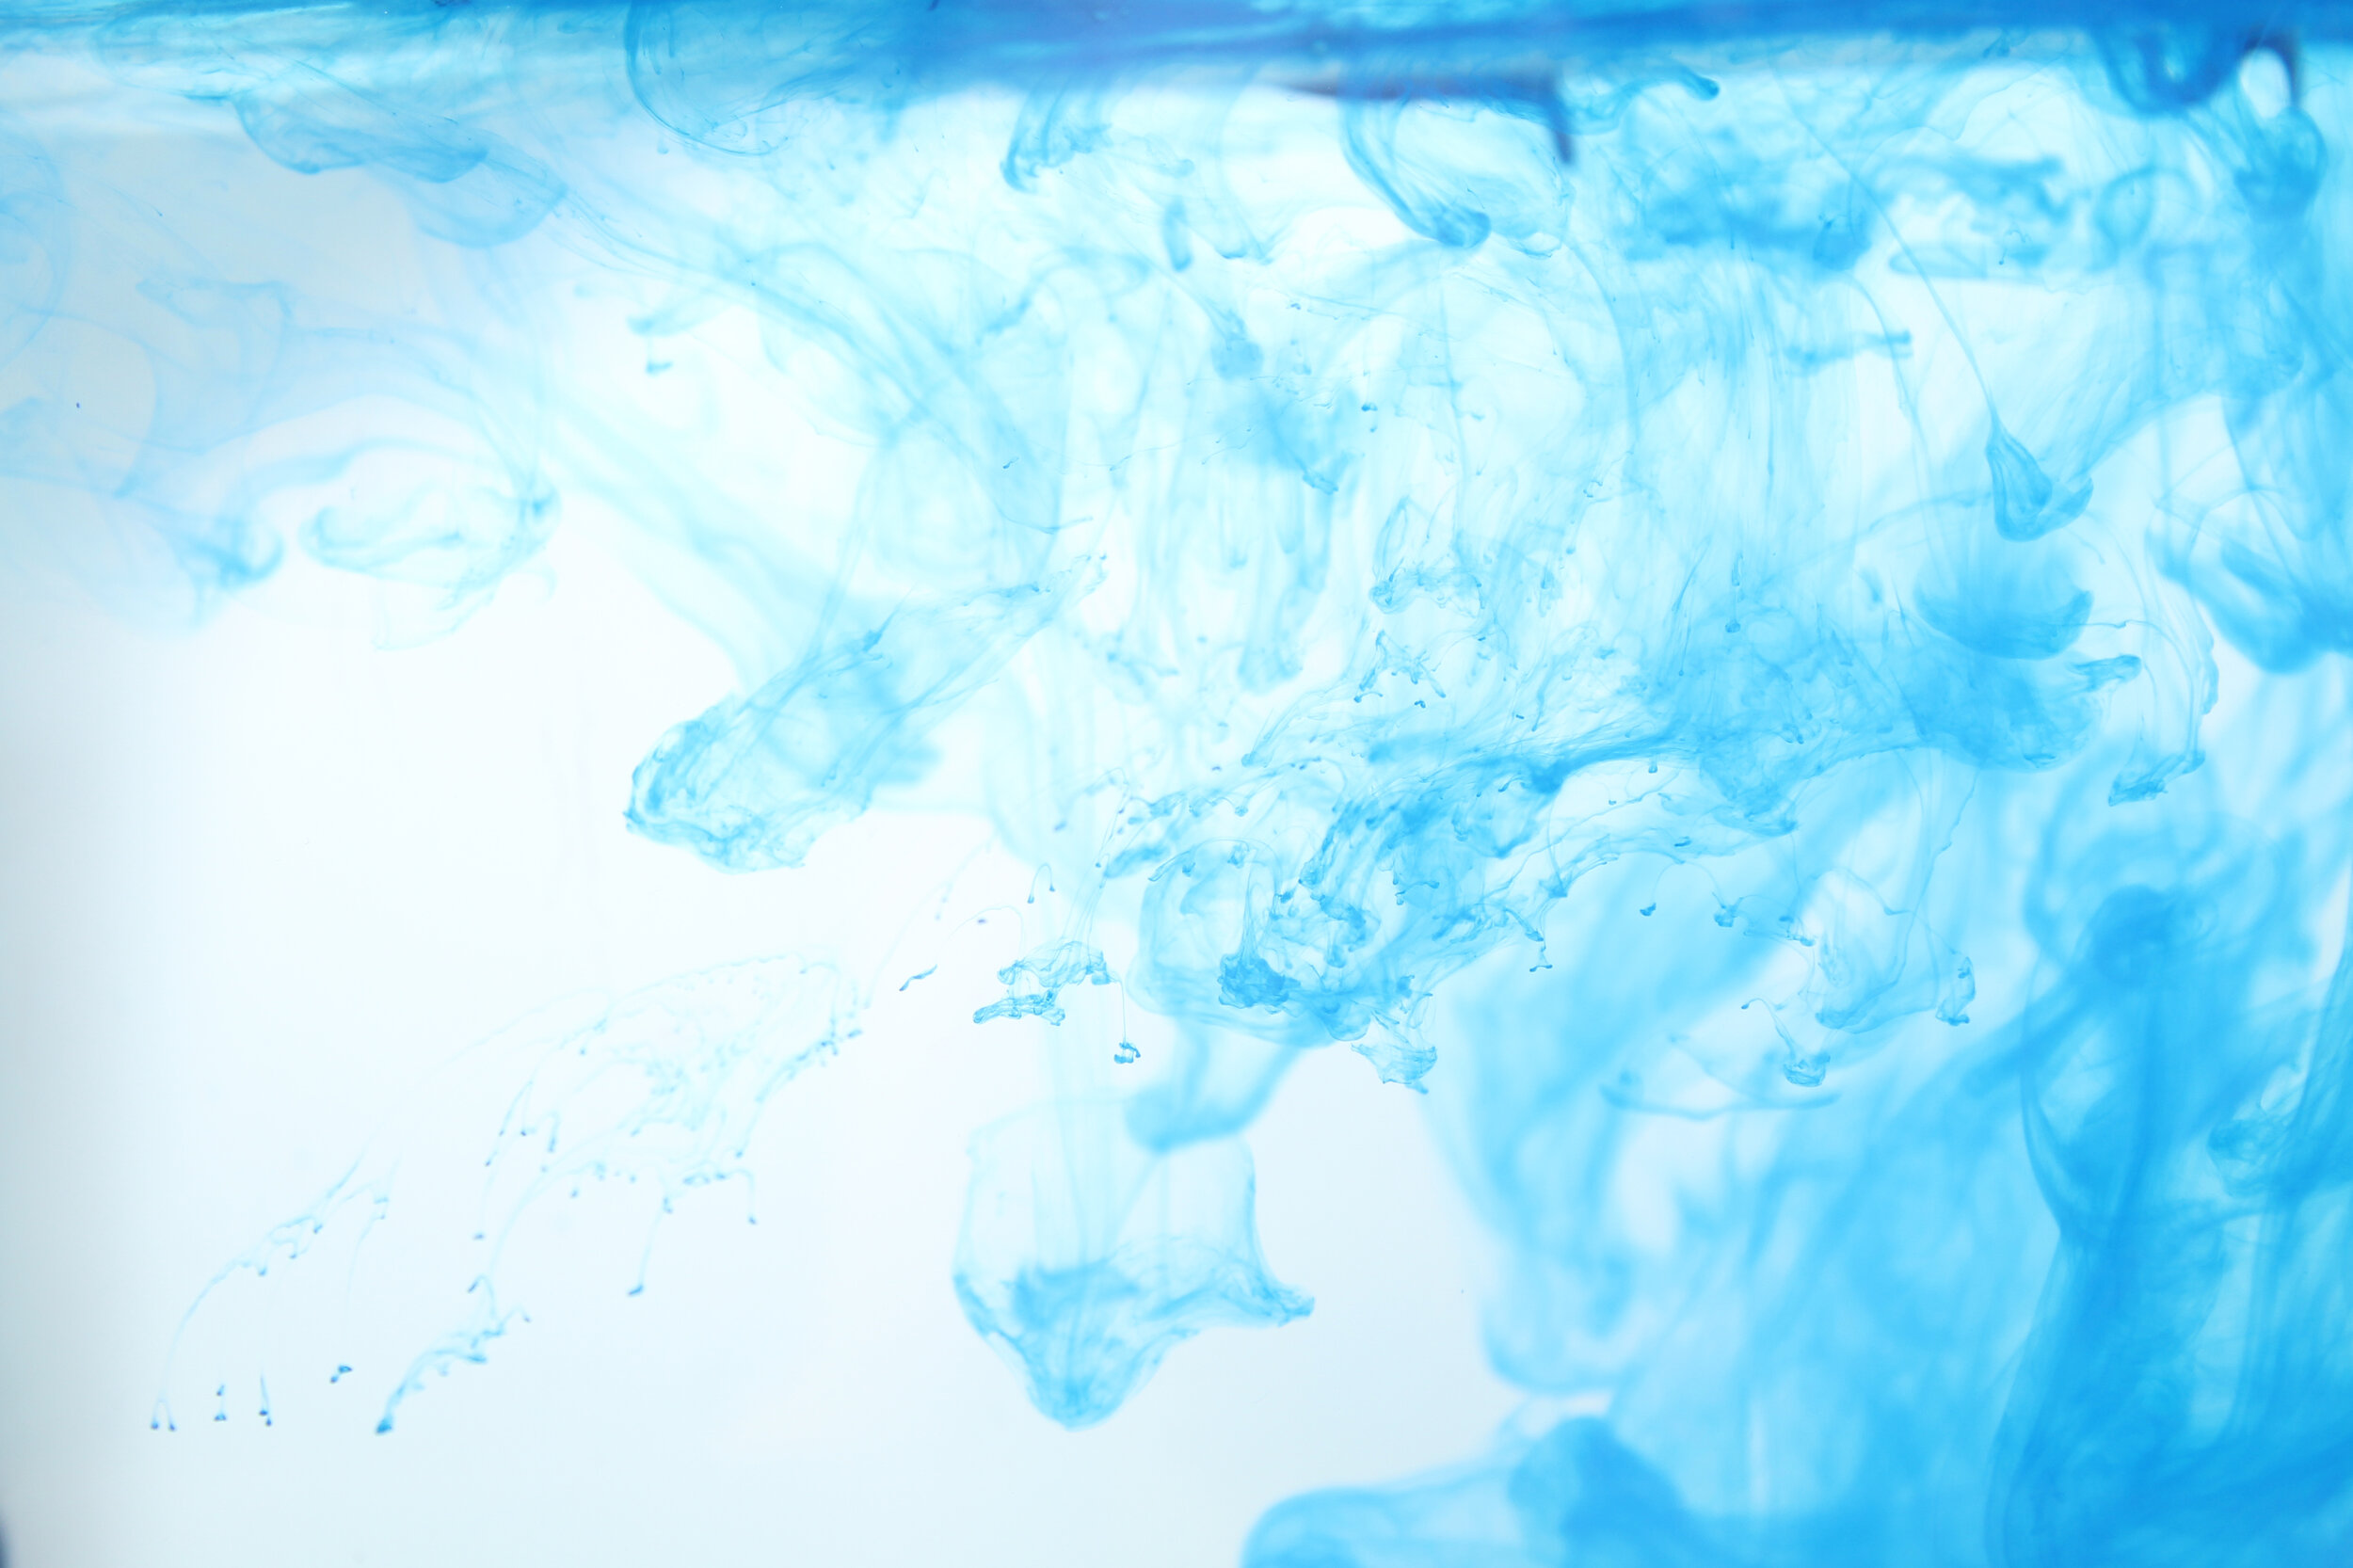
a tutorial to ink-in-water photography
materials
duct tape
camera
macro lens (optional)
funnels
water and sink
assistant
acrylic paints
empty plastic bottles with cap
studio lights w/ soft box
glass or plastic tank
Step 1: set up backdrop and lightings near a sink
Set up a plain color backdrop and the studio lights according to the picture on the left. REMEMBER to set up near a sink for convenience.
There are two studio lights involved, the one without cover is lighting the bottom part of the tank and the light with soft box is lighting the upper part of the tank. This setting can be changed according to your desire. Remember to attach remote to camera.
Step 2: camera settings
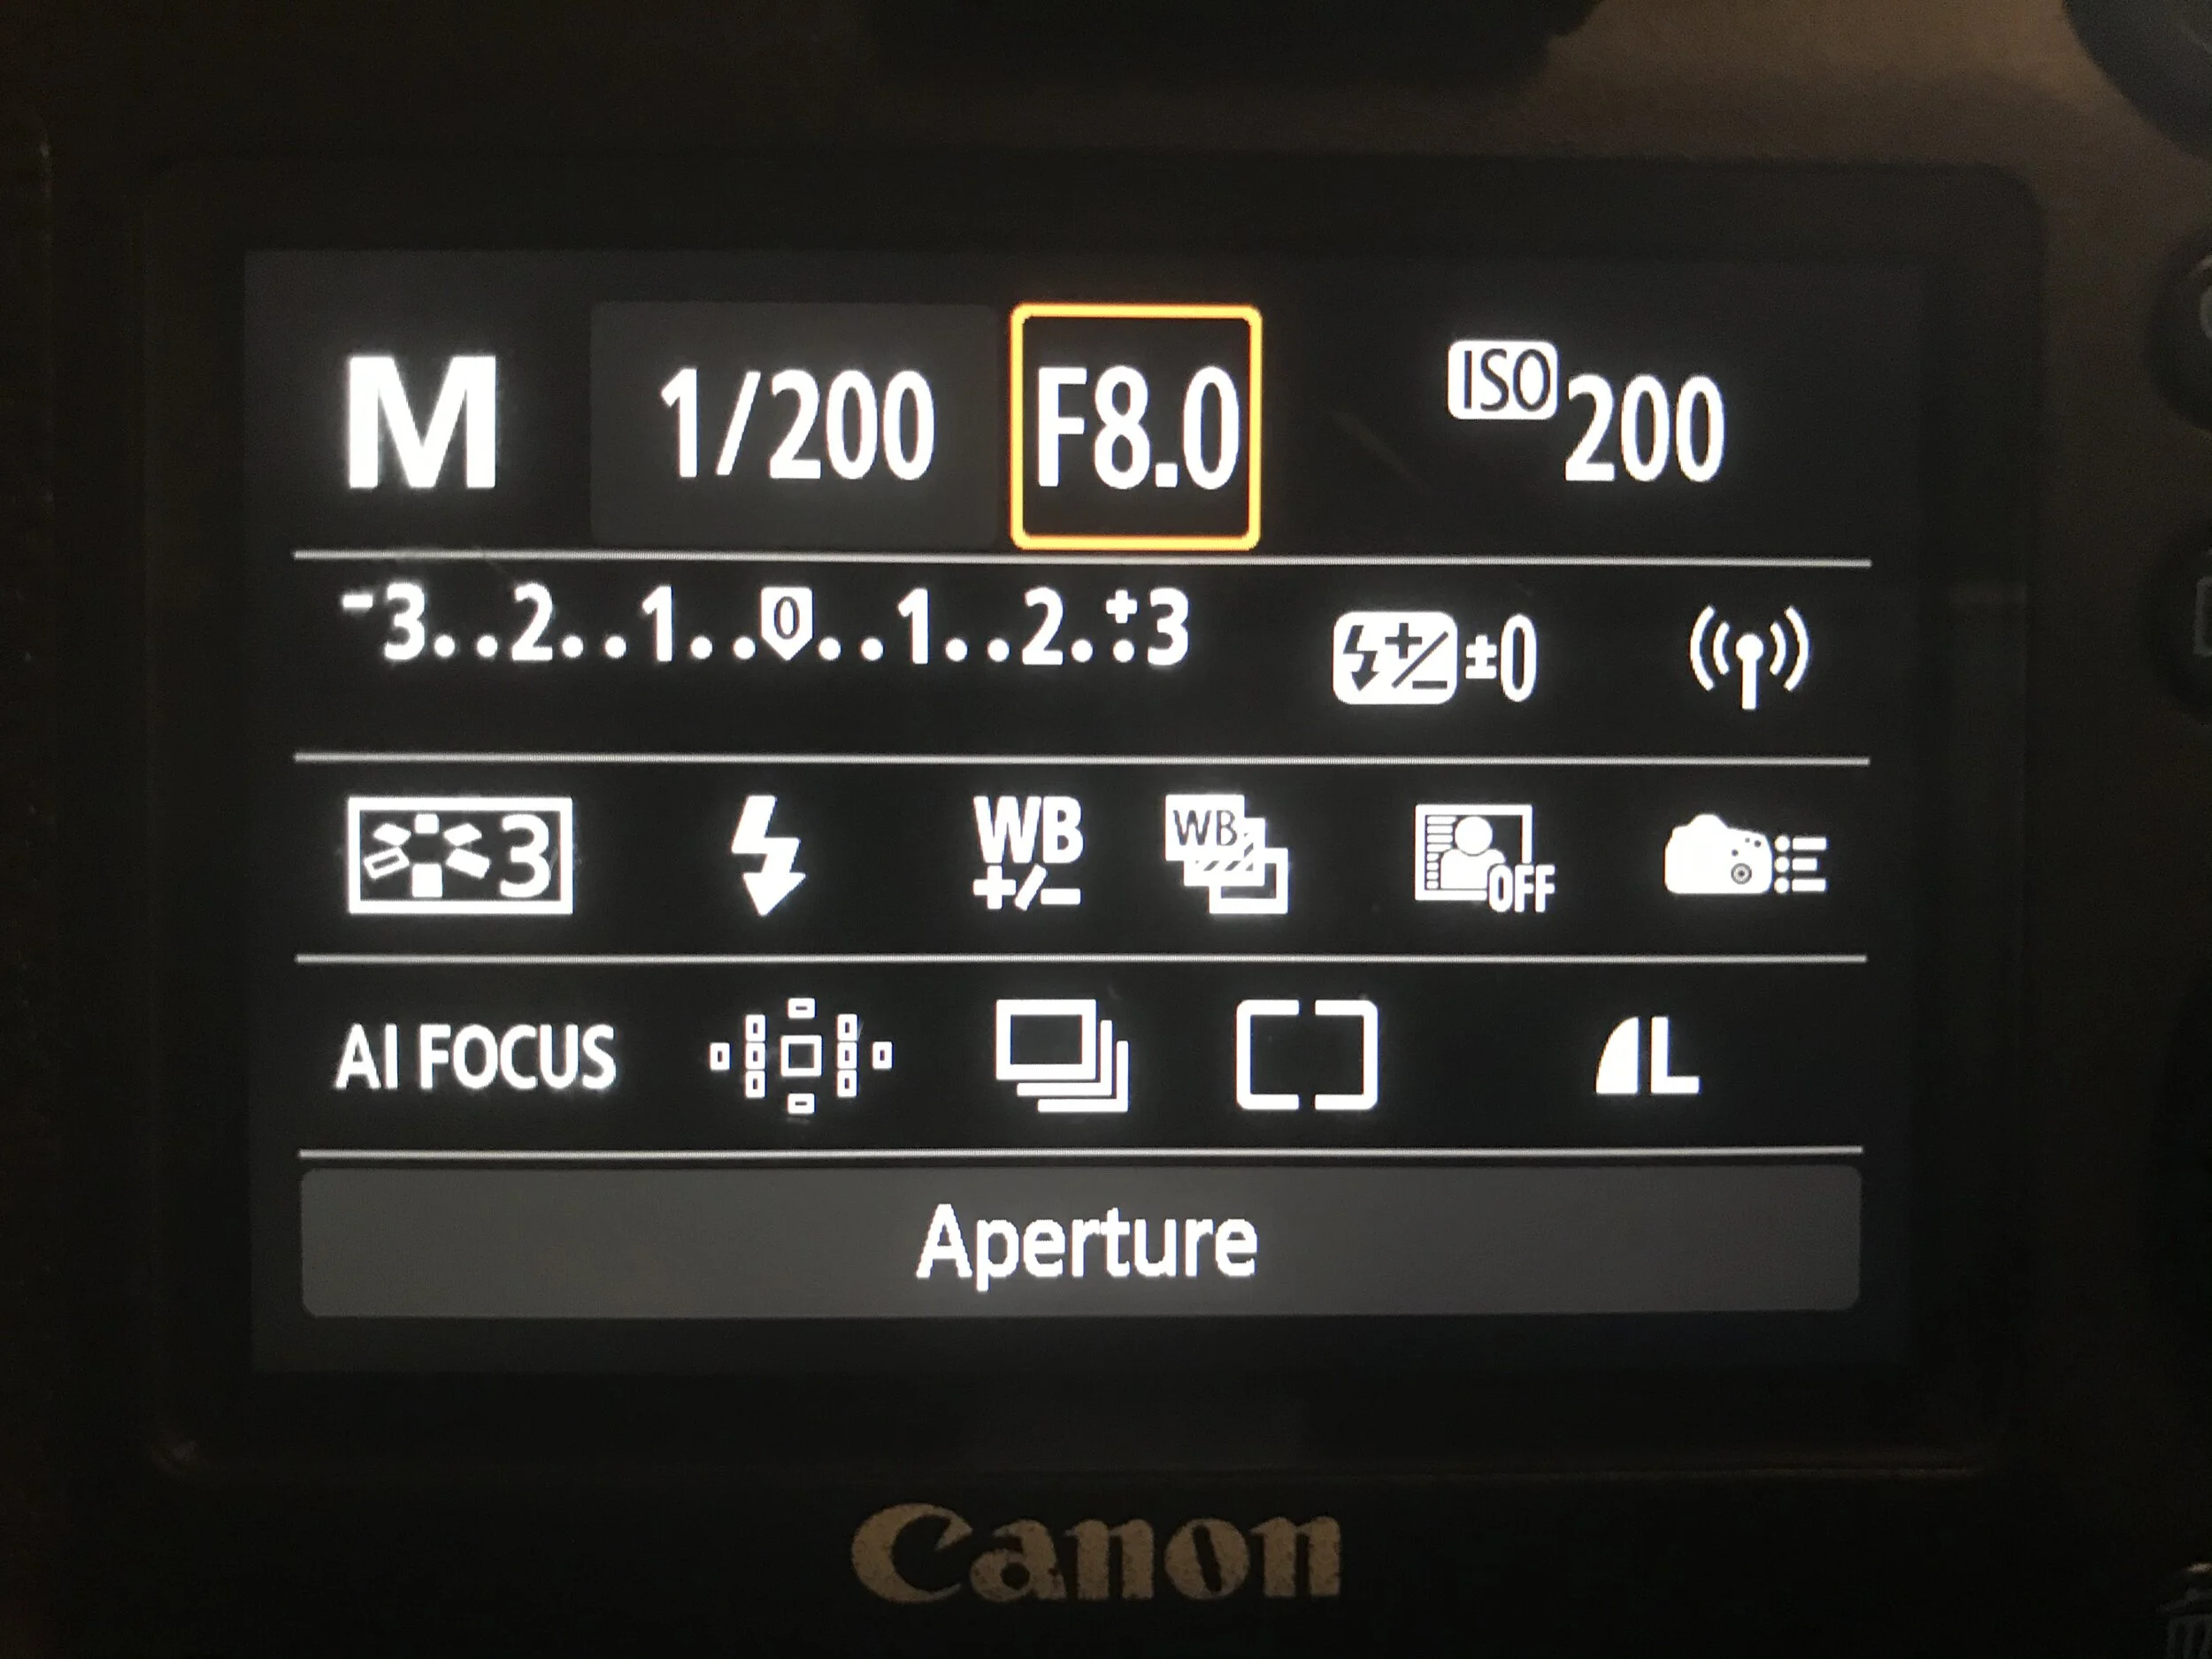
Set camera to the following settings:
Manual Mode;
ISO 200;
Shutter Speed 1/200;
Aperture F8.0;
White Balance Flash;
Continuous setting with Burst Mode.
Any lens should be fine. I used a 24-105 mm lens, some others recommend using a macro lens. It is optimal to use a macro lens if you own one; if not, no worries!
Step 3: tape the prop into the bottom of the tank
This step is optional. If there is a prop you want to use and the prop is heavy (for example glass bottle), then simply place in the tank. If the desired prop has very light weight (such as flowers and toys), tape to the center of the bottom of the tank (or which ever orientation in the tank you find ideal for the composition) tightly. Light weight objects tend to flow towards water surface when water is added.
Step 4: fill plastic or glass tank with water
At the sink, fill the tank with water to 2/3 full. Be careful when moving the water from sink to the elevated plane, it is easy for water to spill out. For tanks that are larger in size and harder to move, attach a host to the tap and fill the tank with host.
Step 5: use tape to hold funnels
Funnels help to control the flow of paints. To hold the funnels in place, we use duct tapes.
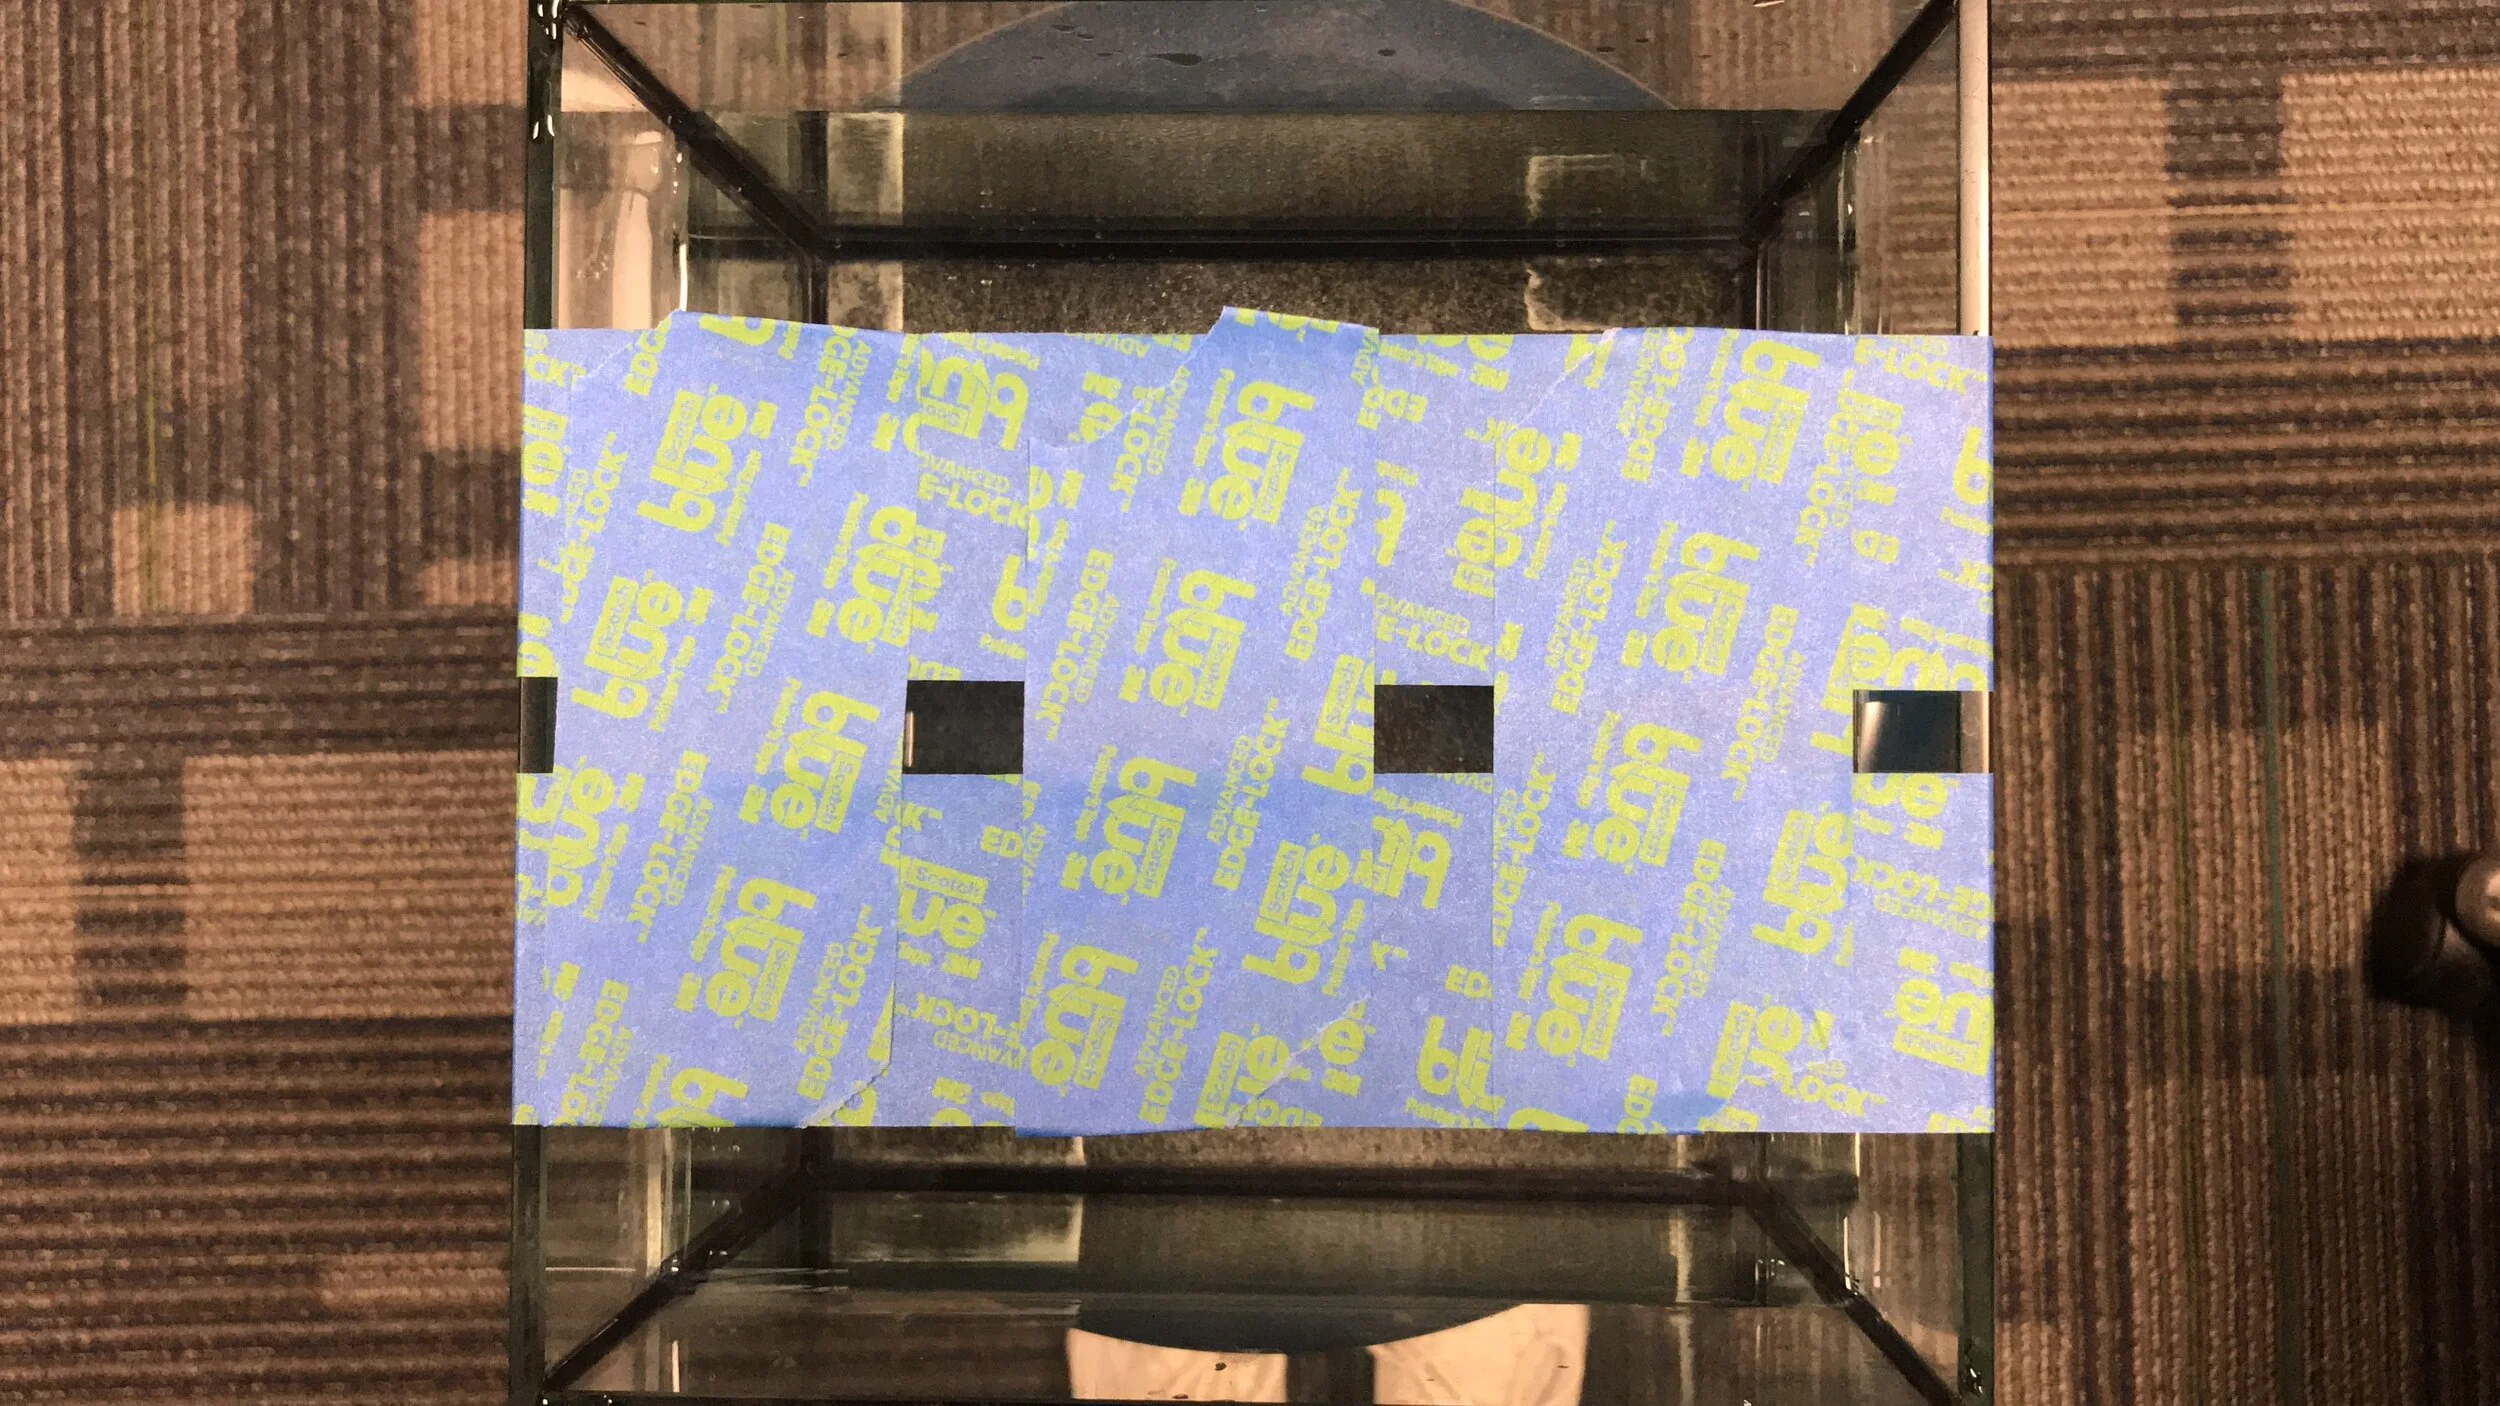
5.1 Place 2 pieces of tape across the top of the tank horizontally like shown in the picture on the left. The gap in between the two tape should be in the center of the tank (or your preference regarding the composition), and the gap should be 1.0 - 1.5 cm wide (depends on the size of the funnel).
5.2 And then, place two pieces tape vertically on top of the horizontal tape, as shown in the picture on the left. The tapes should be around 1.0 - 1.5 cm apart (depending on the size of the funnel). Put the funnels in the holes created by tapes to see if they fit. If you want to use two funnels, add another piece of vertical tape that is 1.0 - 1.5 cm apart from the previous ones.
5.3 If two funnels are used in the photoshoot to create mixture of colors, make sure the funnels are aligned or point towards the same point. This ensures mixing of colors.
PS: It would be better to use two funnels of the same size to ensure the rate of flow of the paint is consistent.
Different Textures
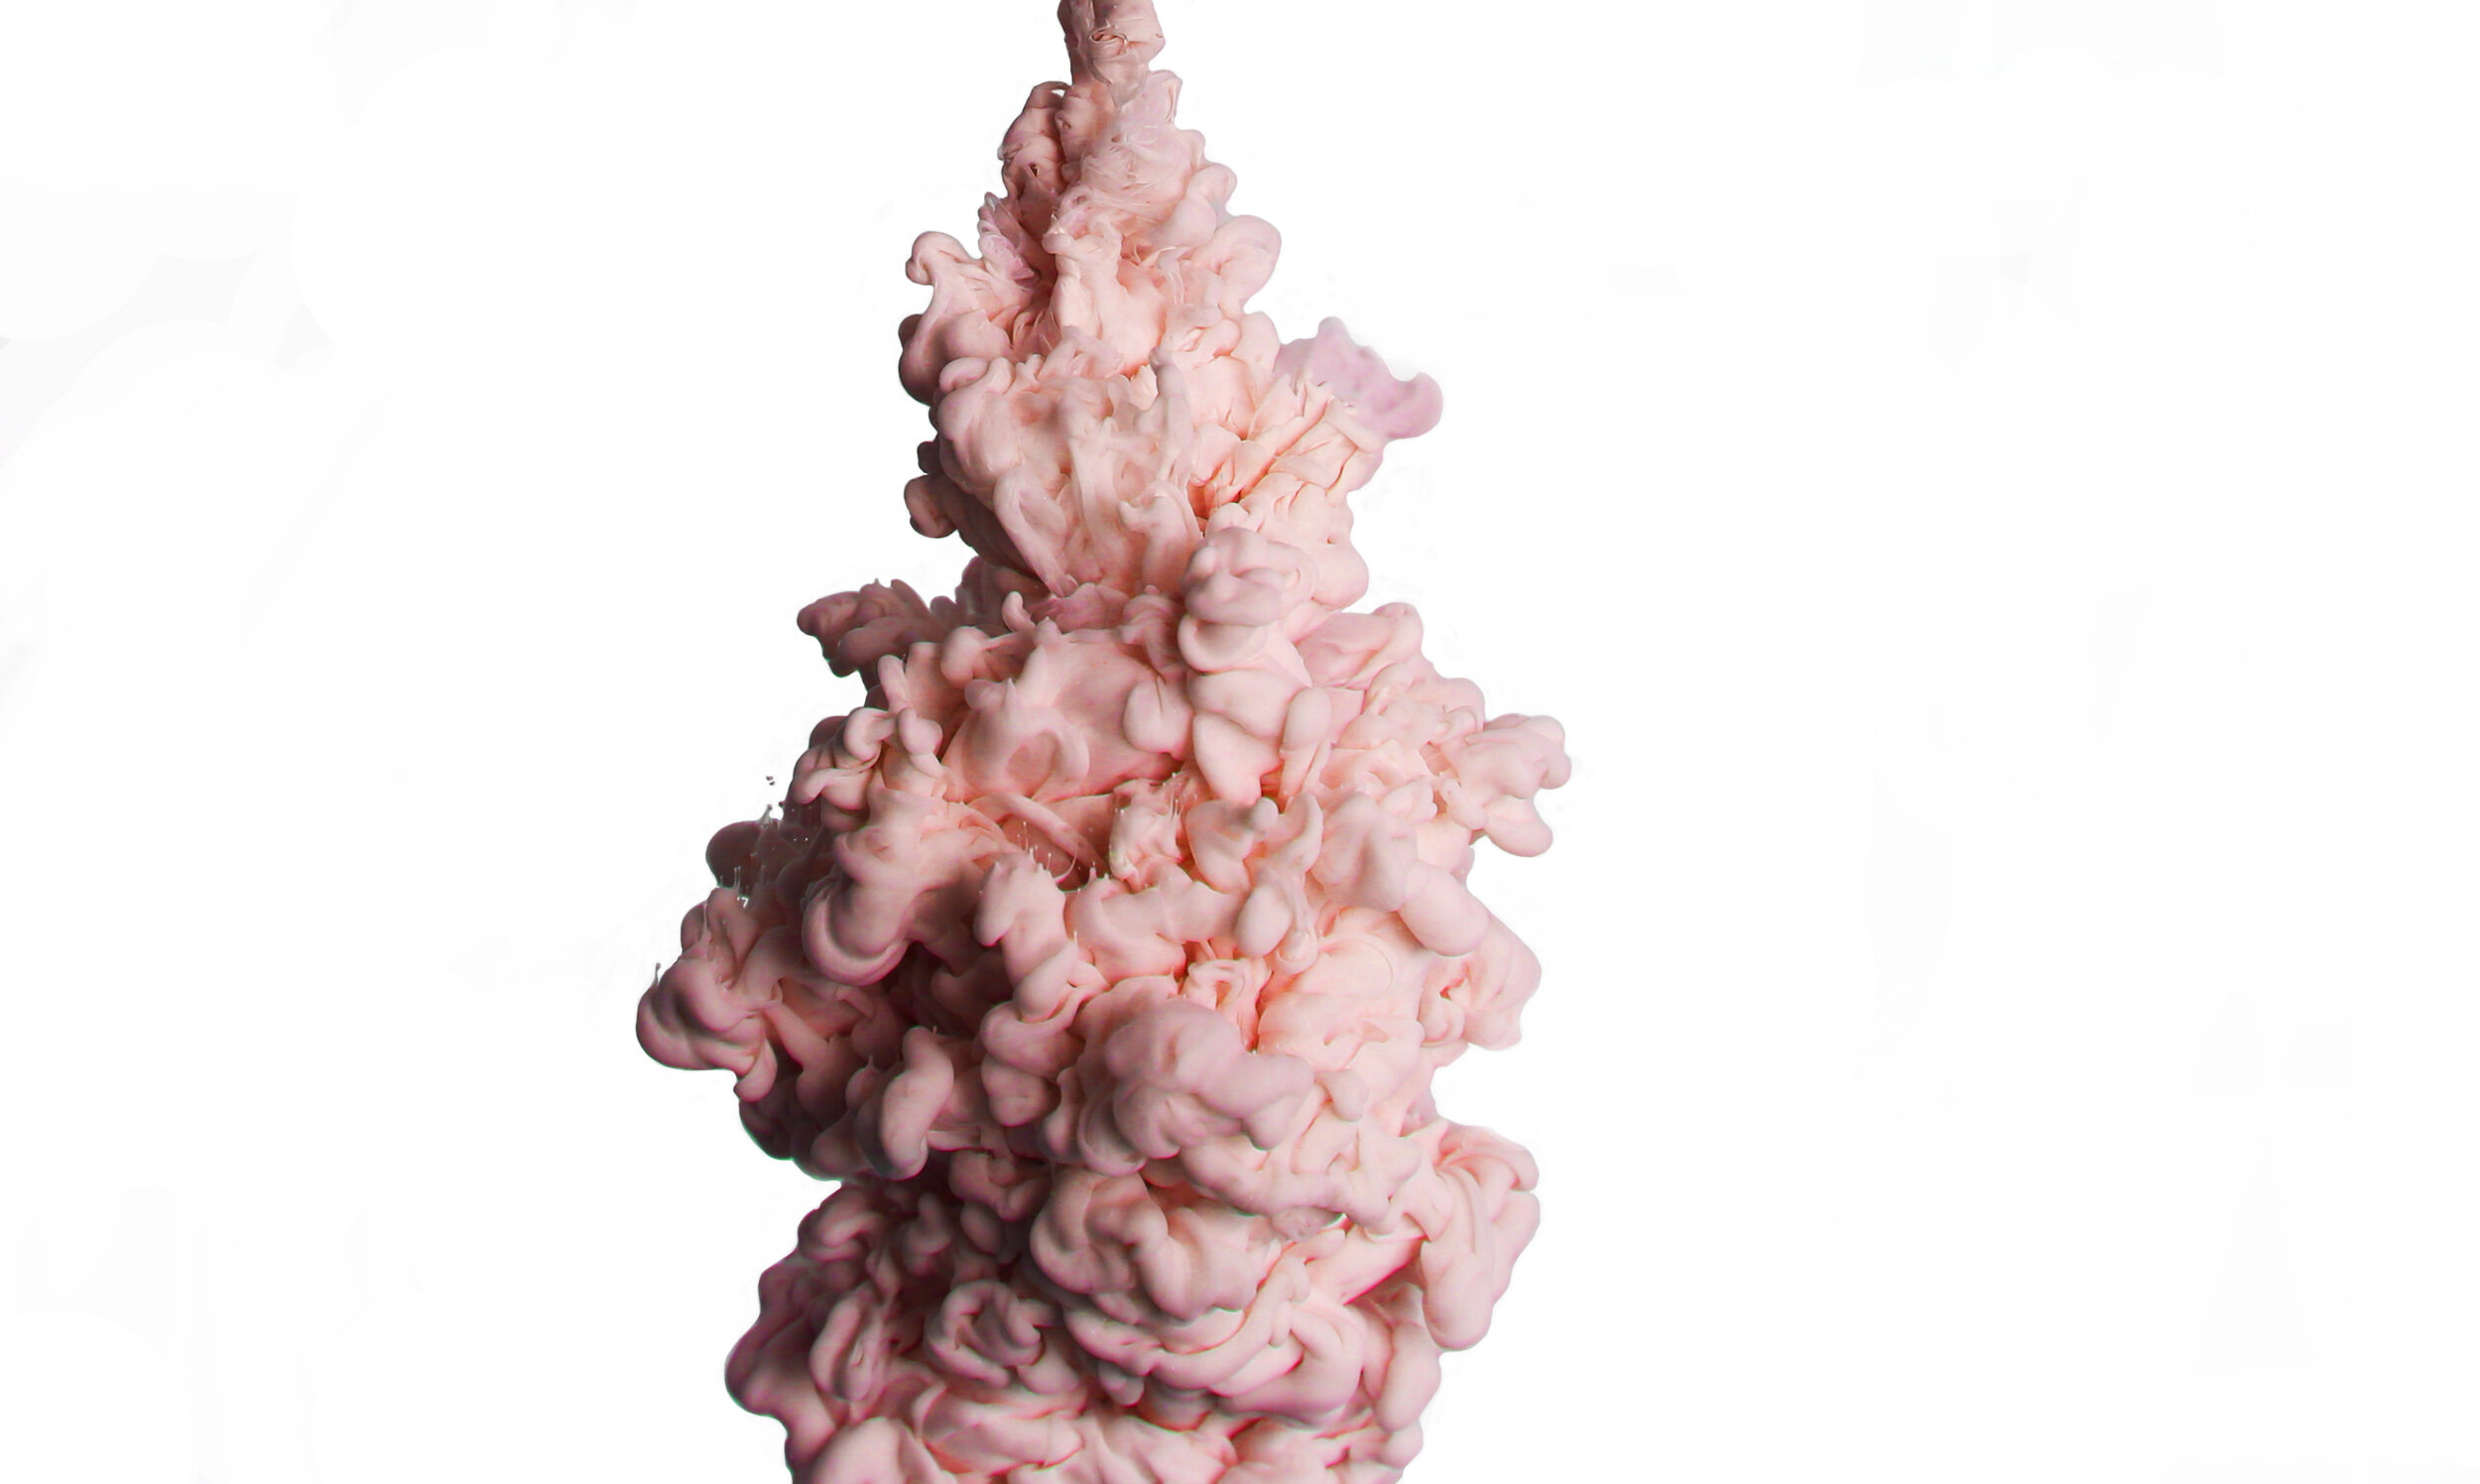
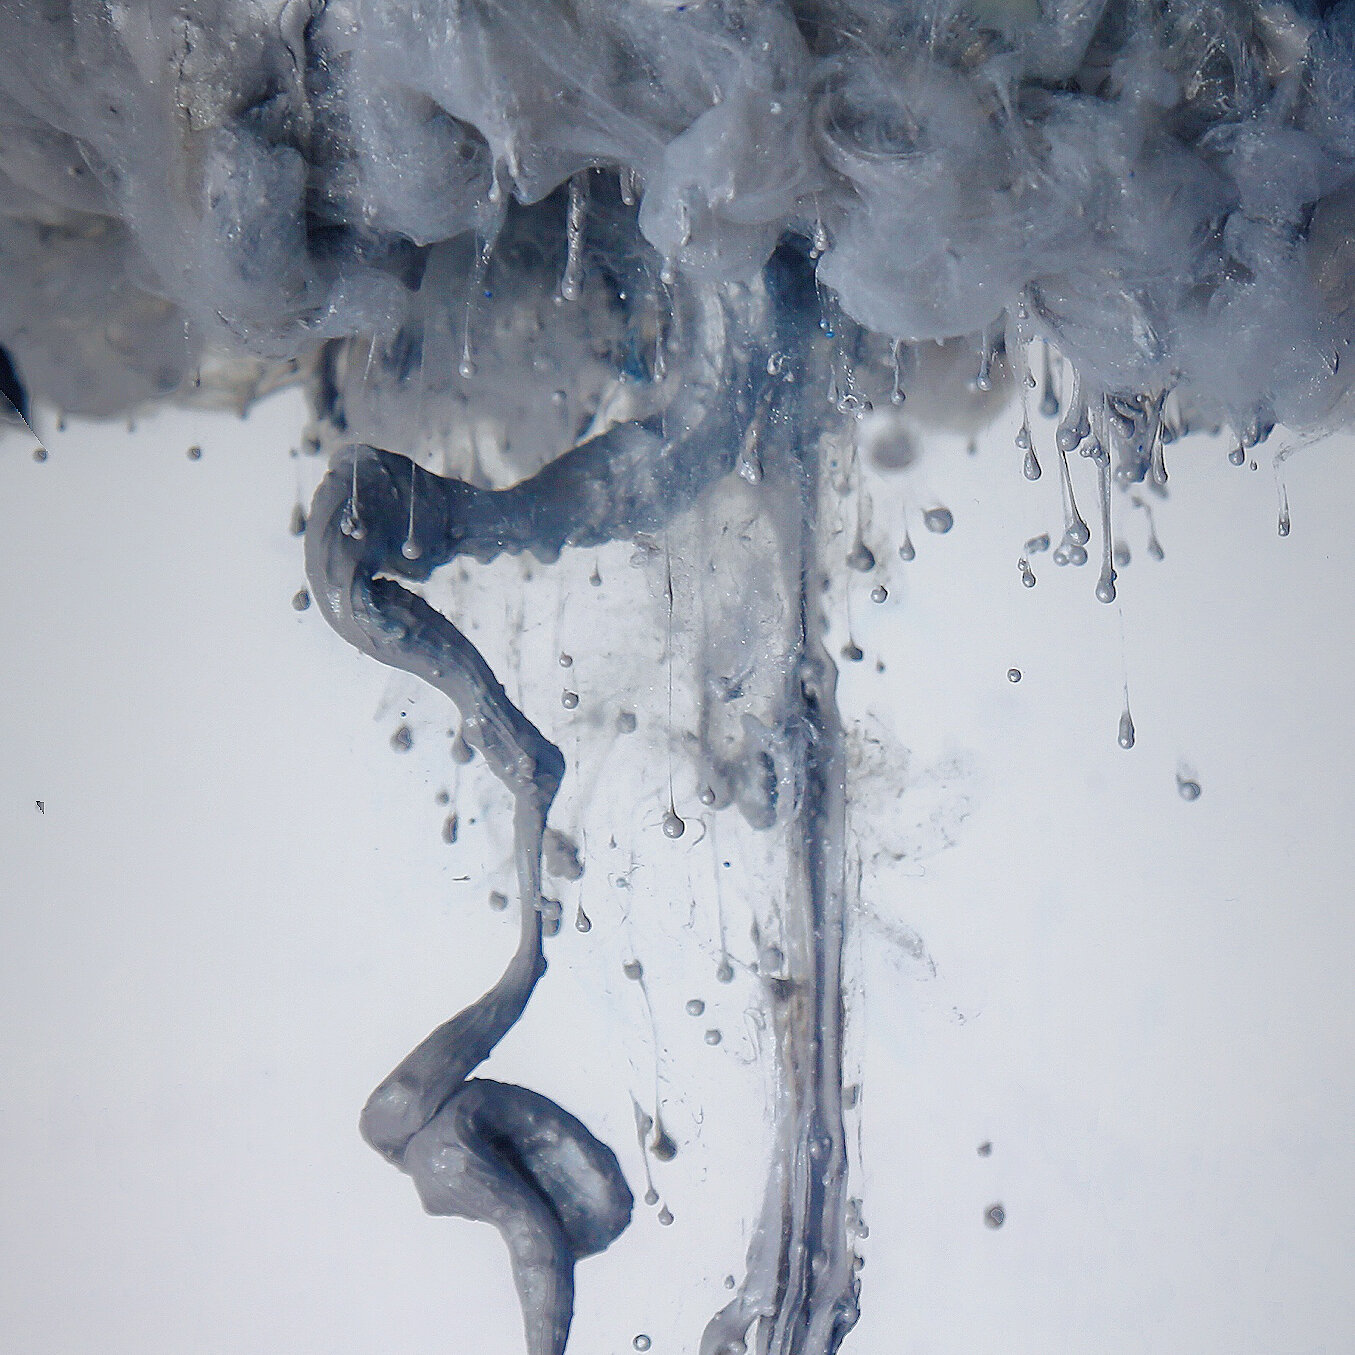
Before we move on, I’d like to show you 3 different looking textures that ink-in-water photography can achieve.
Step 6: dilute acrylic paint
Acrylic paint is very thick and dense material. If directly poured into water, acrylic paint would not spread out like ink. Therefore we dilute the paint with water. Different dilution can lead to the different textures as shown in the picture above.
6.1 For silky and concentrated color look, we dilute paint-to-water with the ratio of 1:3. Swirl in circular motion very thoroughly to mix the water and paint. Swirling gently avoids air bubbles. Make sure to reach homogenous mixture.
6.2 For solid and textured color look, we dilute paint-to-water with the ratio of 1:2. Shake hardly and briefly to mix the water and paint. It is fine to leave some paint not fully mixed.
6.3 For the flowy and smoke-like look, we dilute paint-to-water with the ratio of 1:3. Swirl in circular motion very thoroughly to mix the water and paint. Instead of proceeding to Step 7, which is to pour the diluted paint into the water tank through funnel, transfer the mixture of water and paint into a spraying bottle. Spray the mixture into the water tank.
Step 7: have your lovely assistant pour out the diluted paint in steady pace and… CAPTURE!
When pouring the diluted paint, have the assistant [be nice and ask nicely for other’s help] pour the diluted paint through the funnel into the water tank at a moderate and steady pace.
Cooperation and communication between photographer and assistant is crucial! Take multiple tries! Be ready to capture the ink since the moment does not last long.
Here are some other pieces from the ink-in-water photoshoots. Ink-in-water photos not only are aesthetically pleasing themselves, but can also be further processed and combined with other photos for creative expressions.


