Blair Academy Photography

ISO 200//1/25””//F8
What you need
Photoshop cc
Adobe Lightroom
A studio portrait (preferably one with a plain background)
Brush pack

Step 1
Open the image in photoshop and duplicate the layer (command + J)
Hide new layer by clicking on the eye icon

Step 2
Use the lasso tool to draw around the subject.
It doesn’t need to be perfect, it just needs to include your entire subject.
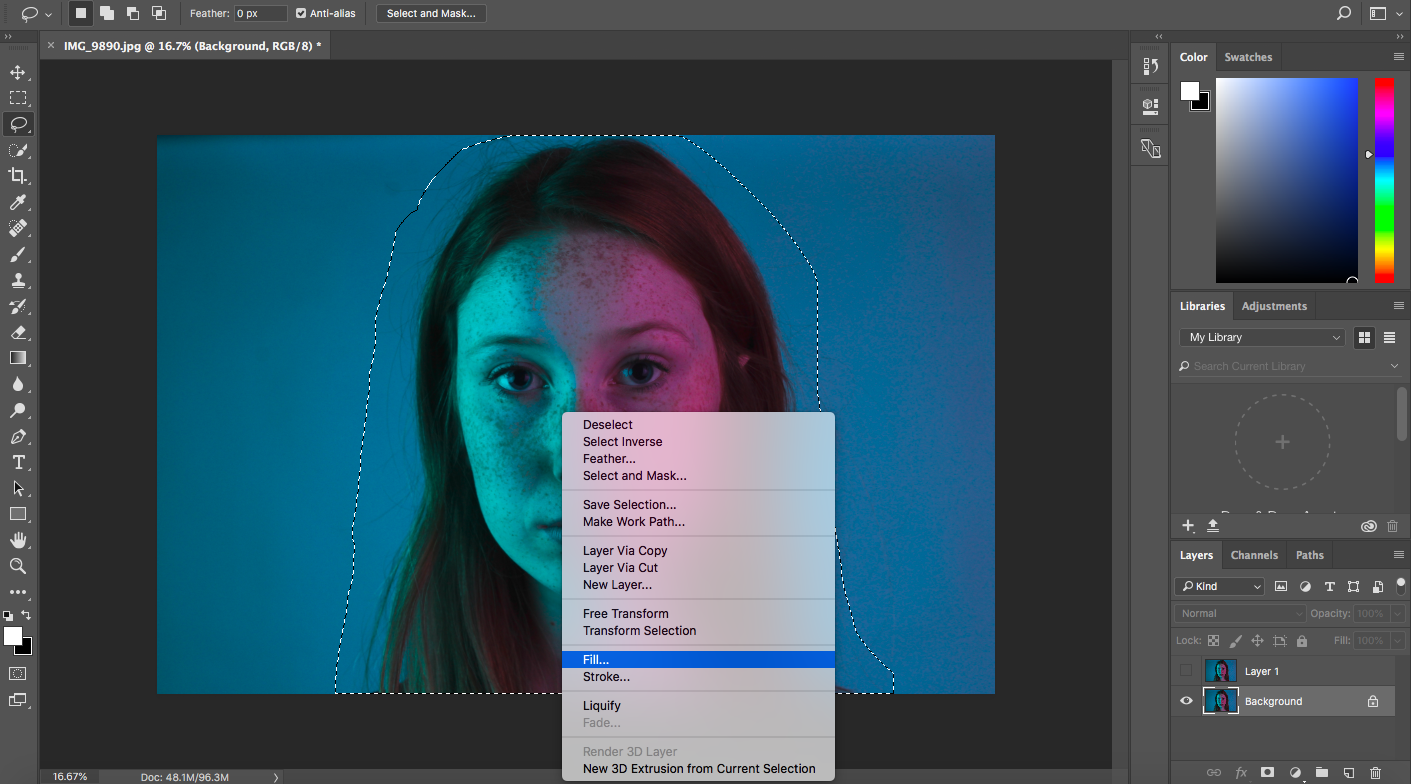
Step 3
Right click on the selection tool and choose fill.

Step 4
Make sure “content aware” is selected and click ok

Step 5
This should separate the subject from the background and leave you with a blank canvas. Deselect the Lasso tool’s selection if it’s still there (command + D).

Step 6
Select the new layer in the layers panel. Use the quick selection tool and select the entire subject. Once your satisfied with your selection, click select and mask.

Step 7
Select layer mask from the “output to” drop down and select OK.

Step 8
A layer mask should be applied. Duplicate this layer (command + D).

Step 9
Right click on the copied layer and select “Apply Layer mask.”

Step 10
The top layer should be isolated. Rename this layer “Dispersion” and turn off the visibility of the highlighted layer by clicking the eye icon.

Step 11
Duplicate the “Dispersion” layer (Command + D). Rename the duplicated layer, Foreground.

Step 12
With the “Dispersion” layer selected, go to filter in the top menu bar and click liquify.

Step 13
Using the Forward Warp Tool, drag out the area of the image you want to see dispersed as seen in the image to the left. Click OK when satisfied.

Step 14
With the dispersion layer selected, hold option on your Mac and click on the mask button in the layers panel.

Step 15
The “dispersion” layer should have a black mask. Next select the foreground layer and apply another layer mask using the highlighted icon to the left..

Step 16
You should see a white layer mask applied to the foreground panel.
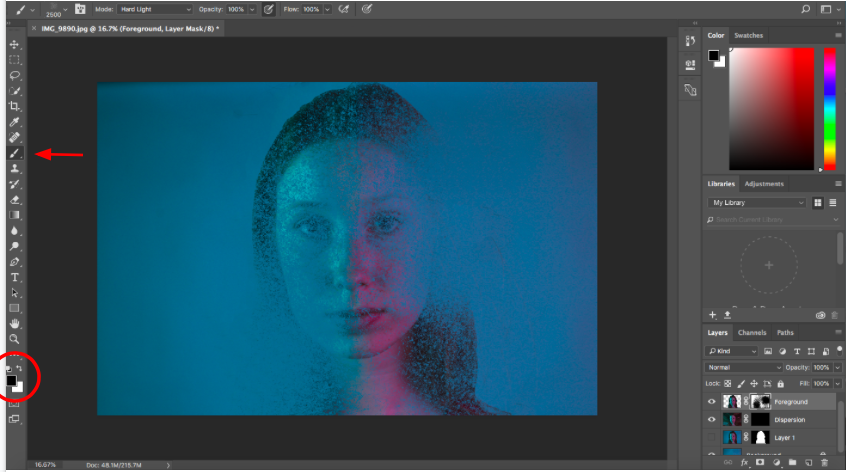
Step 17
With the Foreground mask selected, click on the brush tool and choose a dispersion brush (#2500 https://www.brusheezy.com/brushes/58623-free-disintegration-photoshop-brushes-18) from the brush panel. Make sure the foreground color is set to black. Start blotting away parts of the image.

Step 18
Next, select the dispersion layer and make sure the foreground color is set to white. Start blotting away with the Brush tool.
in this step, you can choose which parts to blot away and explore with your creativity to create your desired image.

Step 19
Use the “soft round” brush from the brush panel to refine your image and fill in unwanted spaces.
Step 20
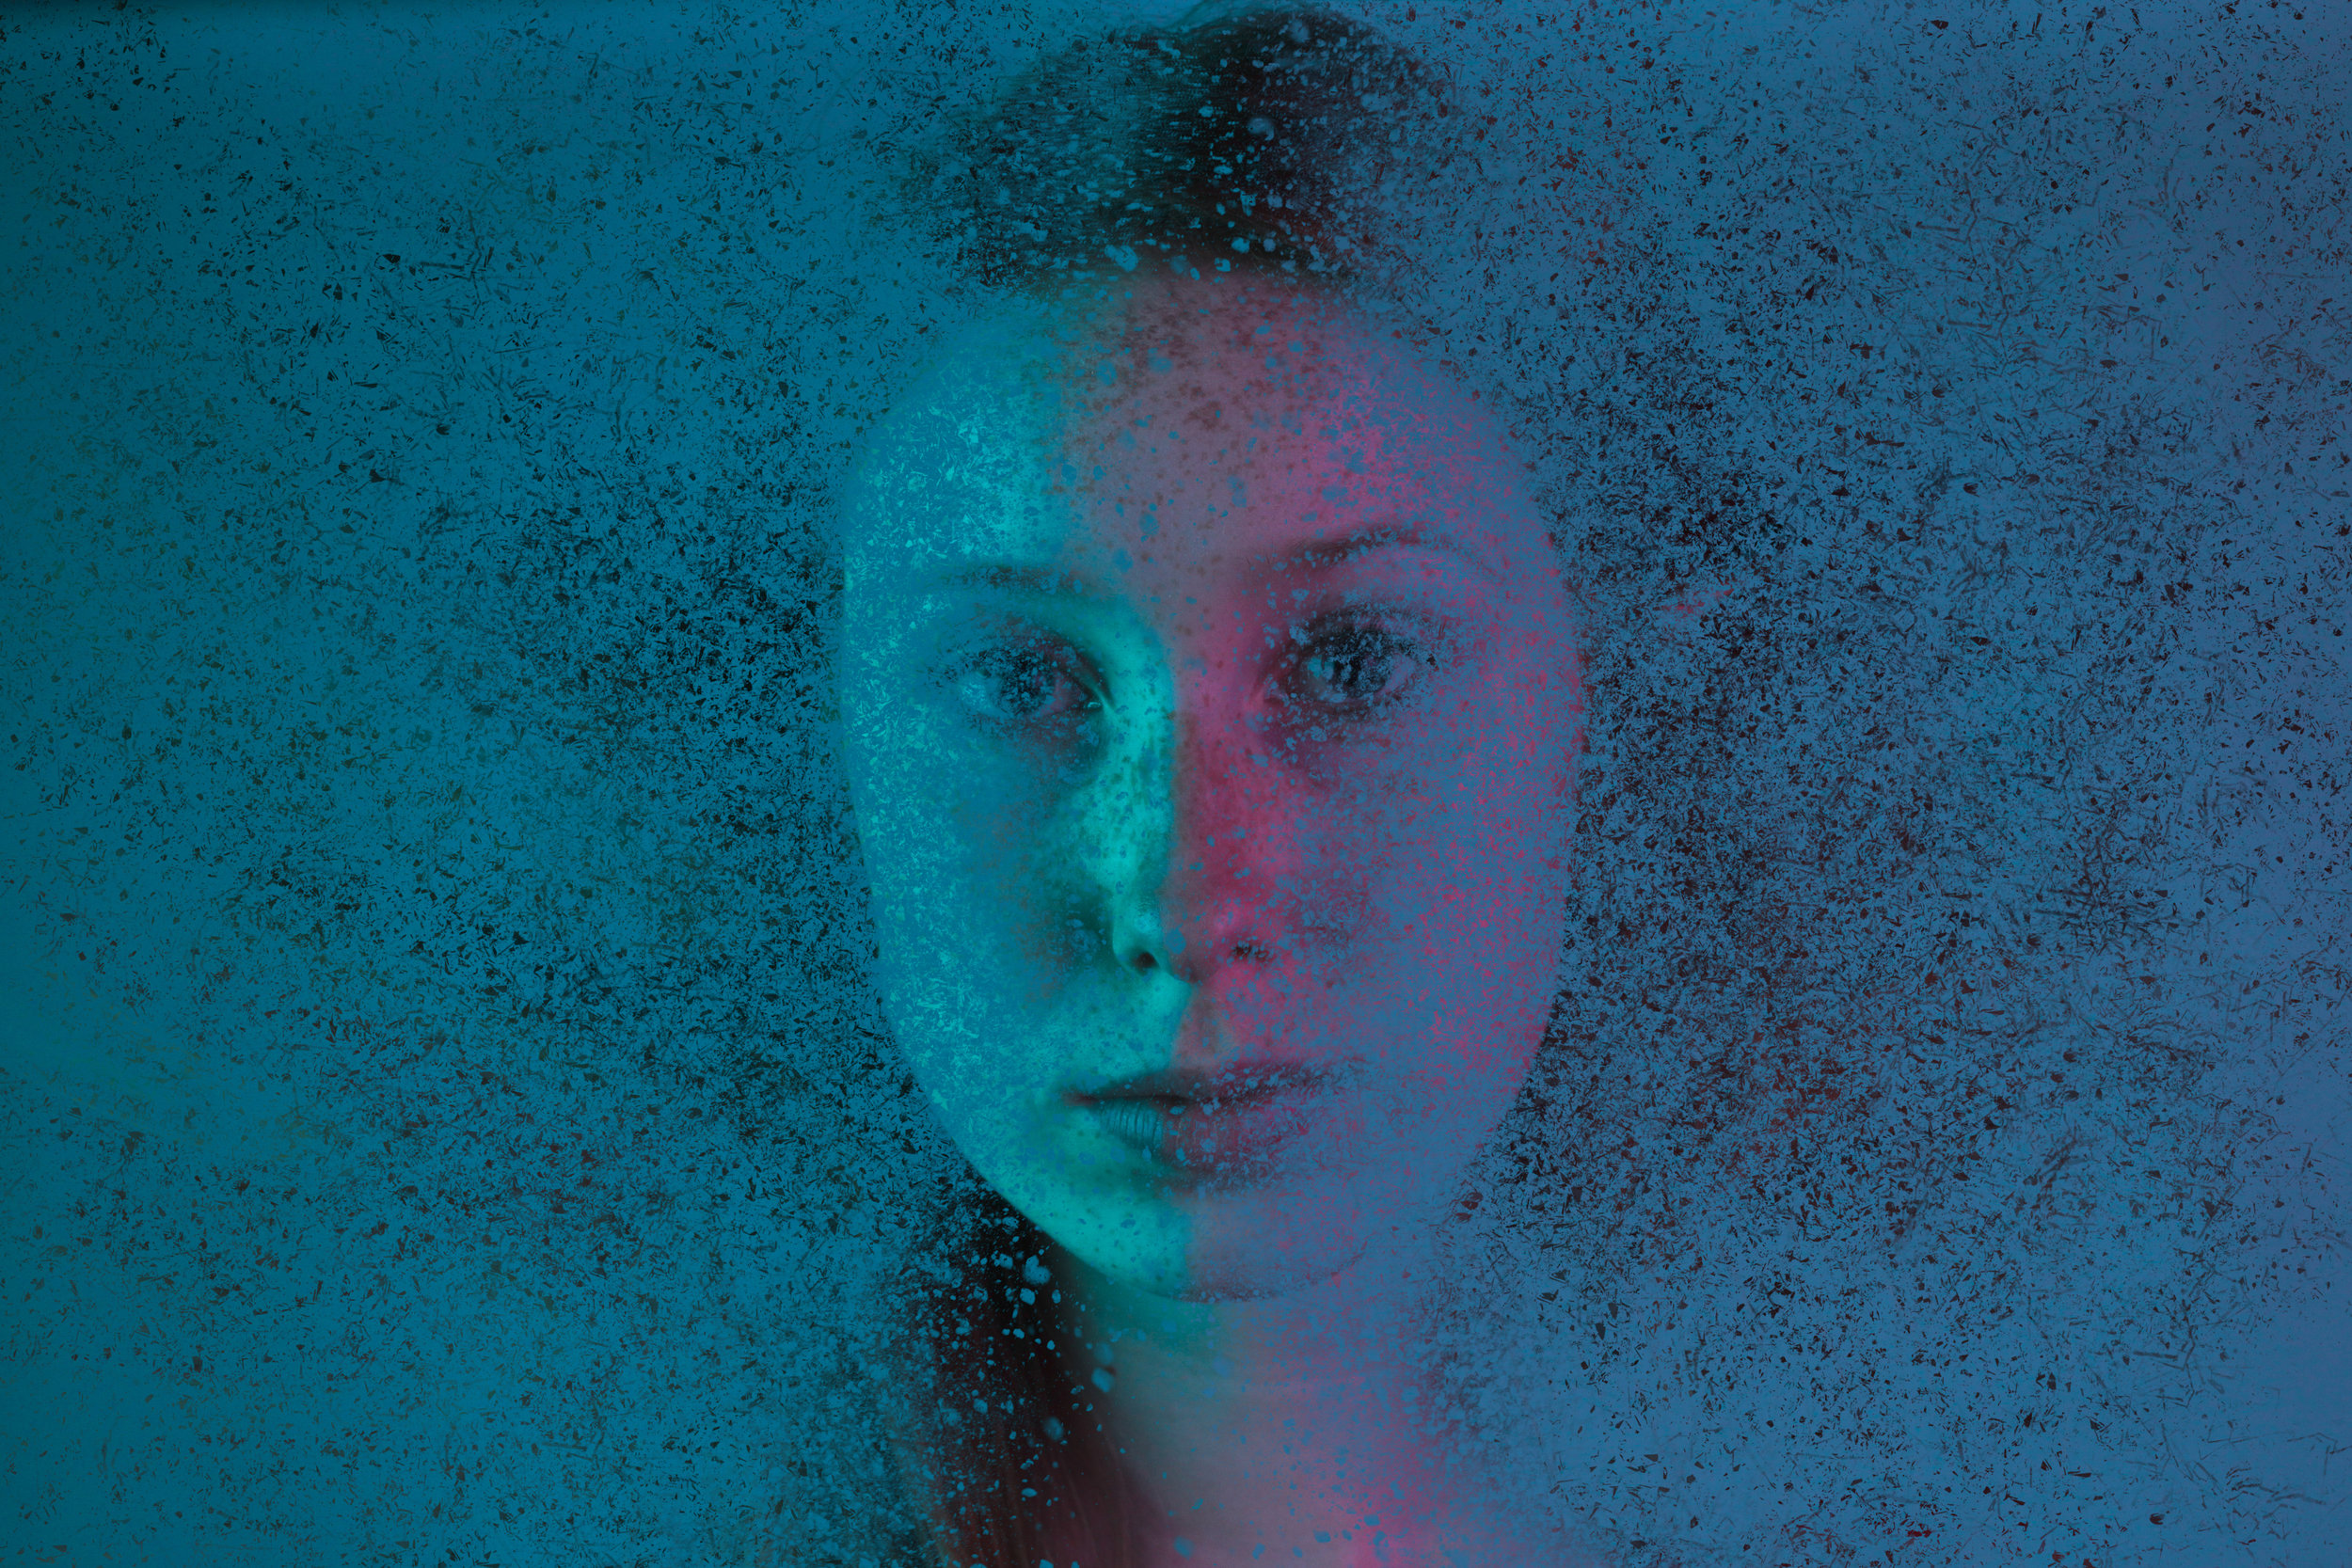
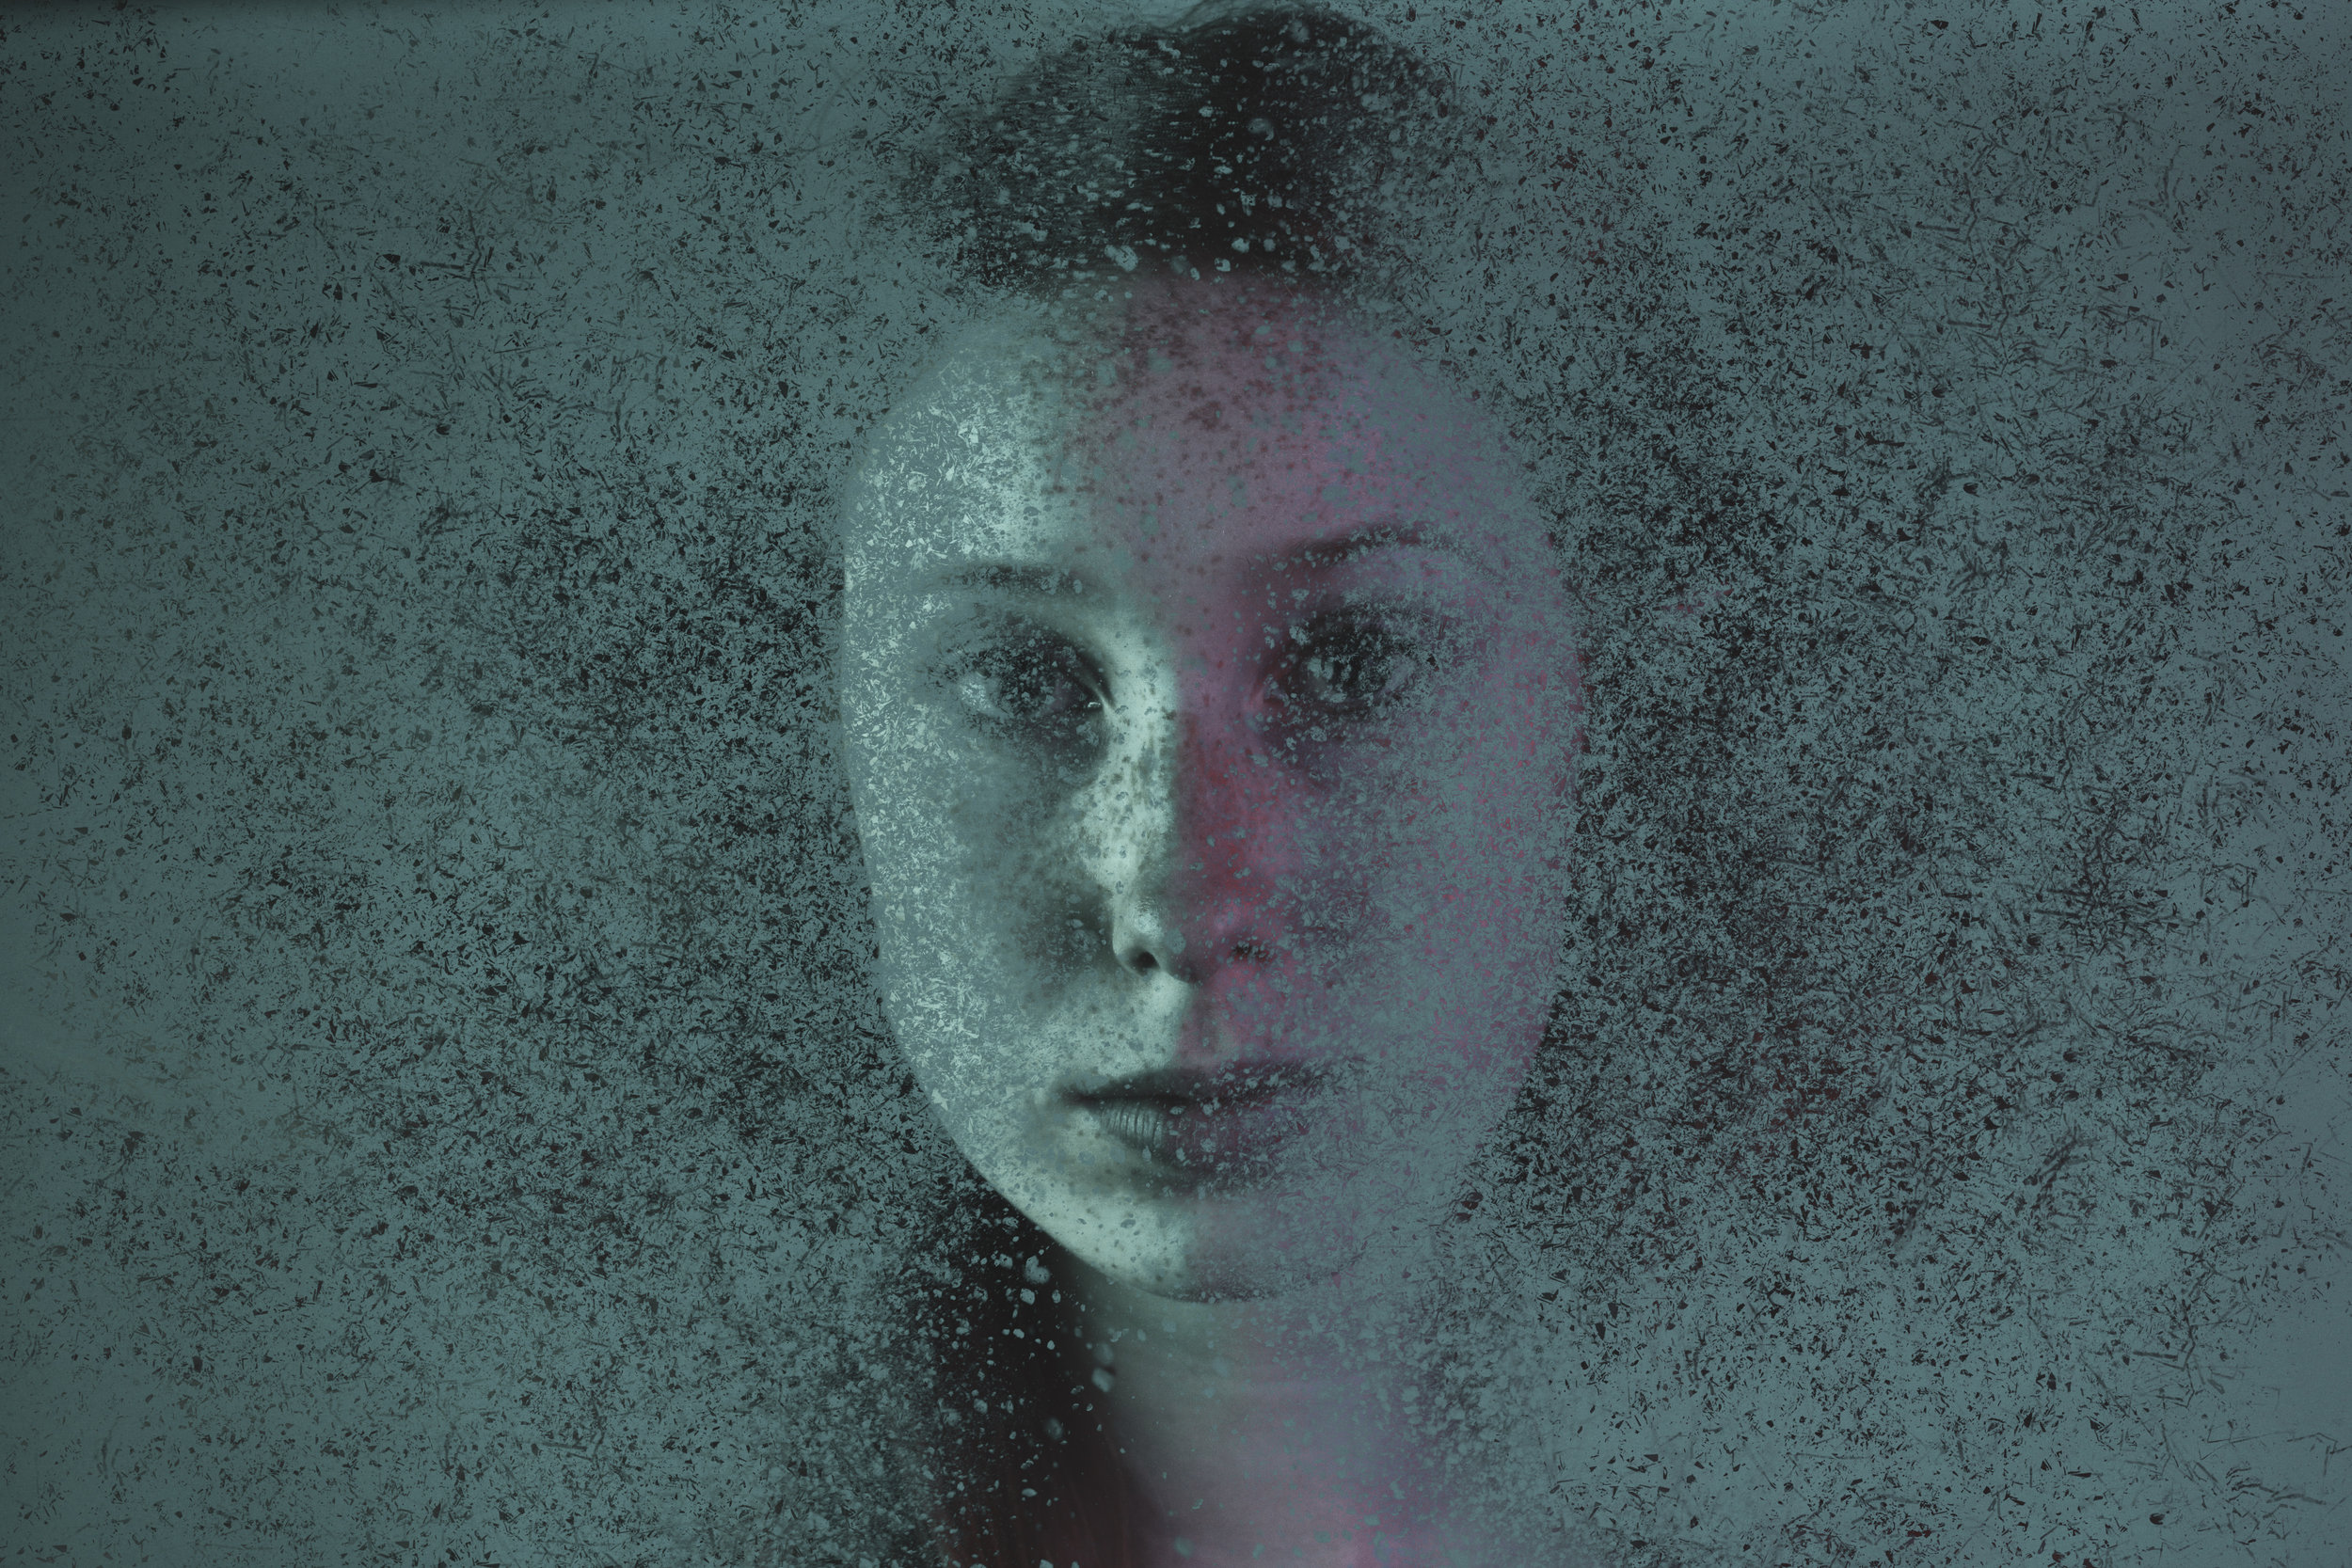
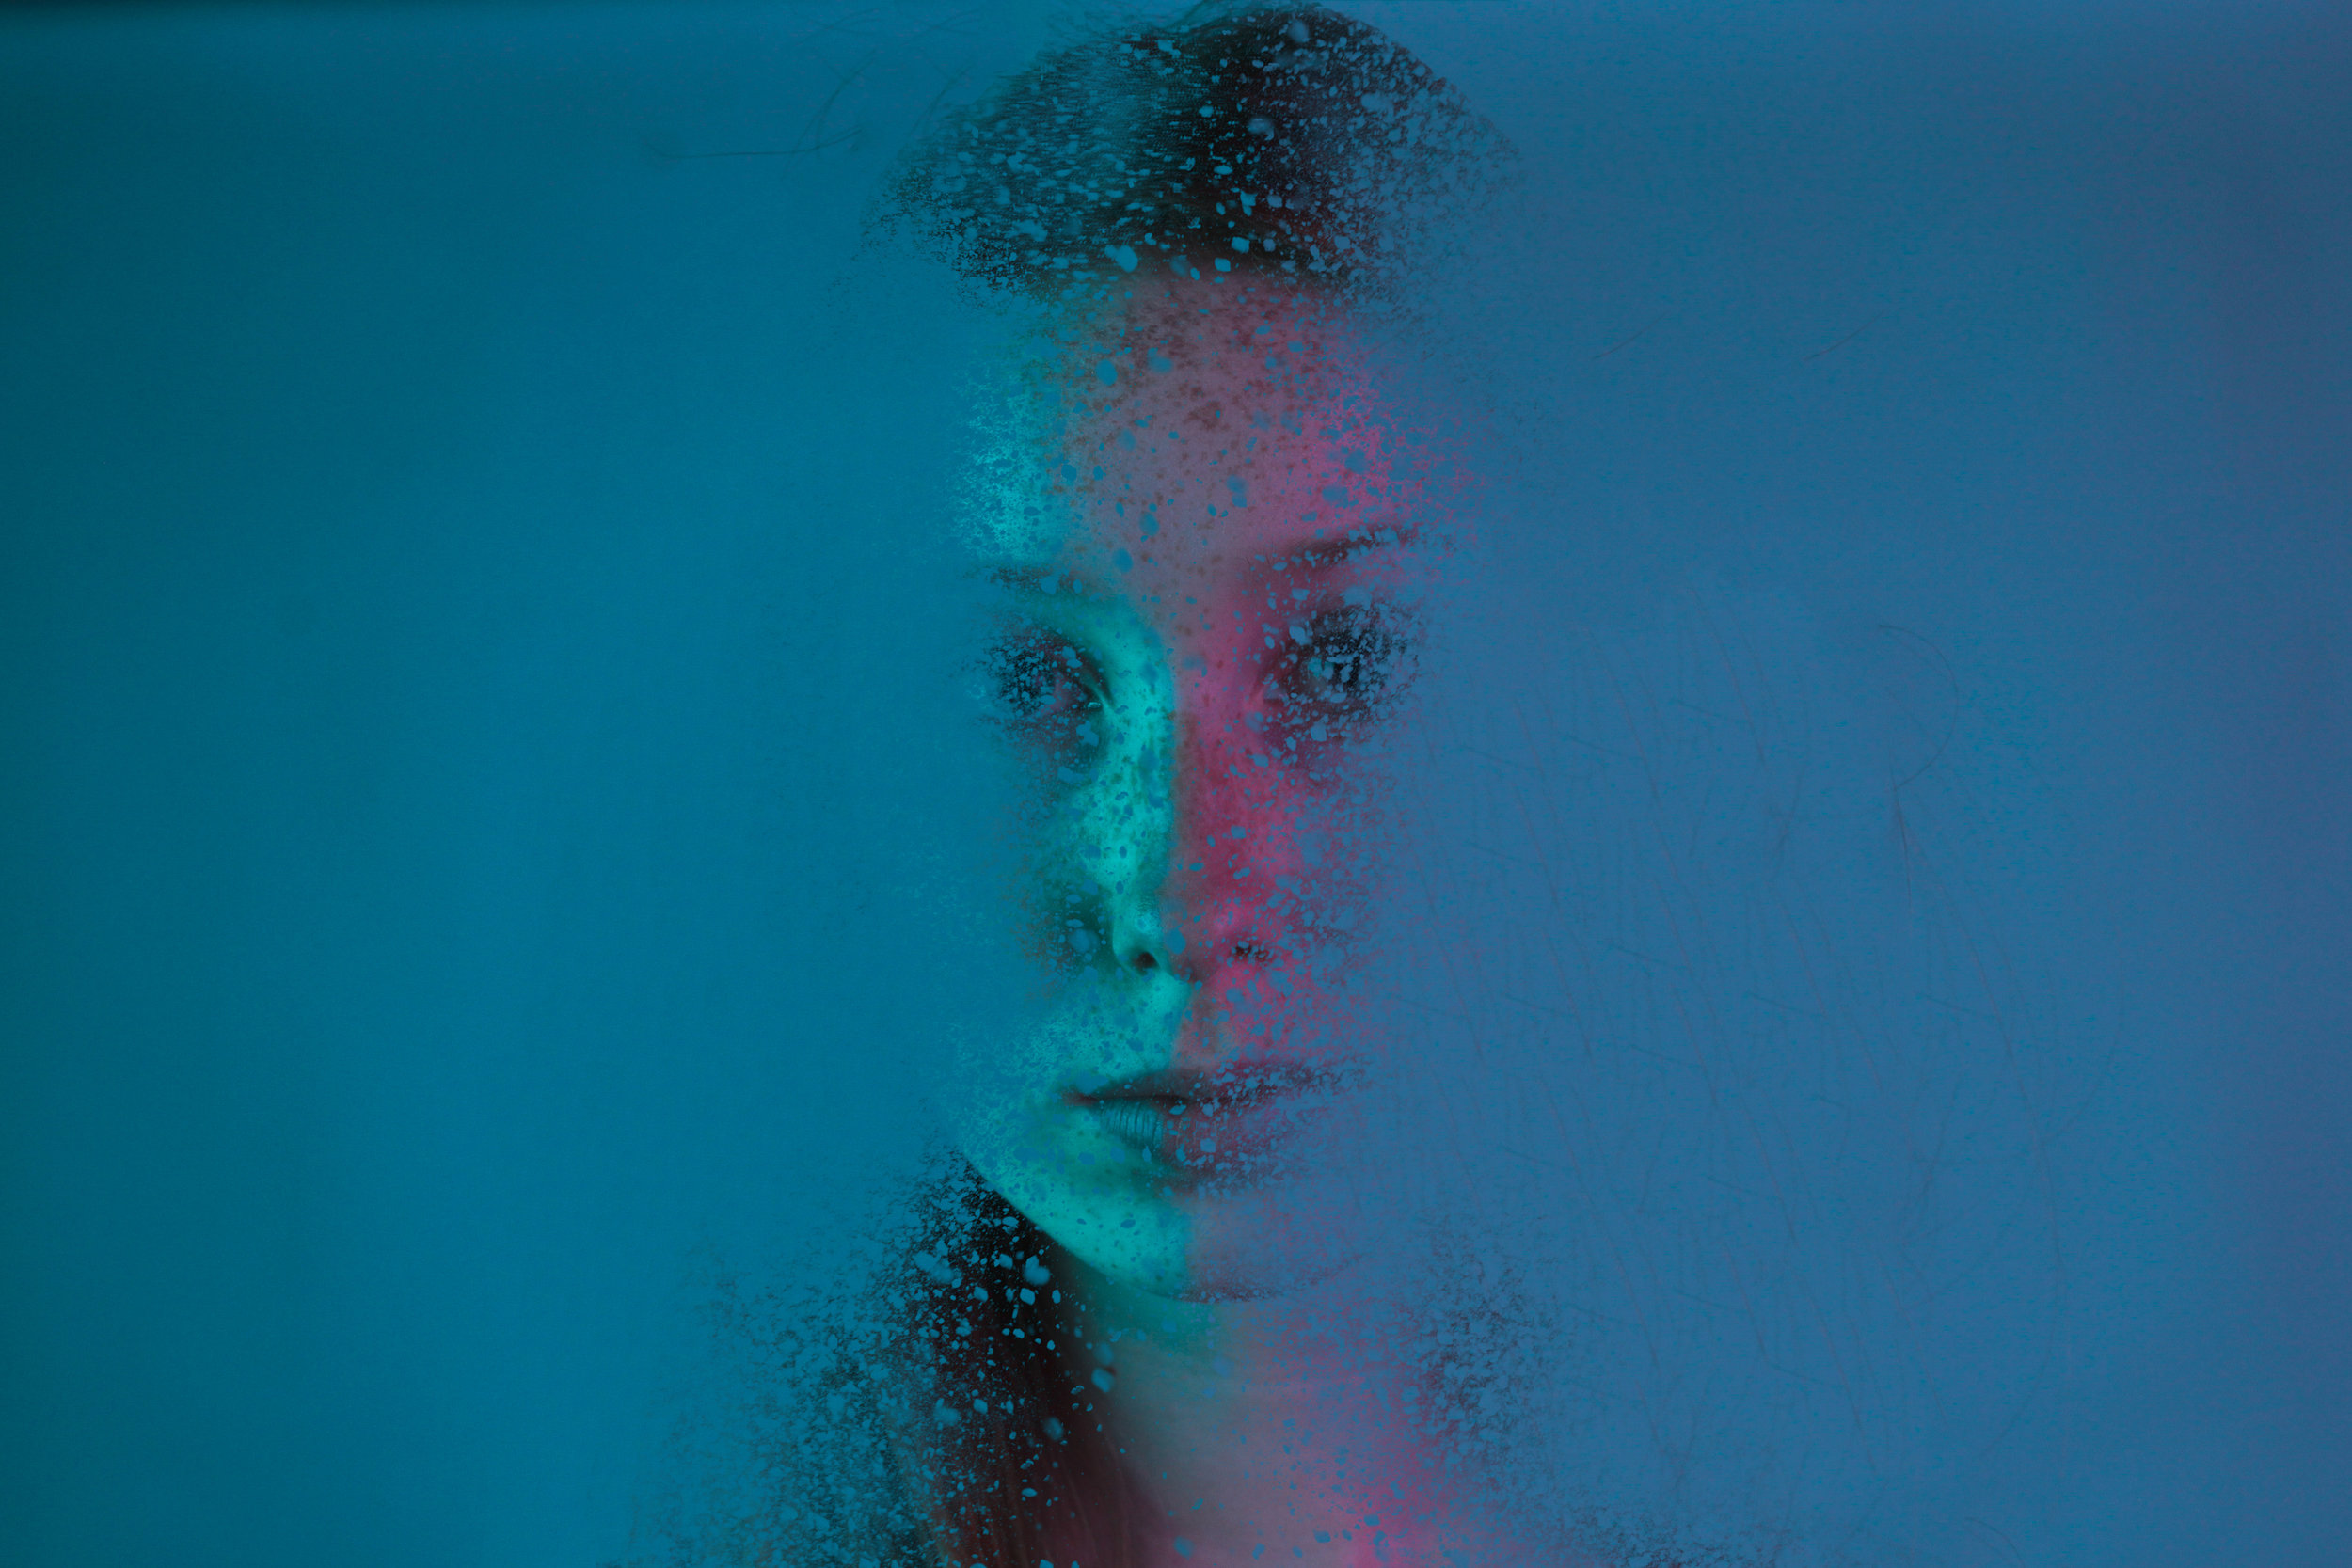
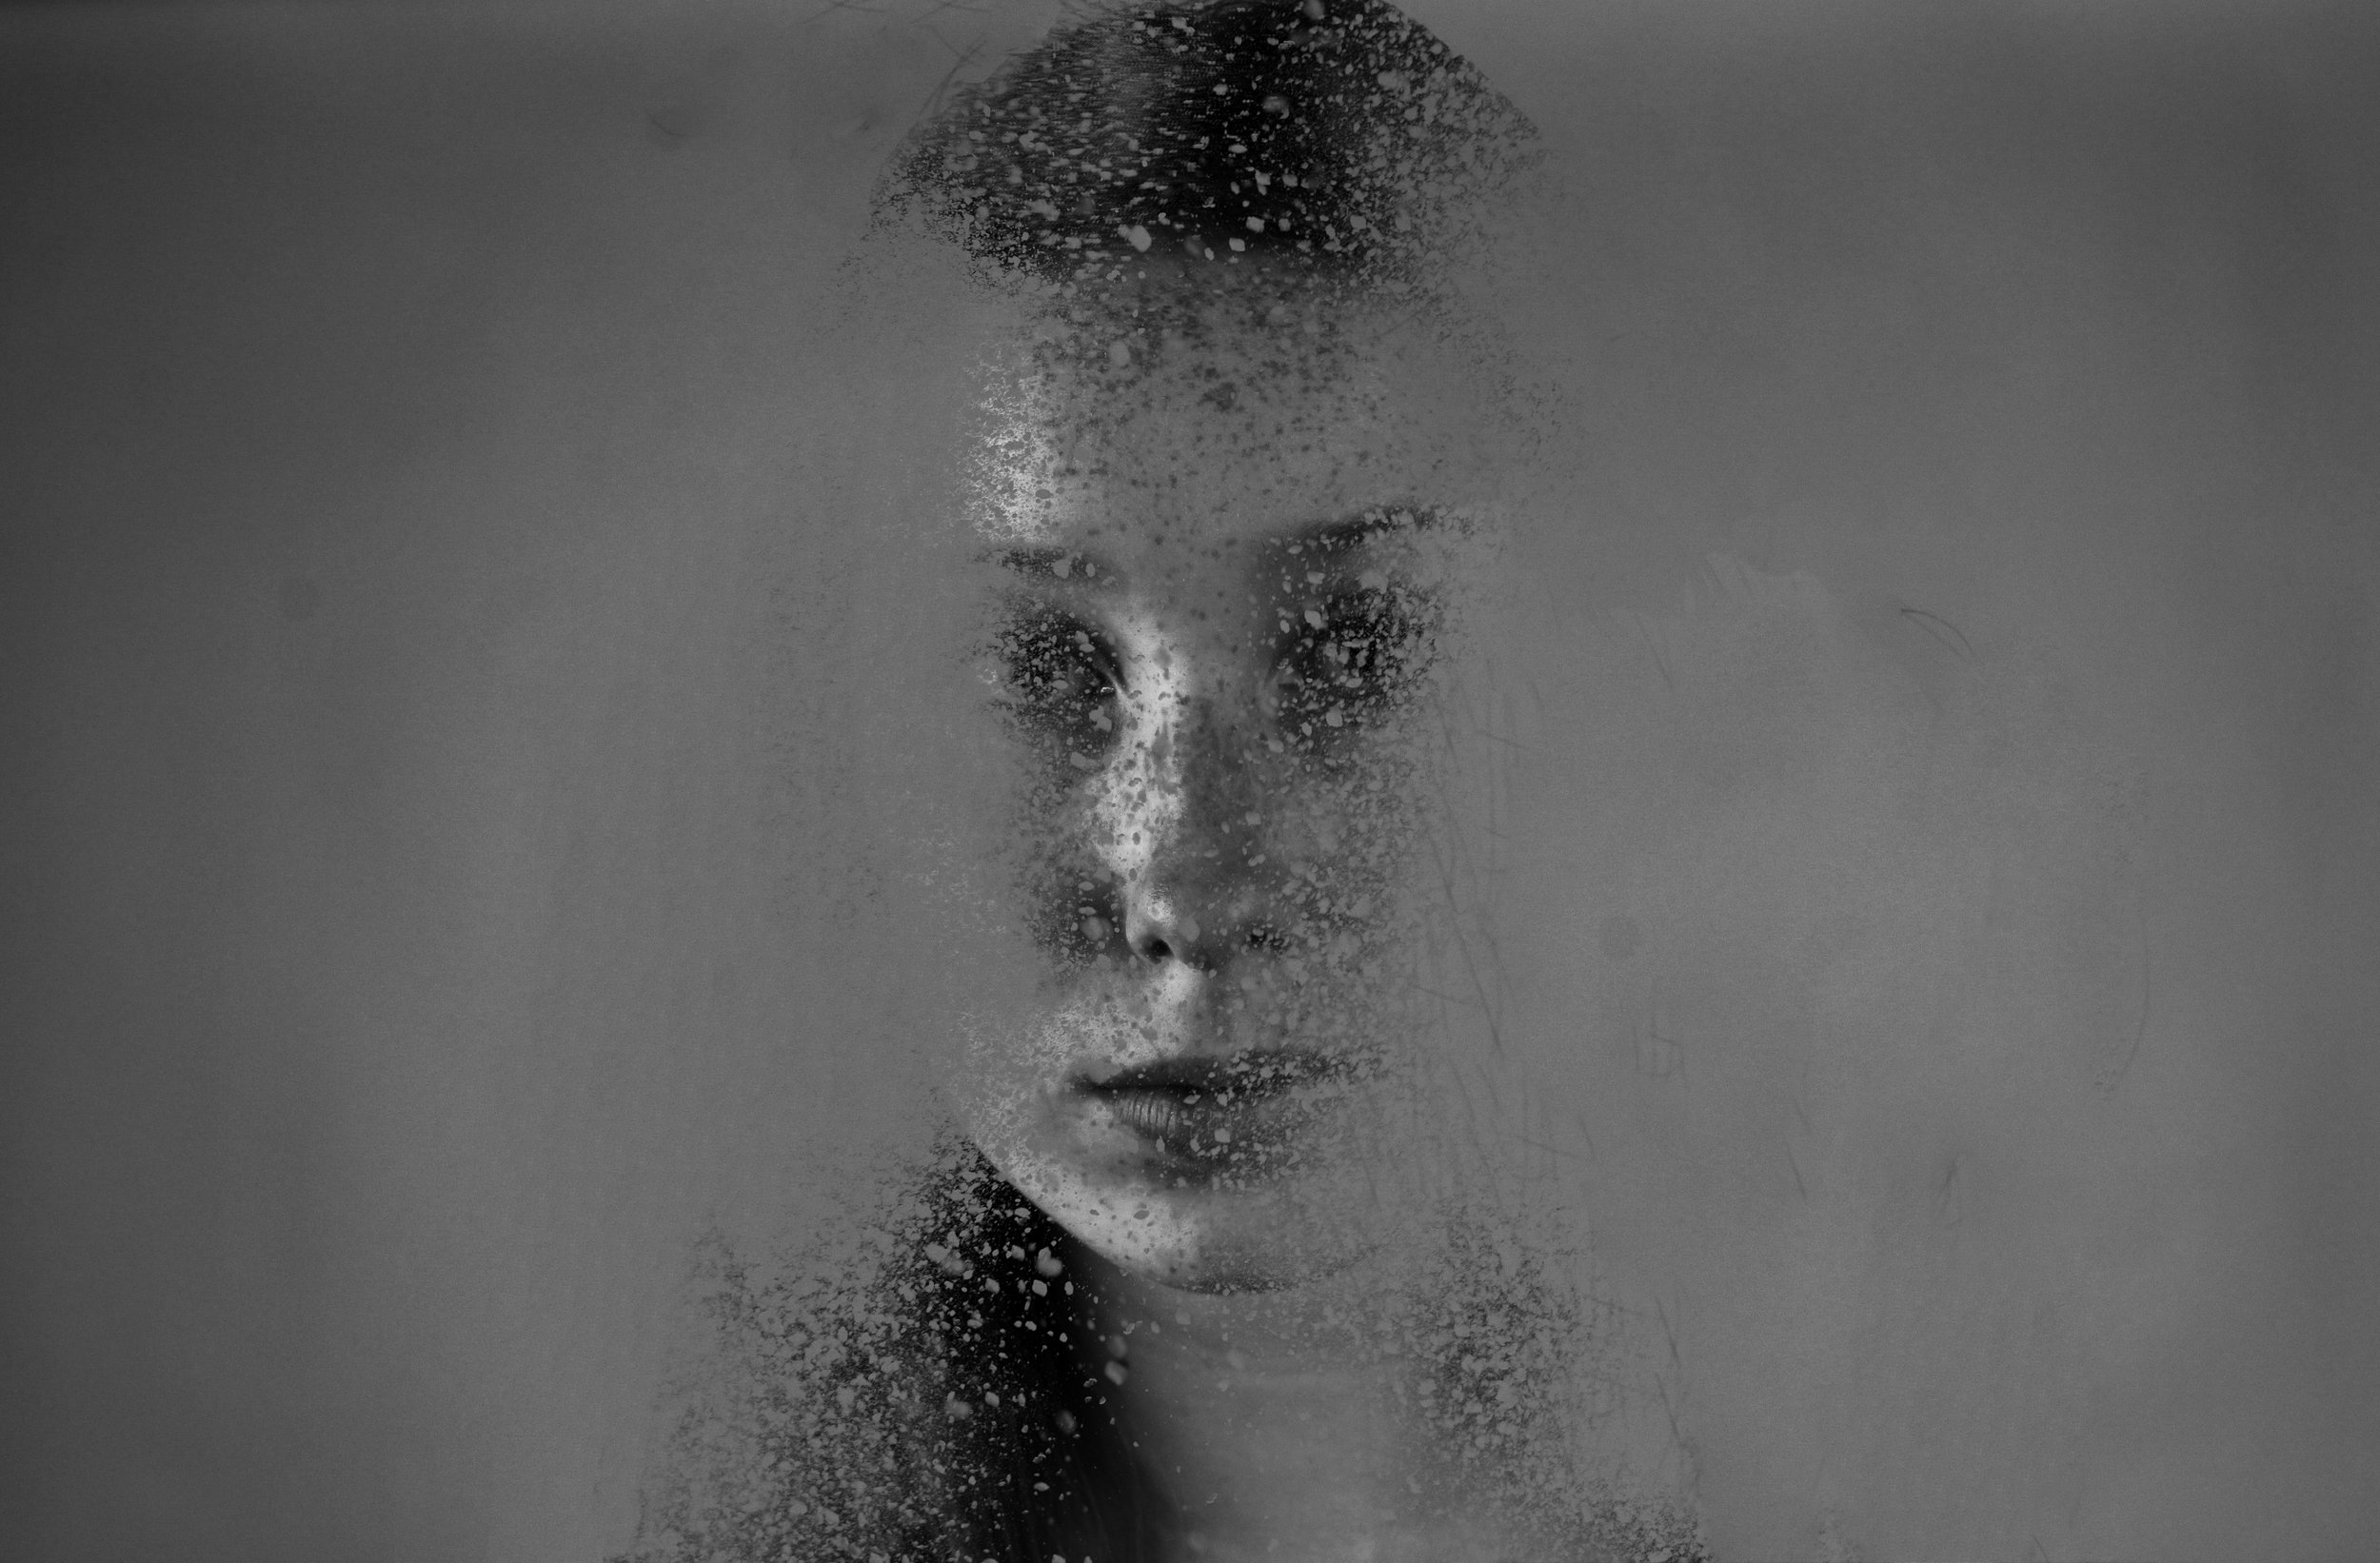
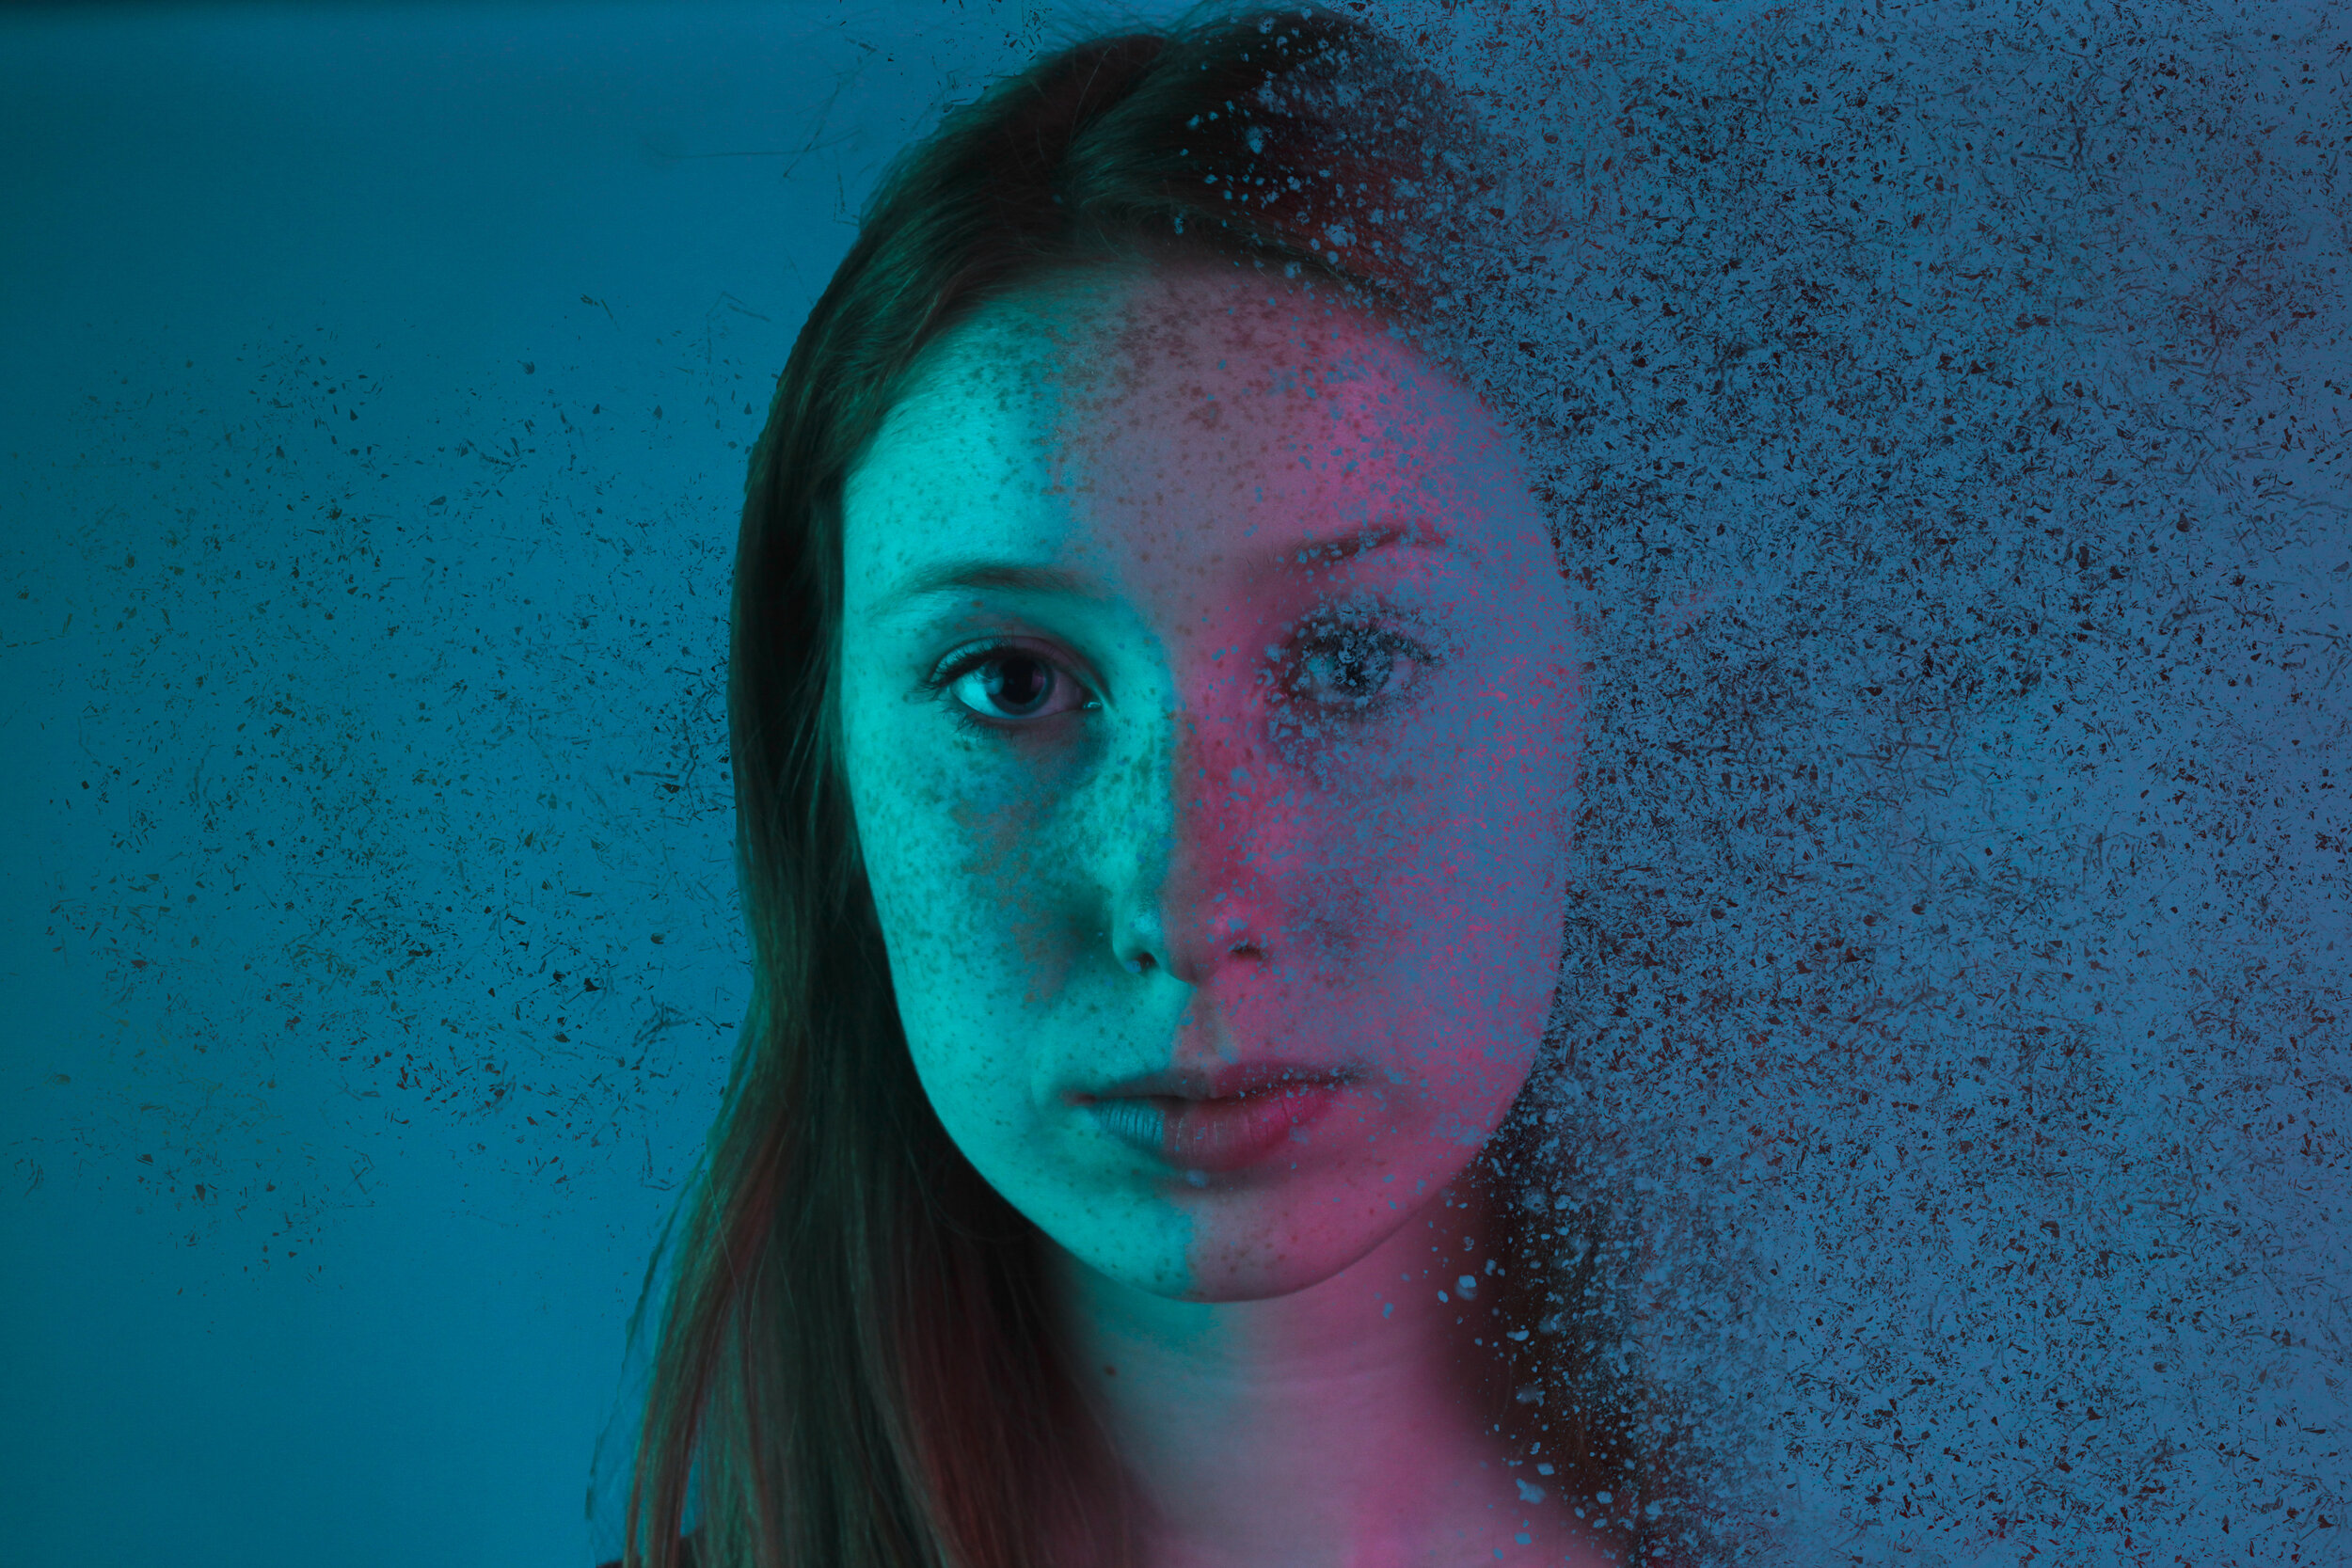
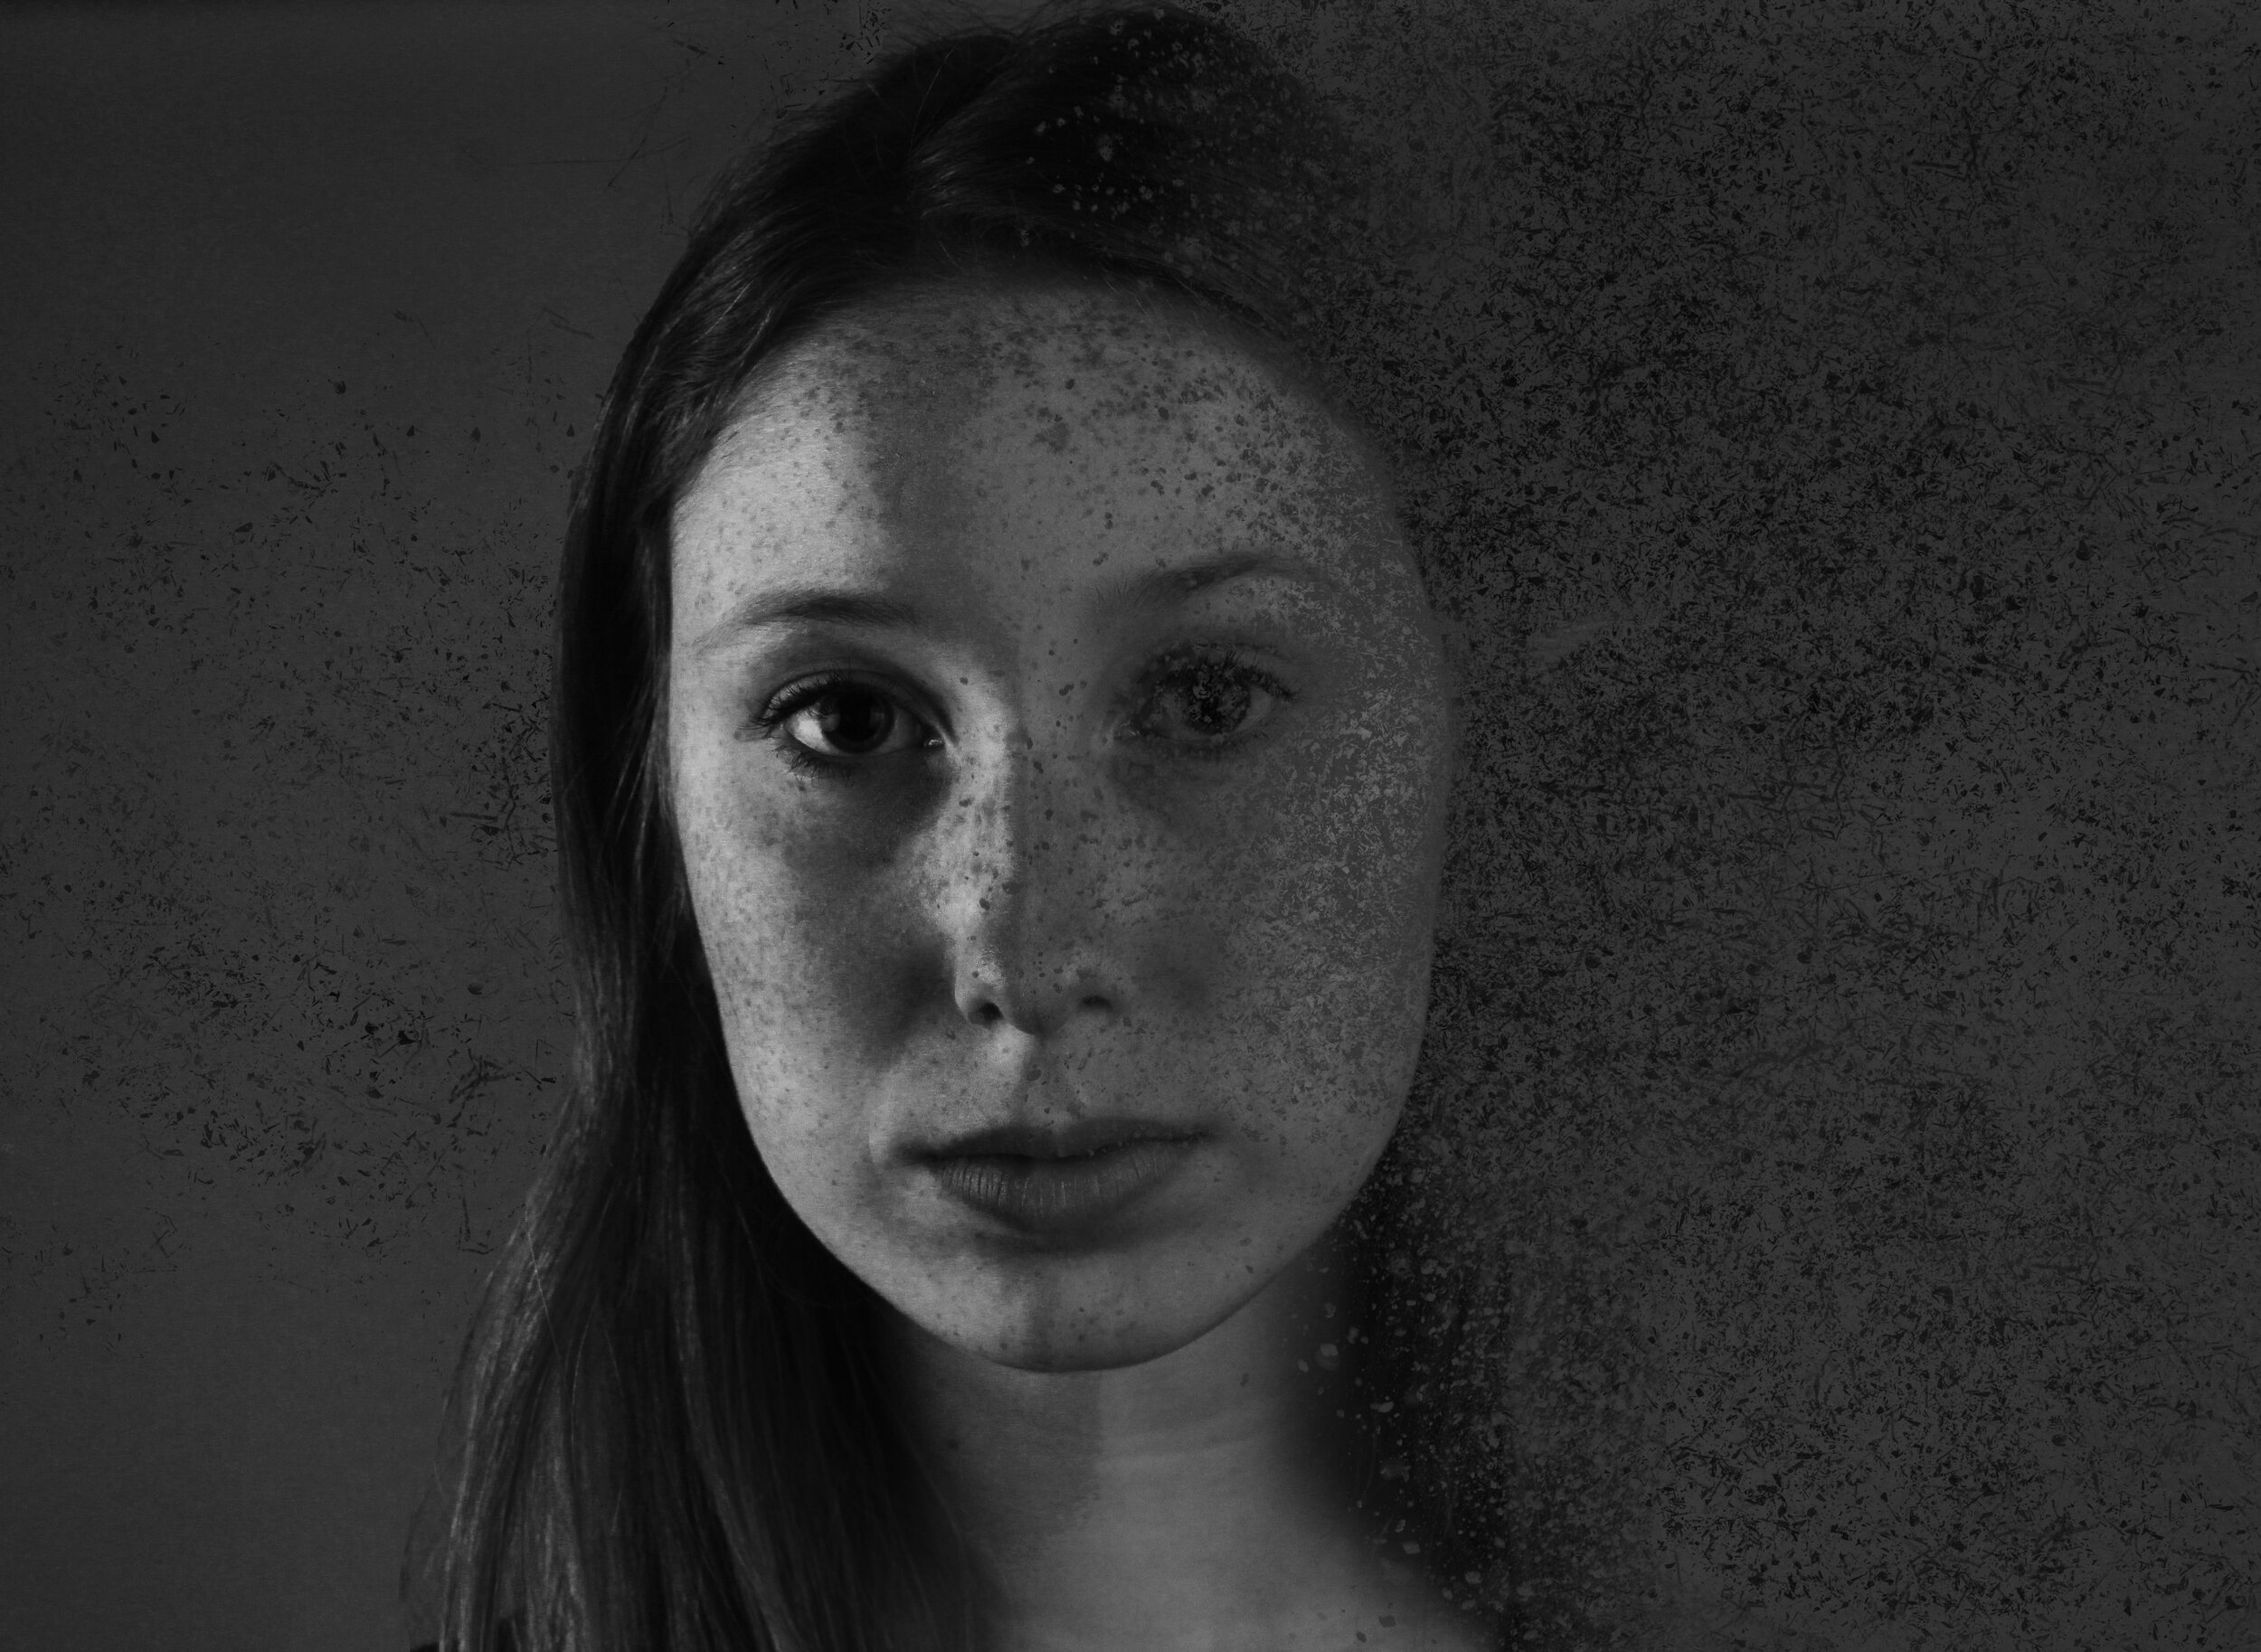
Once you are satisfied with your image, export the final image into Adobe Lightroom to edit.
Here are some examples of some of my before and after edits!