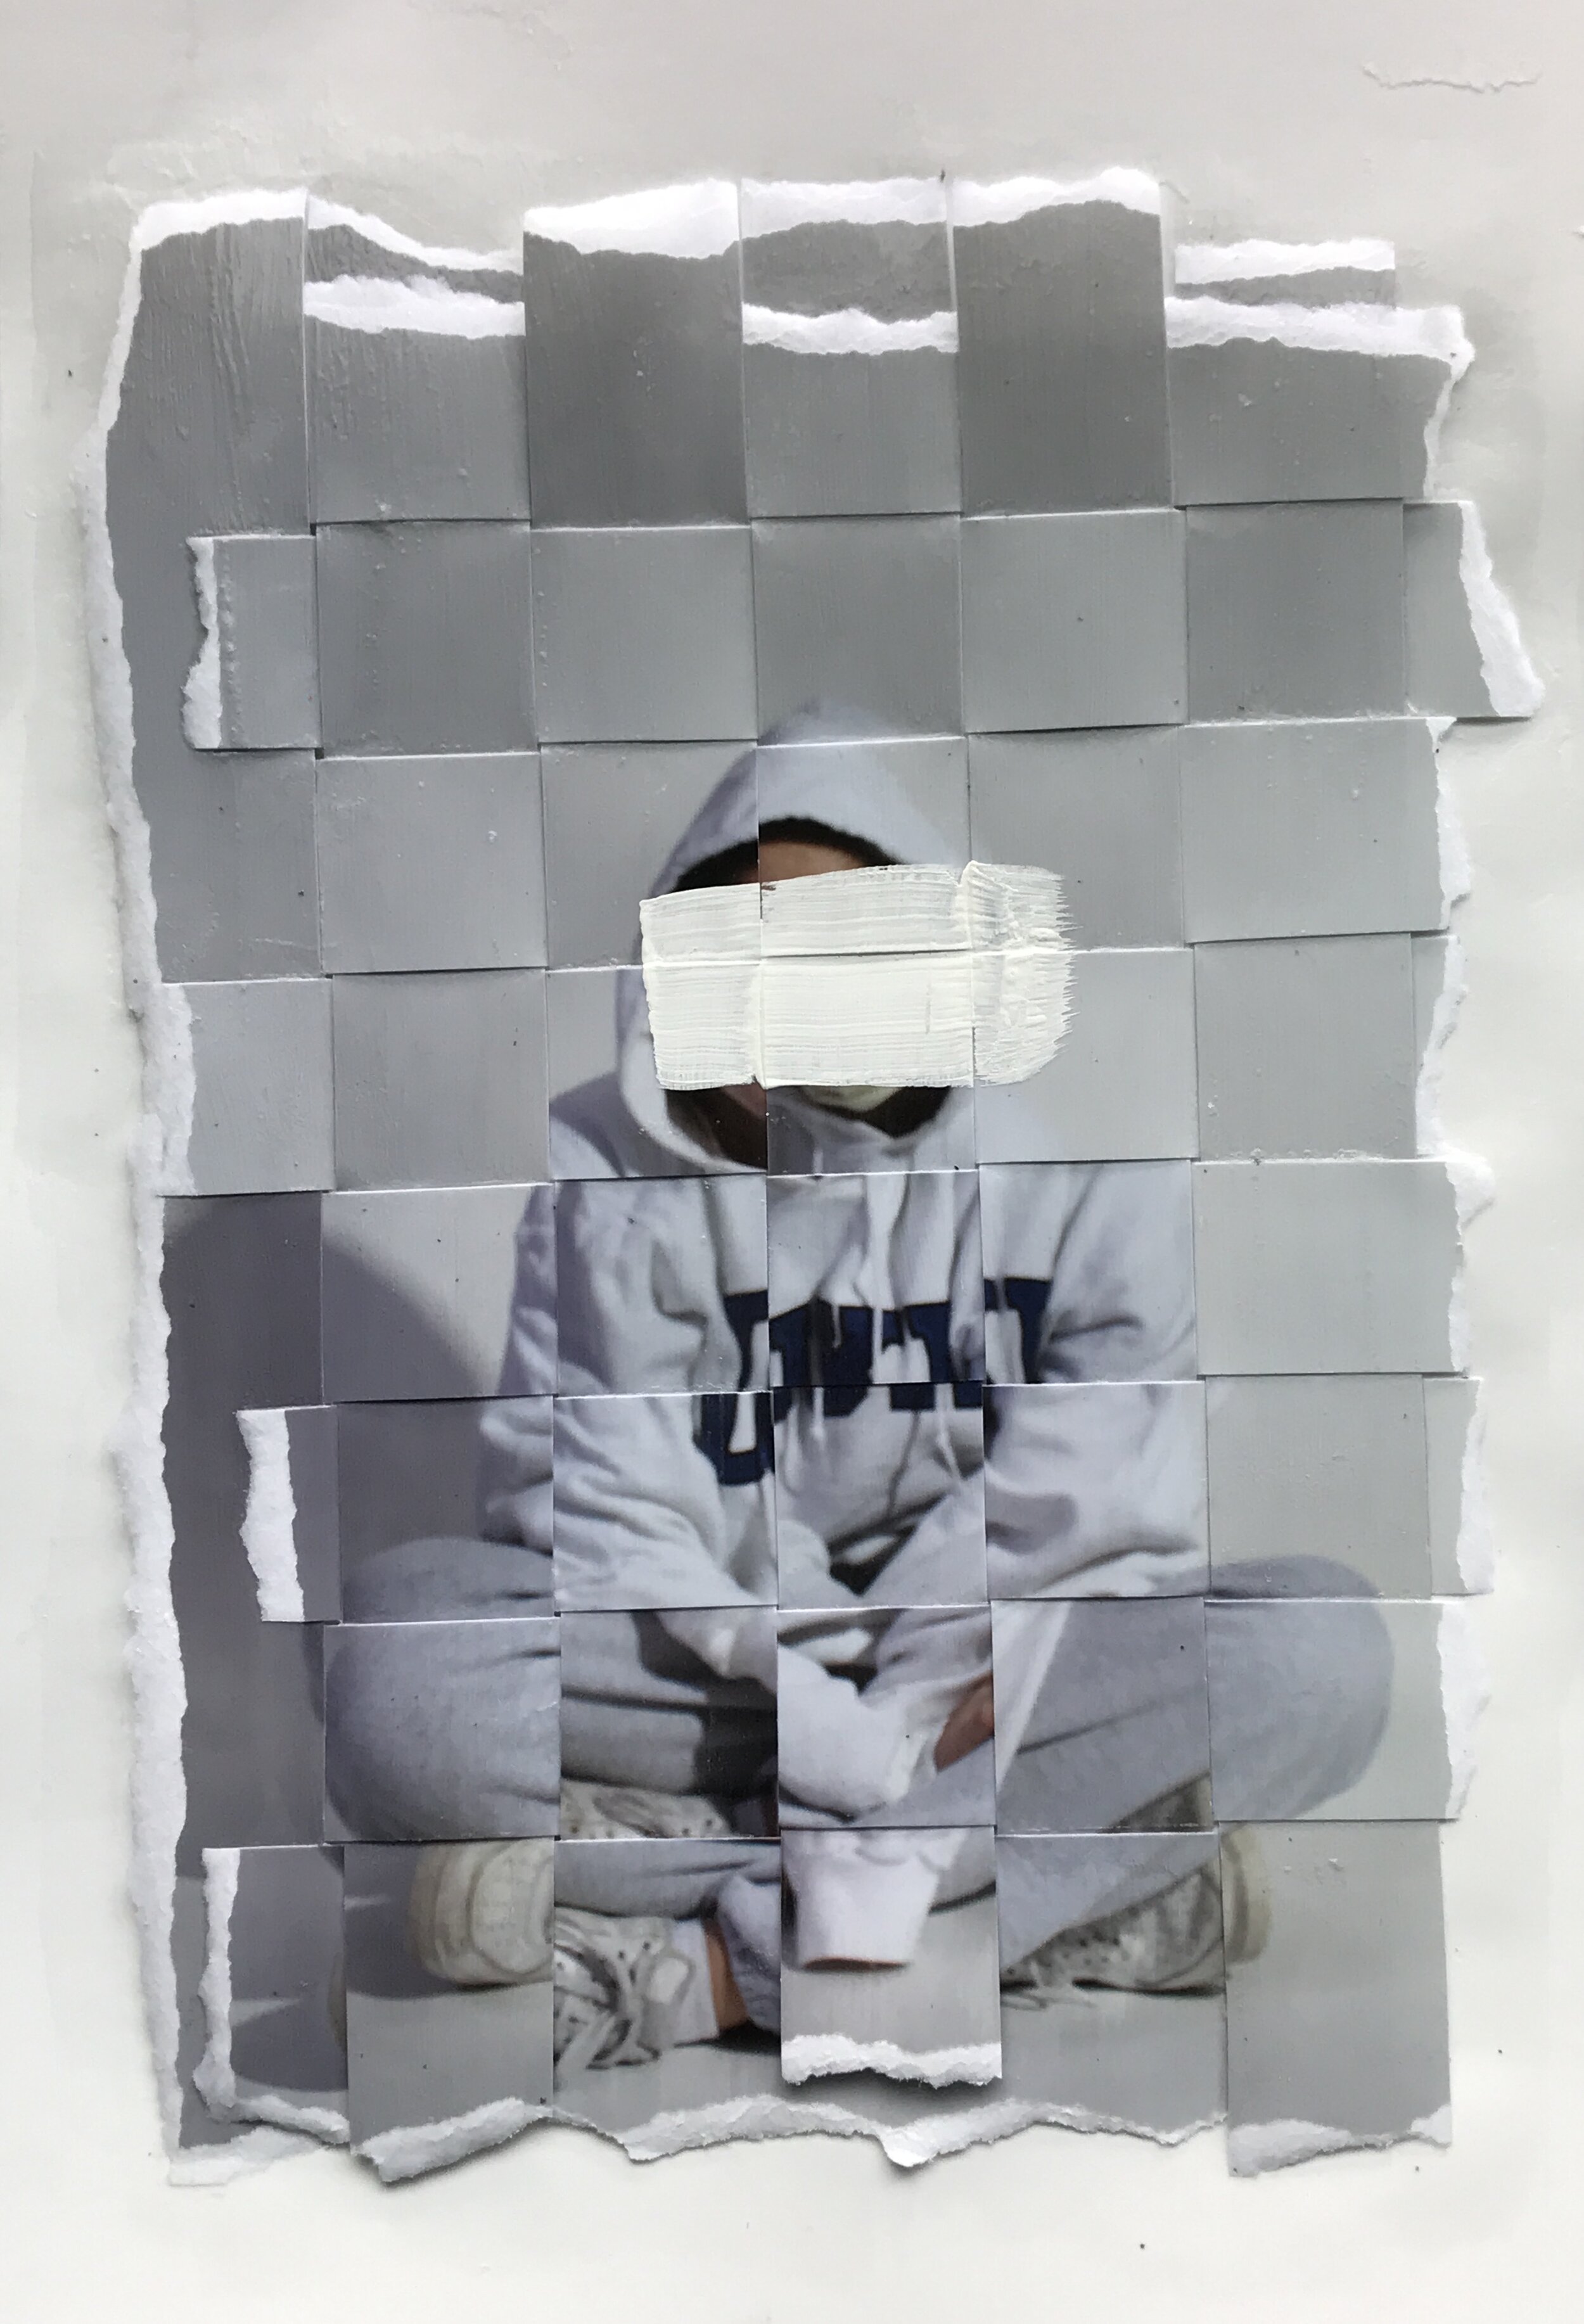
Materials needed:
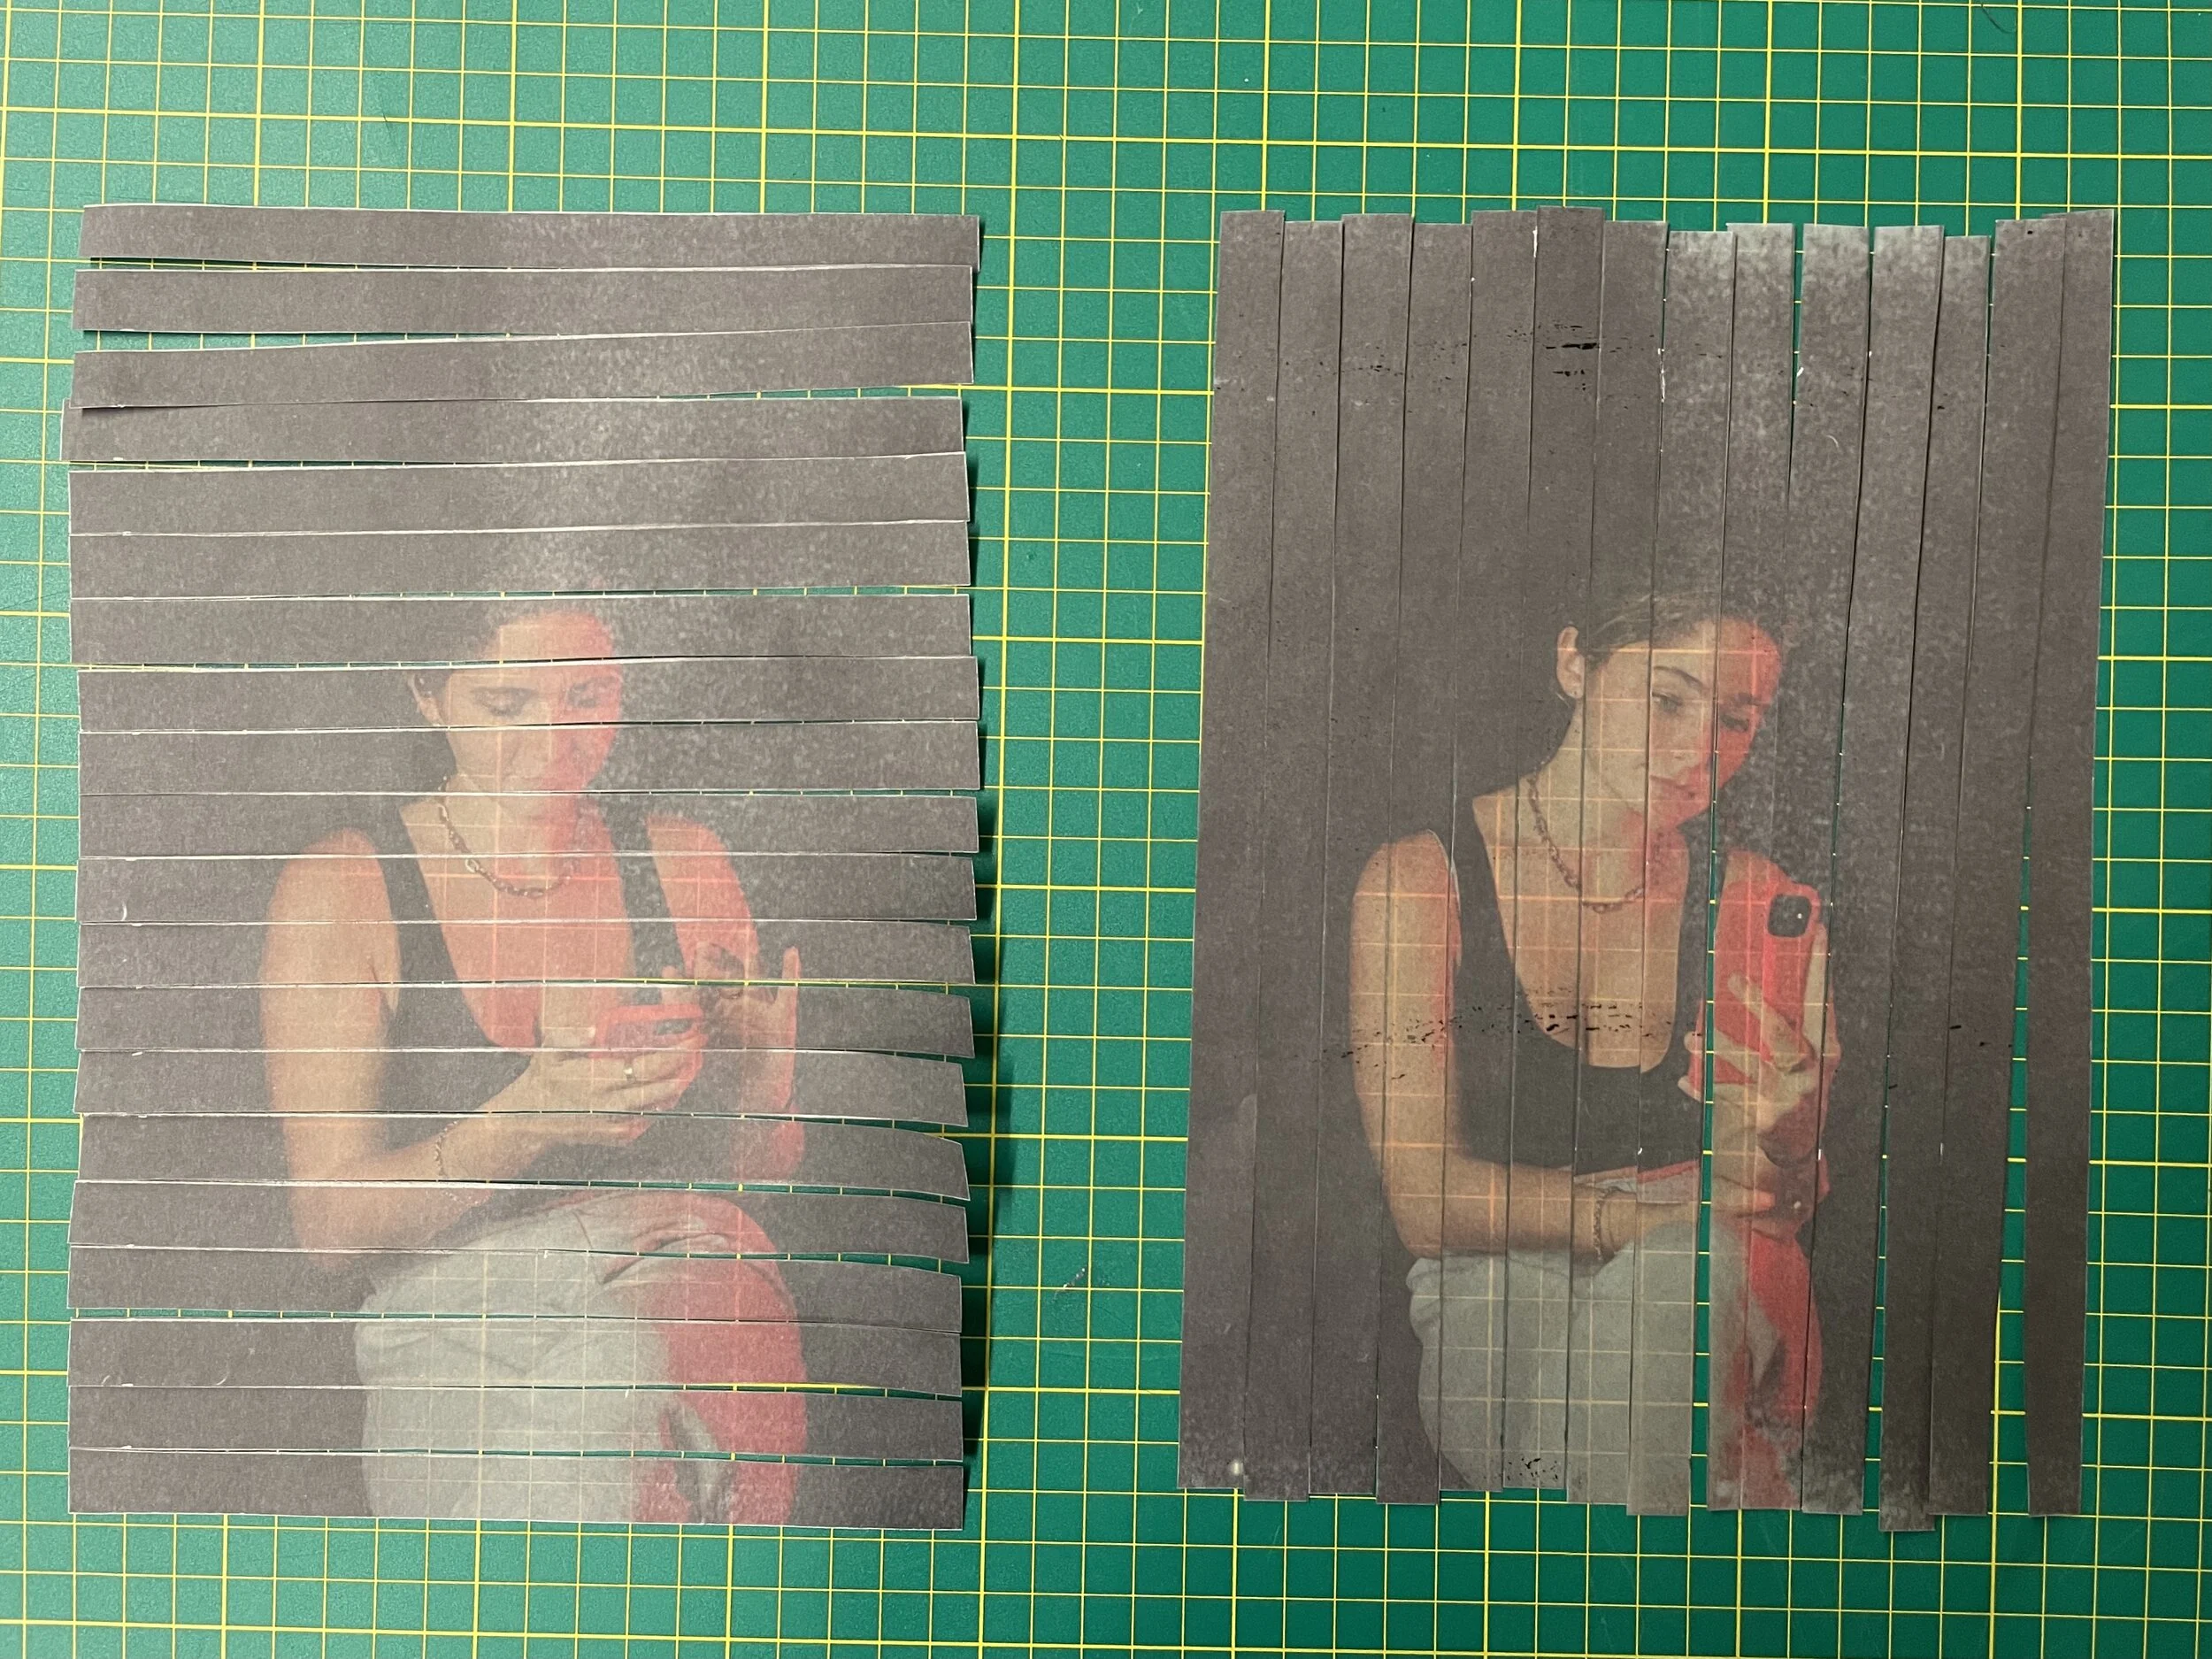
Step 1: Draw horizontal lines down one of them and vertical lines across the other. Draw the lines to be of the same width, but you can always vary them too. (I flipped my photos but you don’t have to)
Step 2: Cut along the lines you drew (you can use an x-acto knife and cutting board and ruler, but please be careful!). As you cut, place your horizontal strips on a piece of paper. (You can use tape to hold down the strips of paper)
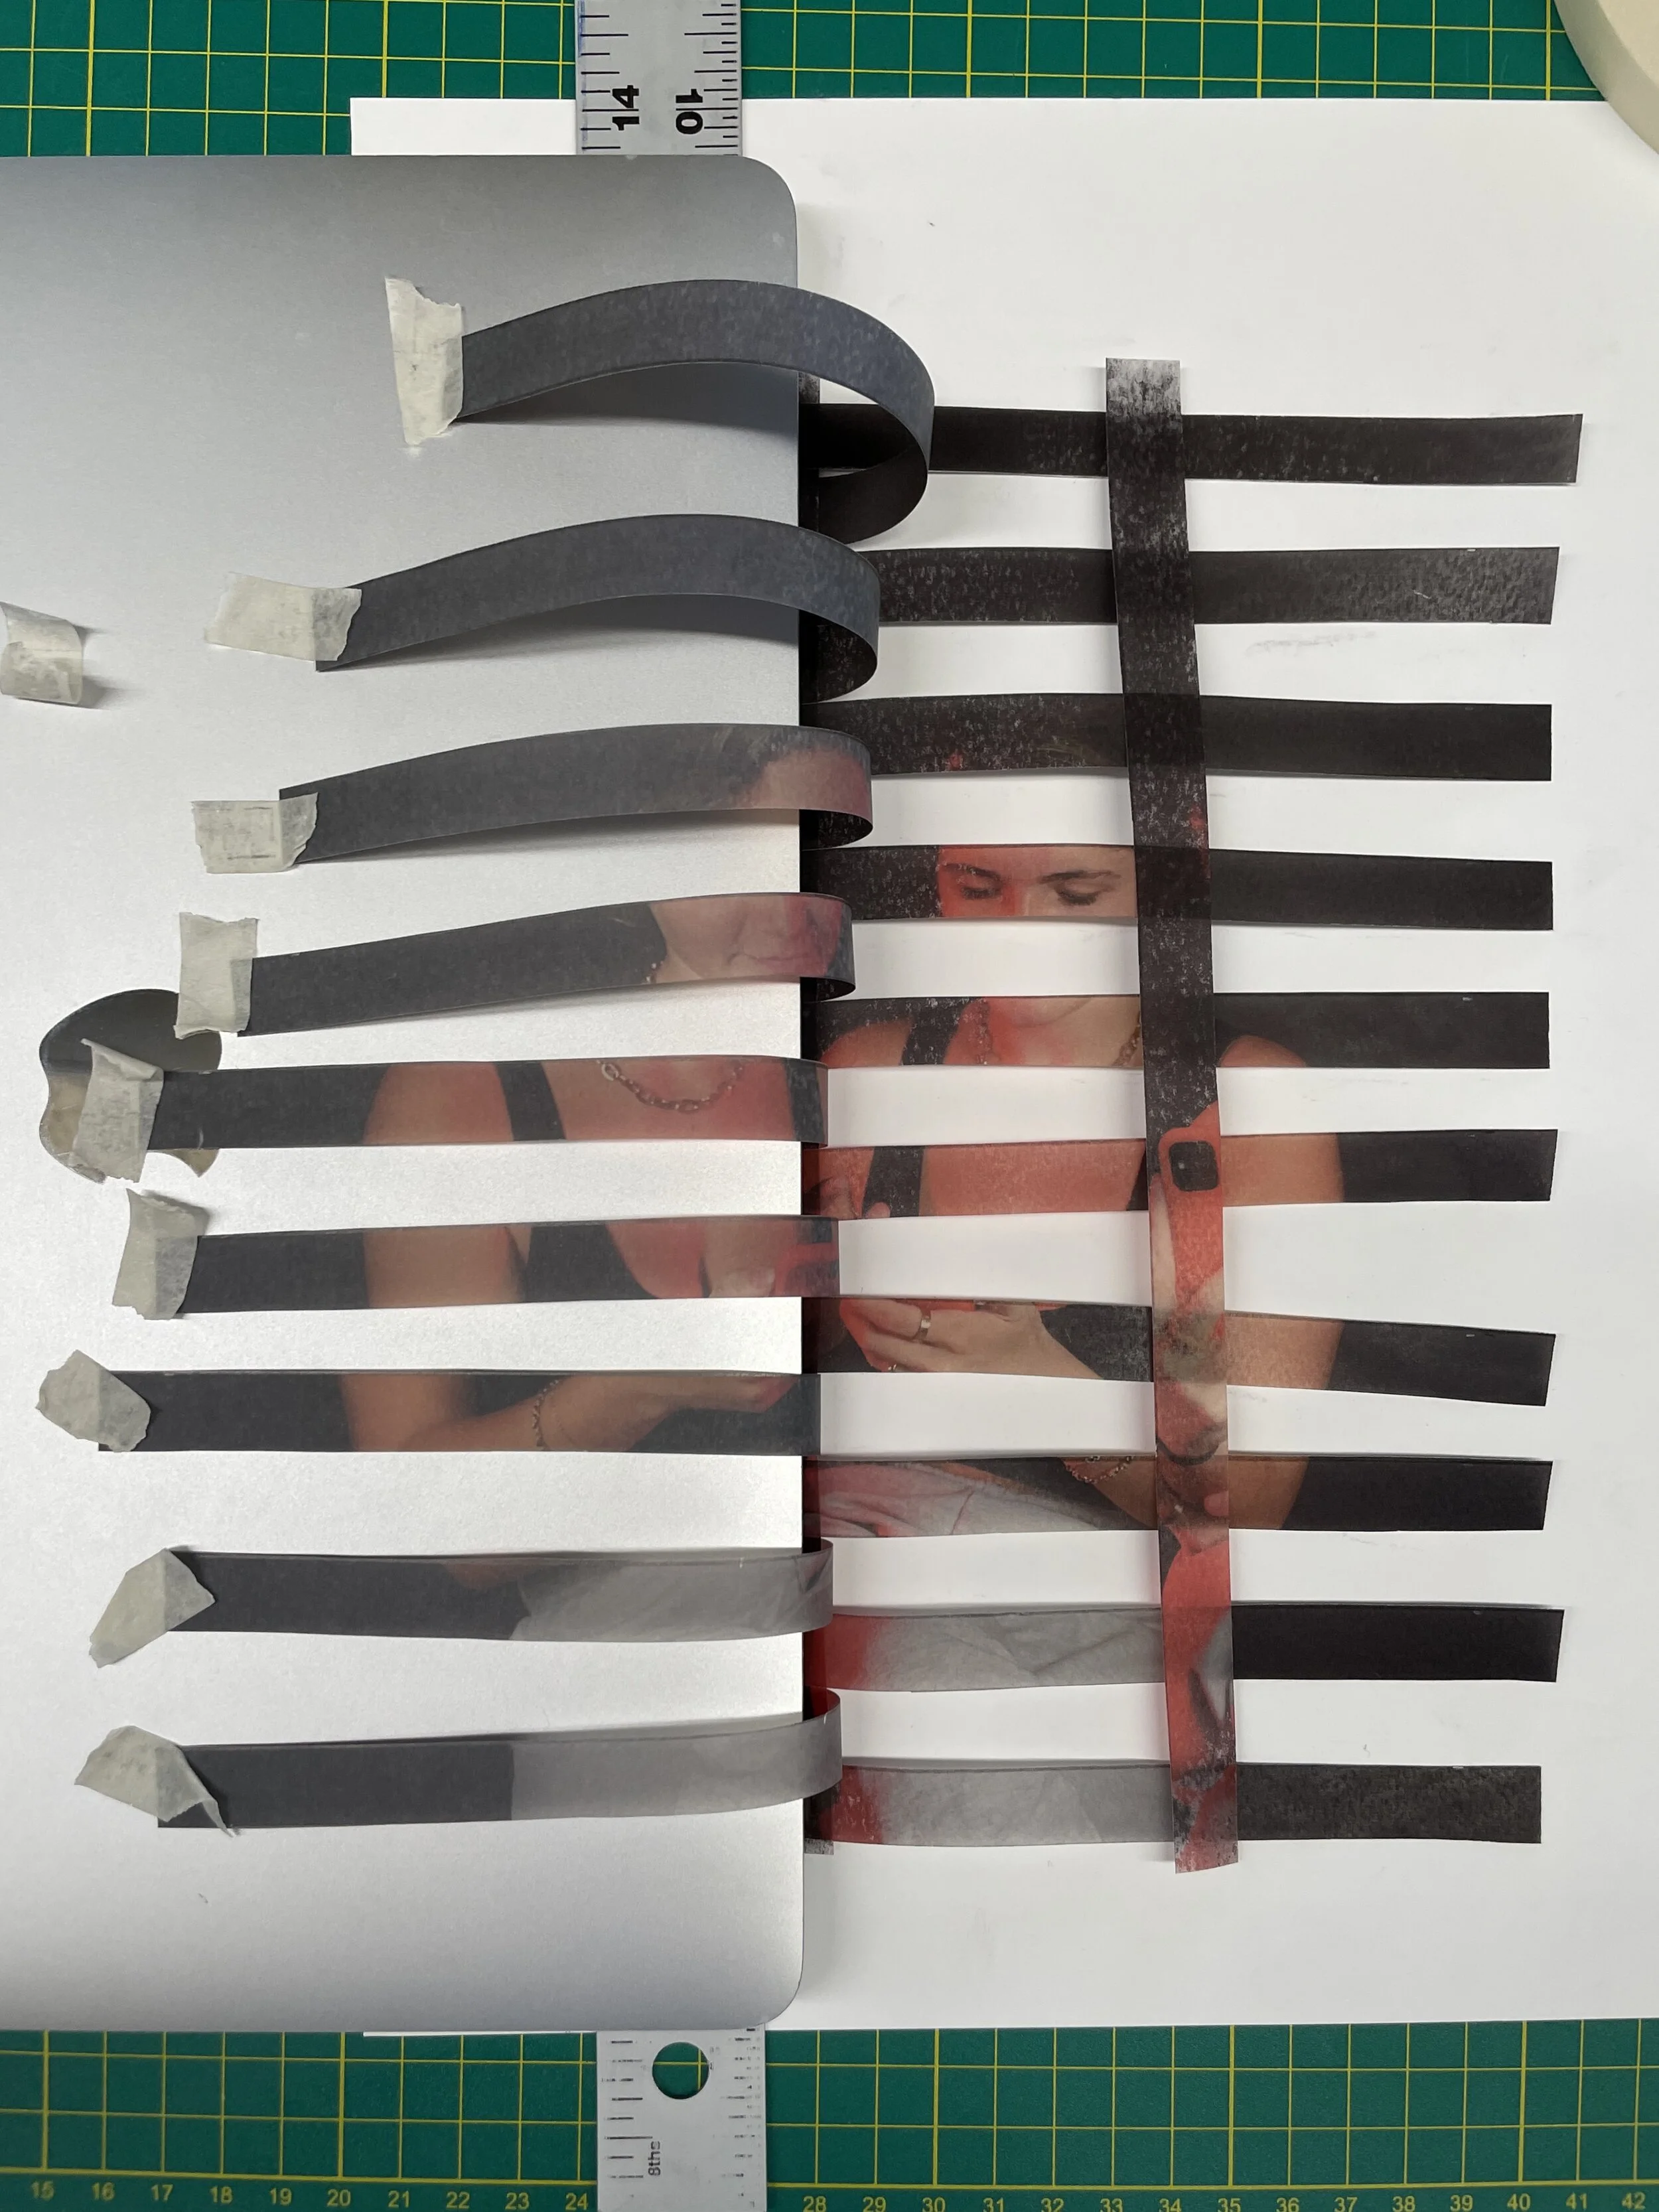
Step 3: Take the first vertical strip from the left and slide it under every other horizontal strip. It should resemble a pie lattice or checkerboard. (I used tape to hold down this first strip)
Step 4: Take the next vertical strip from the left and do the same, but instead of sliding it under the same horizontal strips, you want to slide it *over* the horizontal strips that were previously over the first vertical strip.
*Hack* As you go along, you might find it useful to use a weight to hold everything down. I used my laptop over a ruler, and taped every other horizontal strip onto my laptop so I can easily slide a vertical strip.
Step 5: Keep repeating this pattern. It may seem frustrating at first, but it will get easier as you continue.
Step 6: When you get to the end, you can leave it as is, but feel free to make any changes. (I like to remove the outer most strips to make the edges look uneven)
Step 7: Using a sponge brush, brush mod podge (or any clear sealing glue) all over your work to keep it in place and stay on the piece of paper.
Step 8: Let dry and be proud of yourself for doing what you did!
*Note* You don’t just have to do horizontal and vertical strips! Try out diagonals and other patterns. My tutorial is just a guideline and how you should start out. But once you get the hang of it, go crazy!
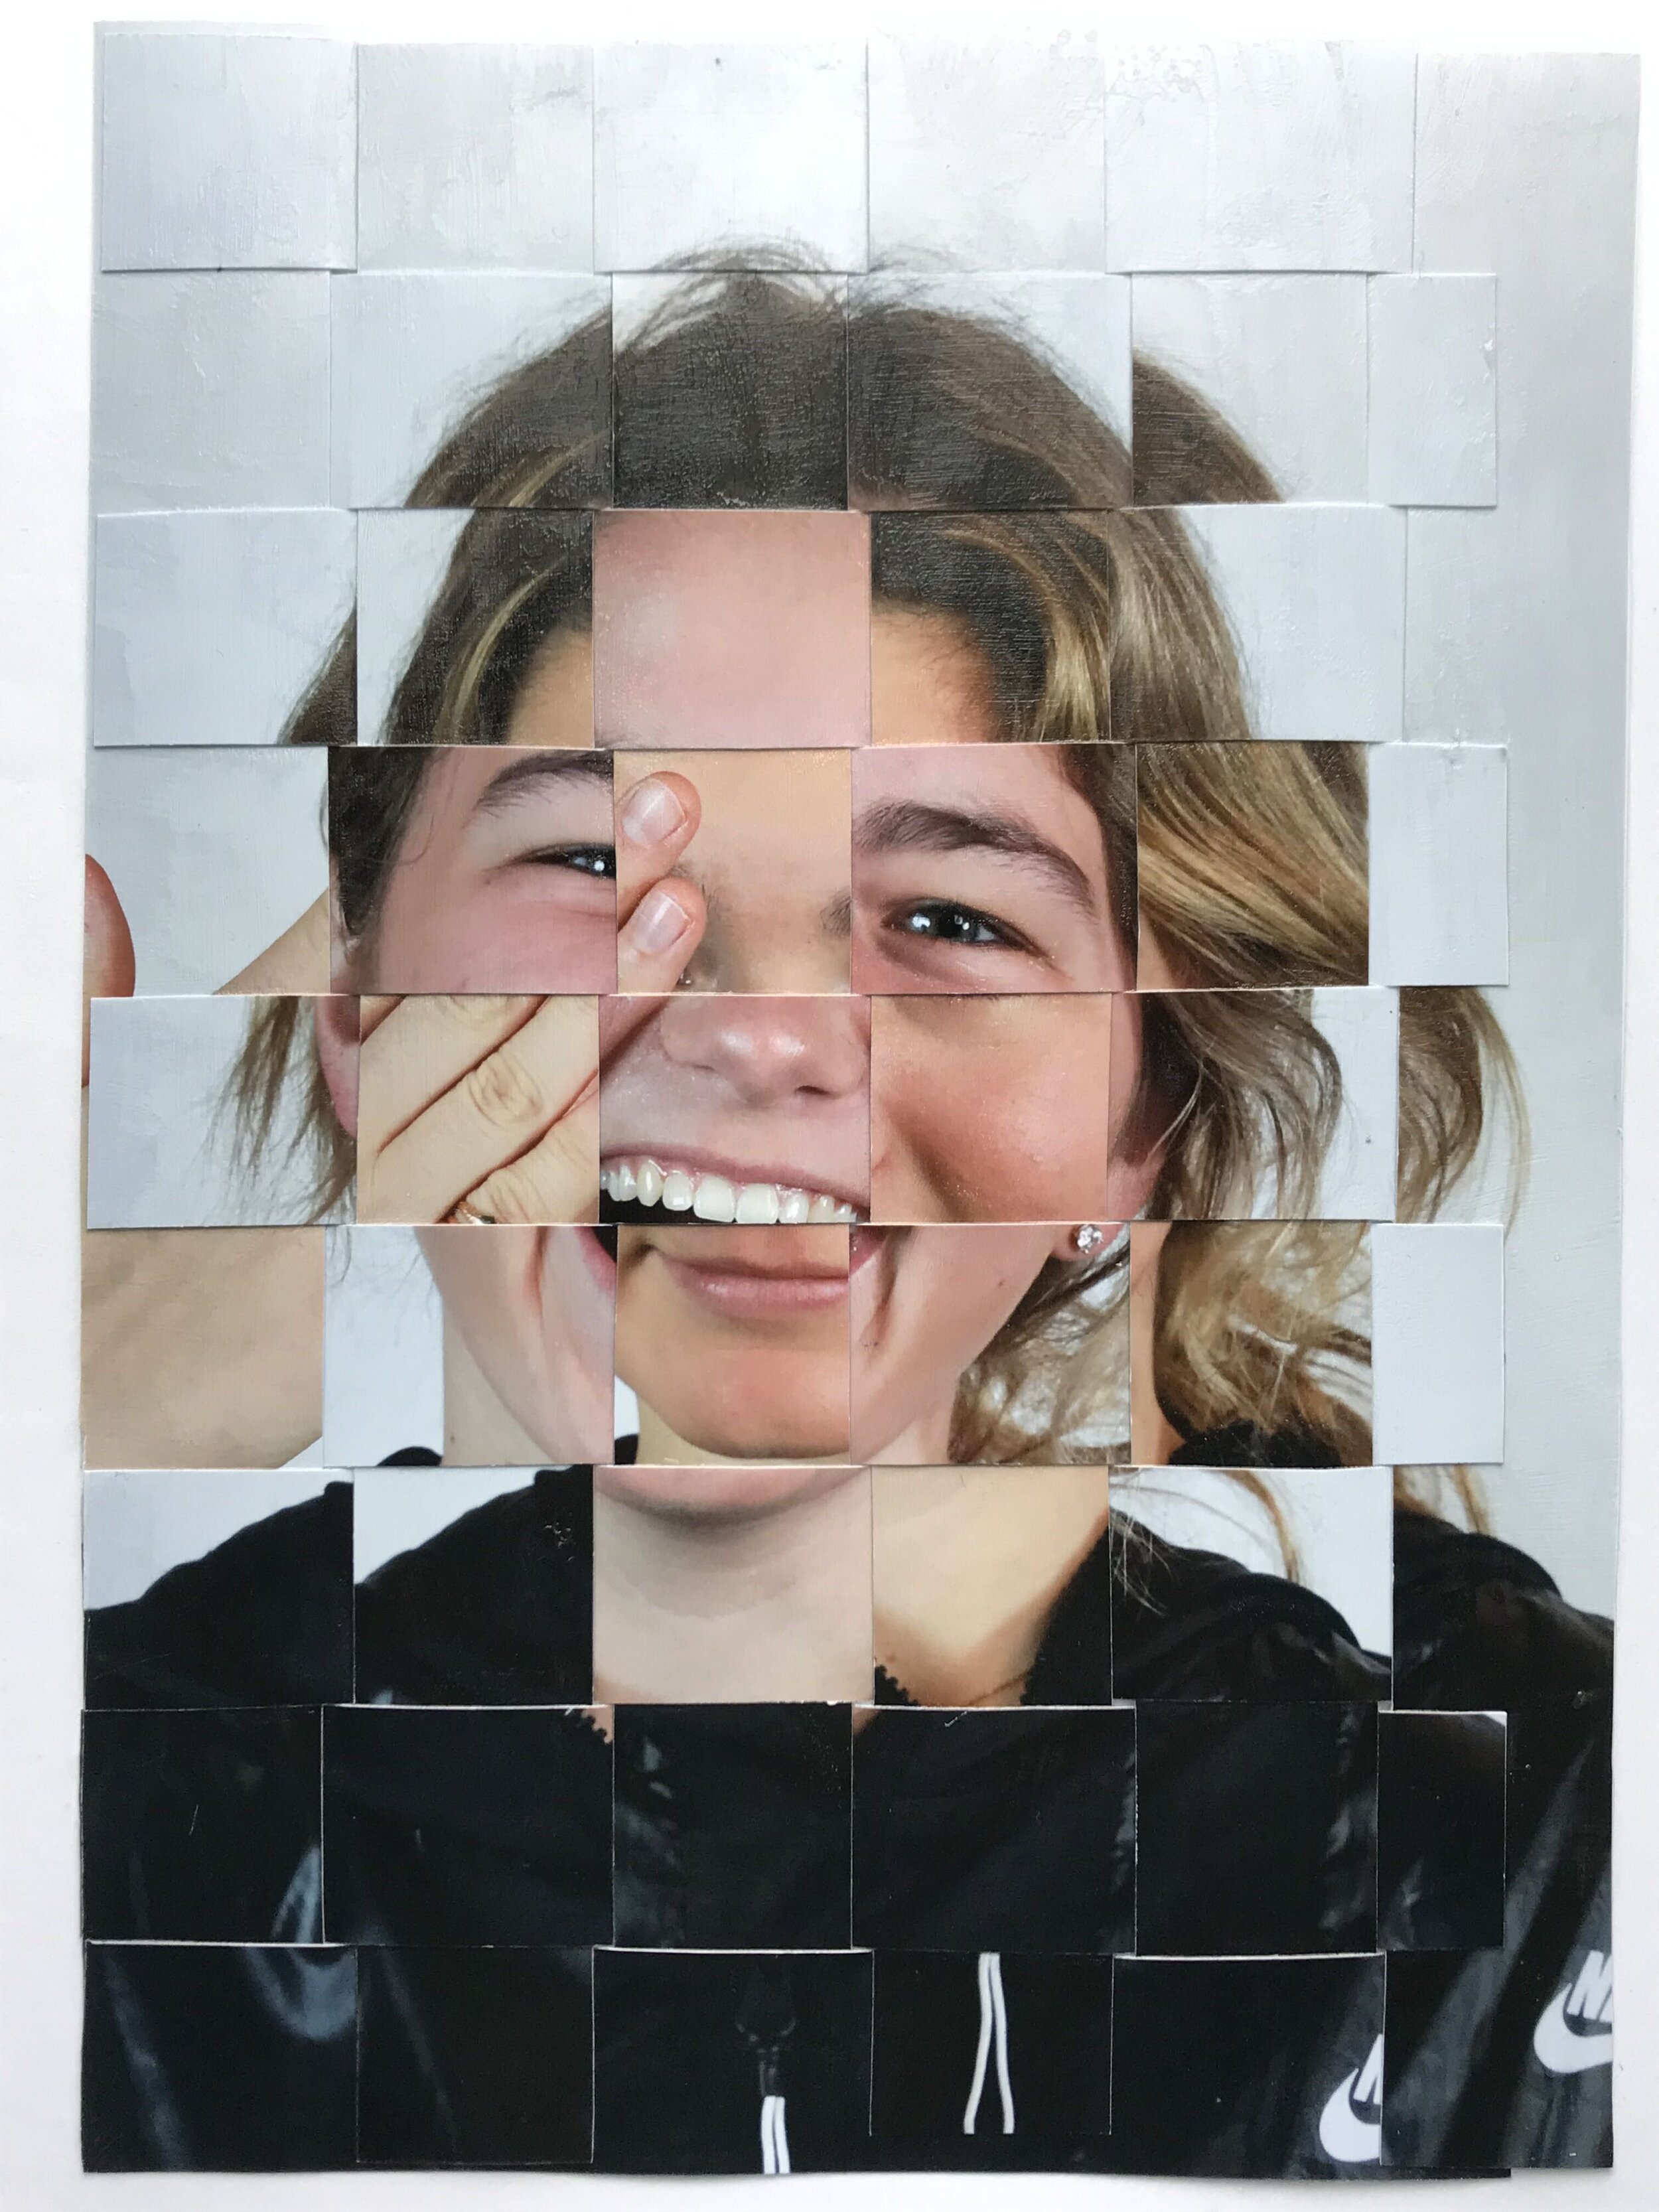
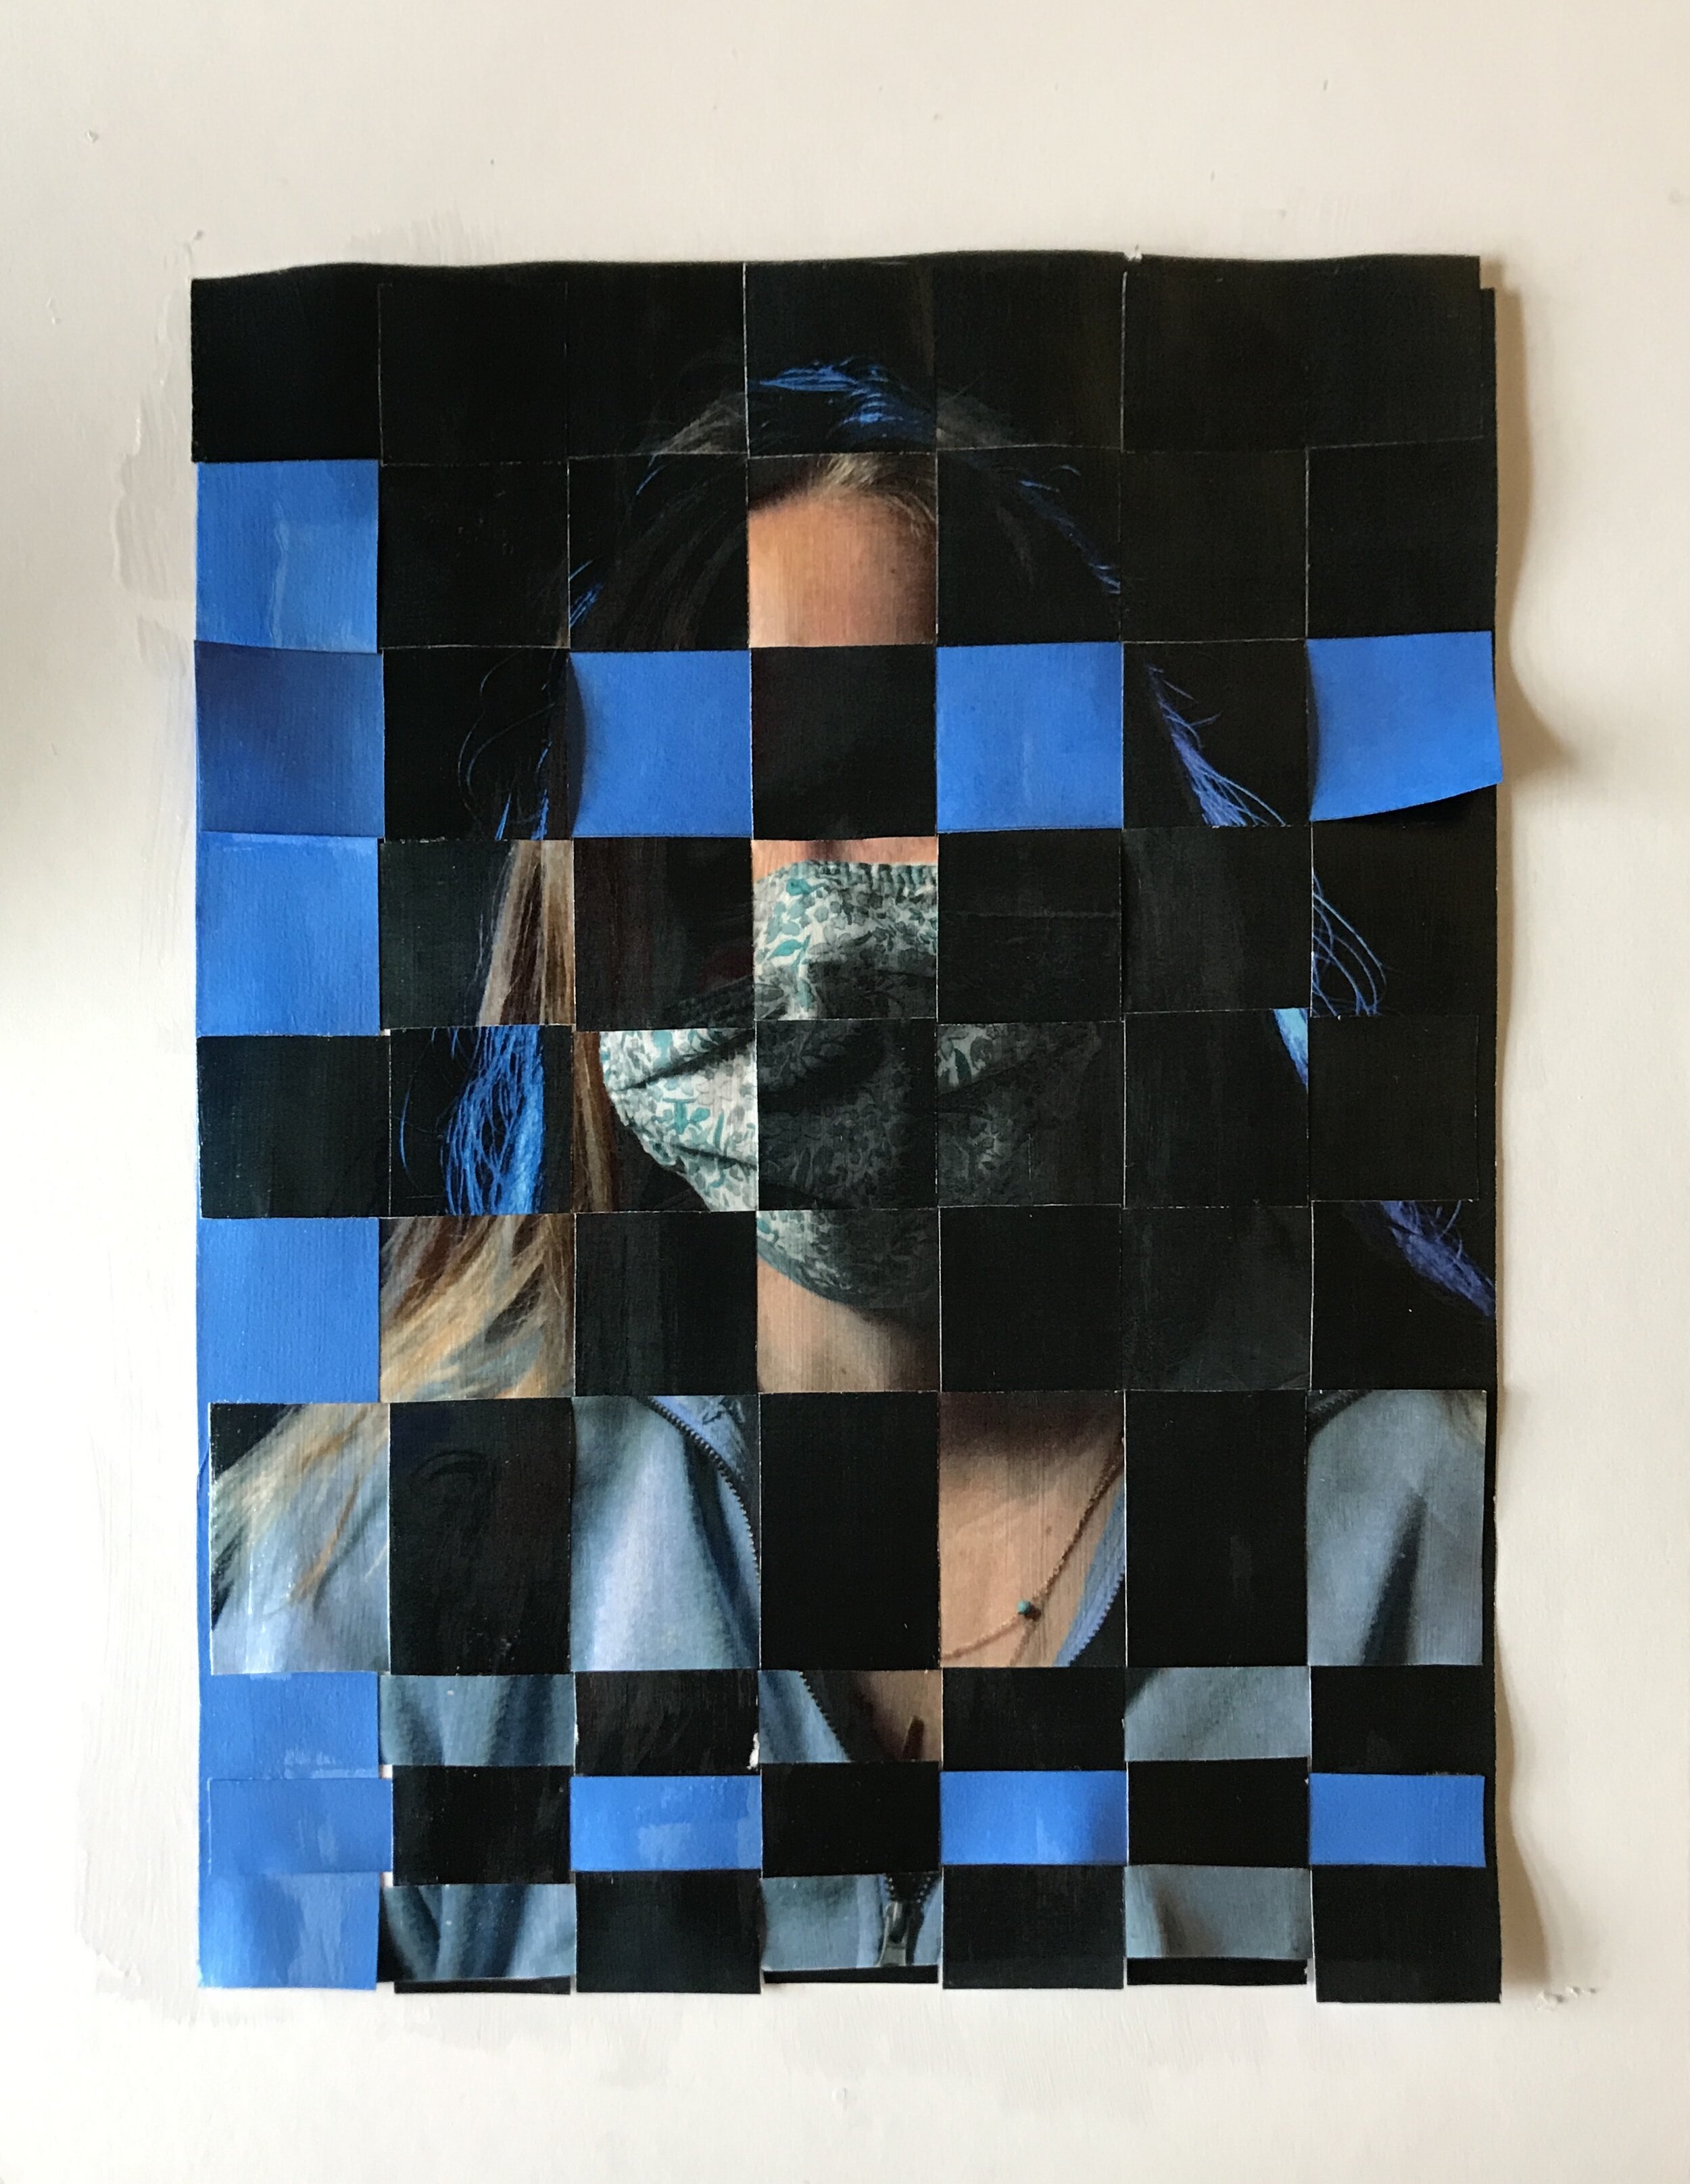
*Also*You can definitely (and actually should) use different materials to weave. Get creative! I used vellum here, but you can always mix your materials. Here are some other examples of mine:


