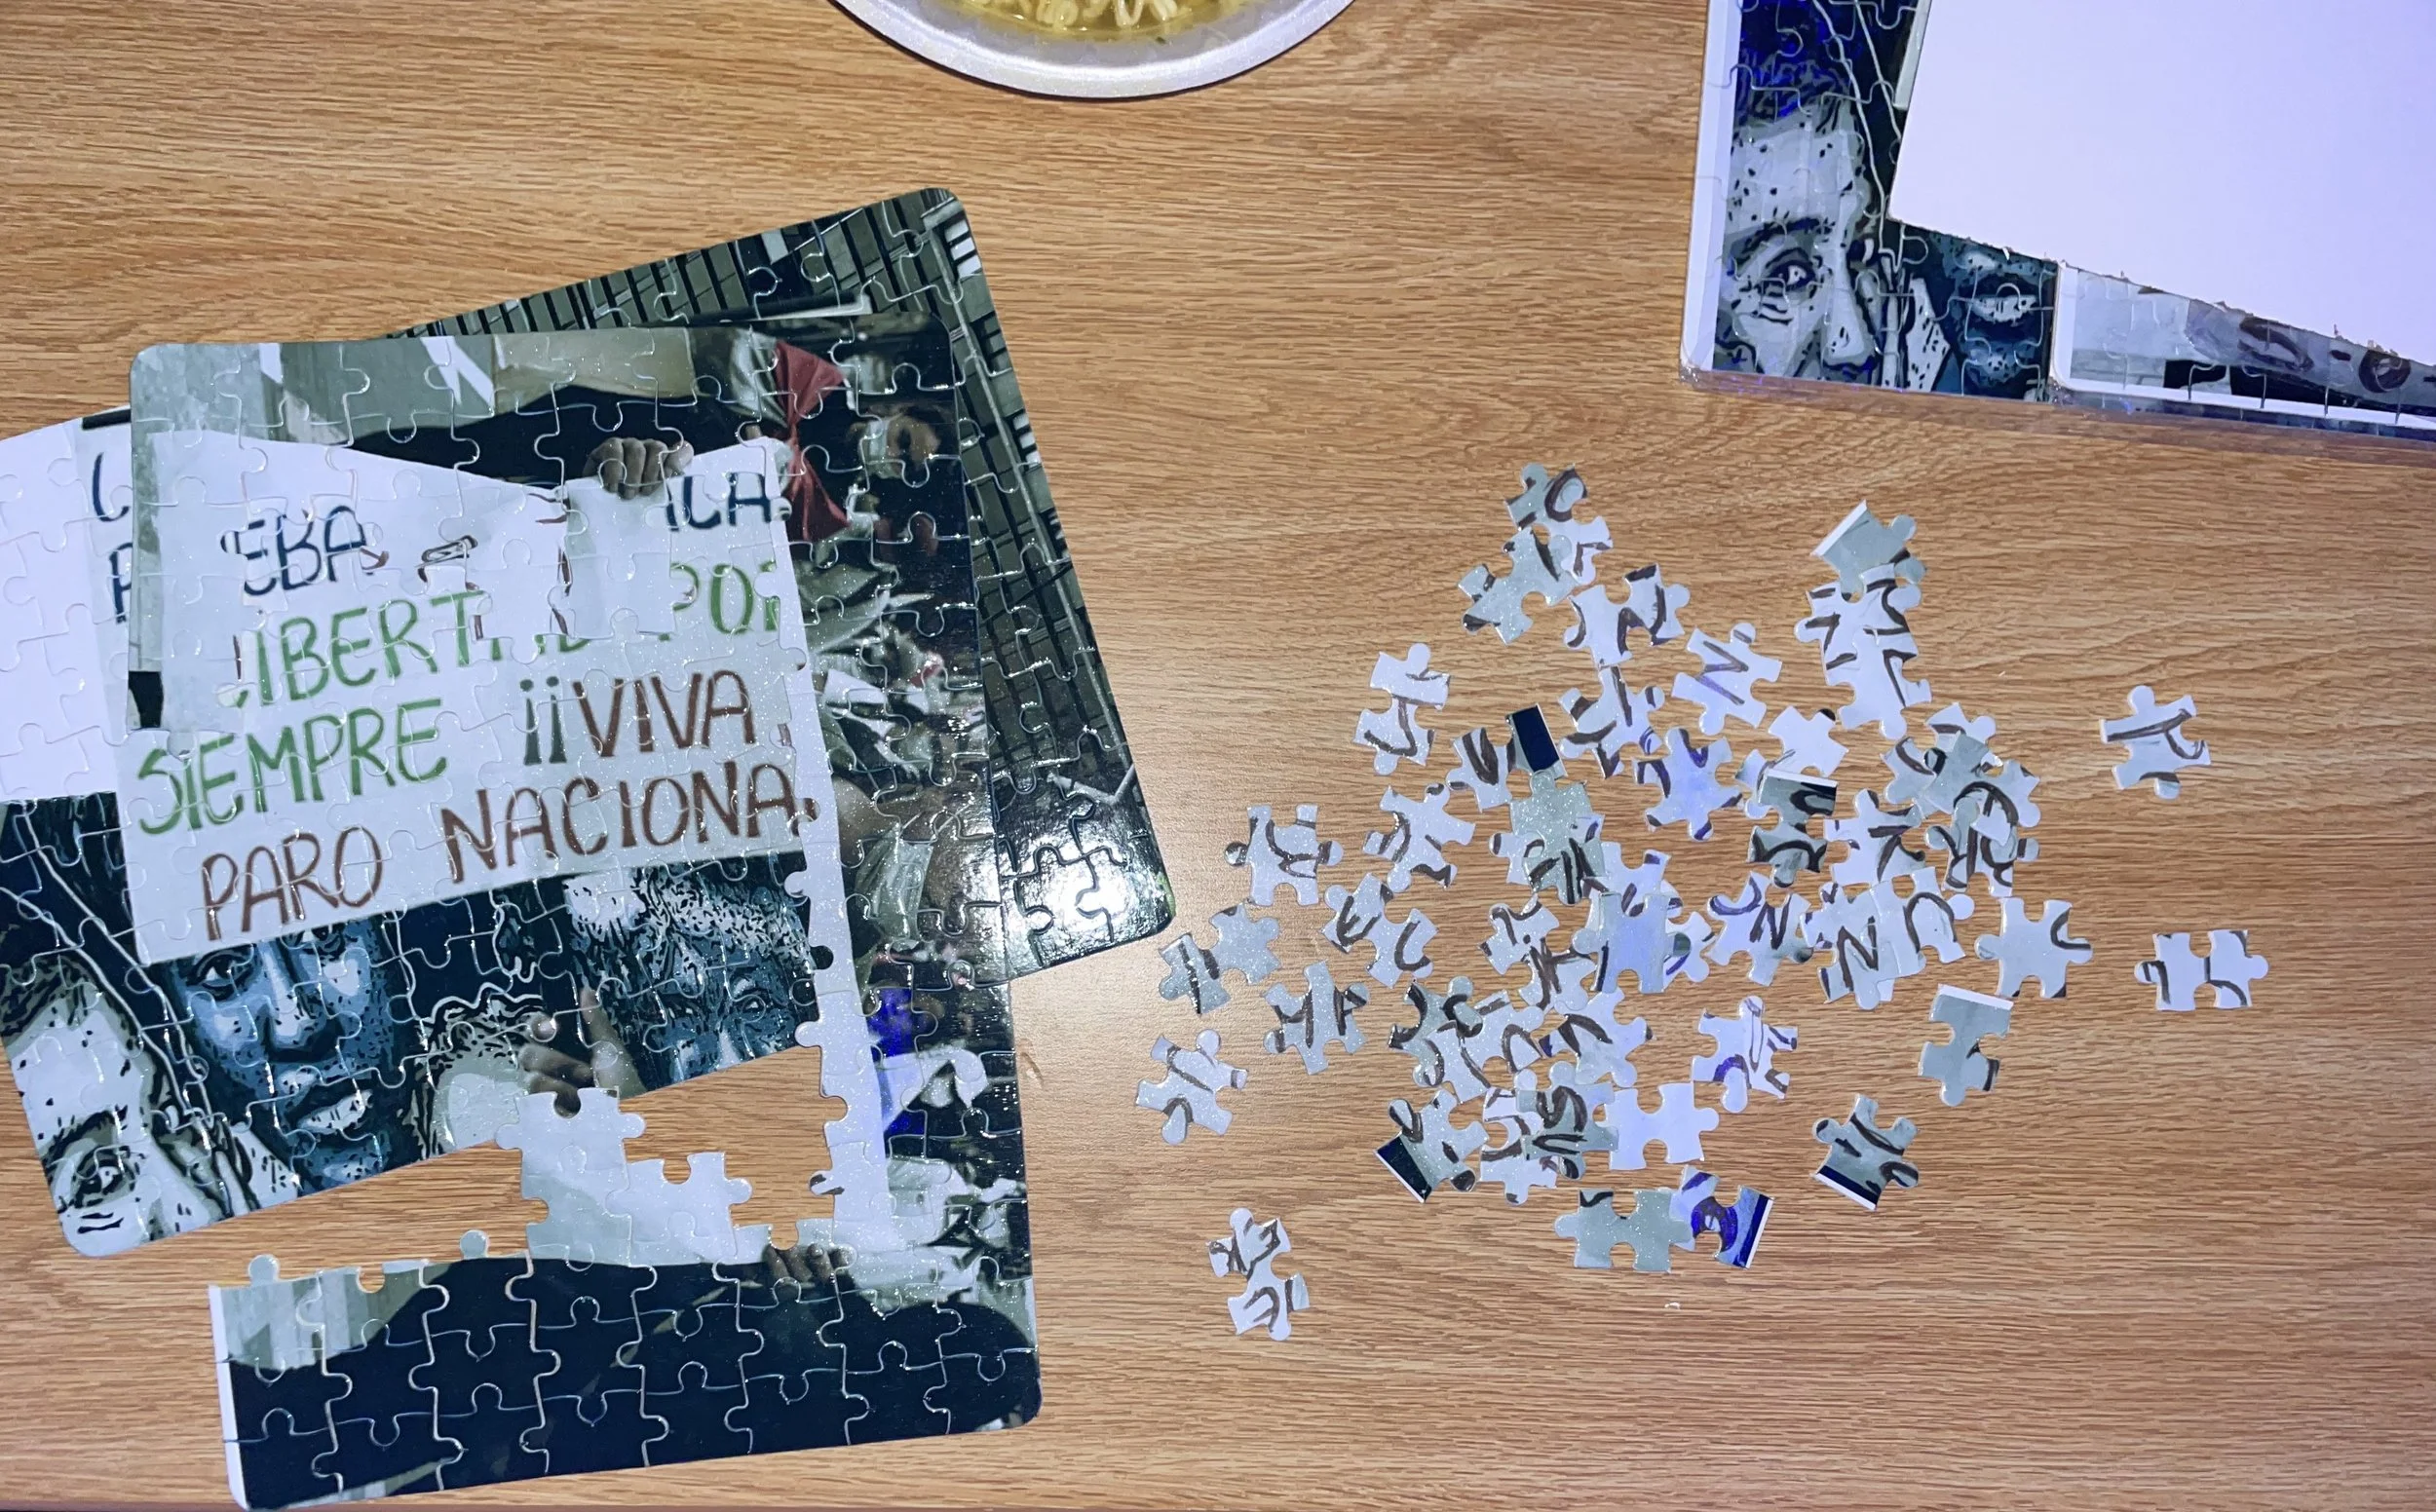
Select the image & edit appropriately in photoshop/Lightroom. Once you’re satisfied with your photo, email the final version to yourself.
Images that are too dark won’t print too well onto the puzzle, when editing your image look to produce a bright edit.
In the Makerspace (basement of CECIC) look for the Sawgrass printer and print your photo in legal paper (size) in the printer’s bypass tray.
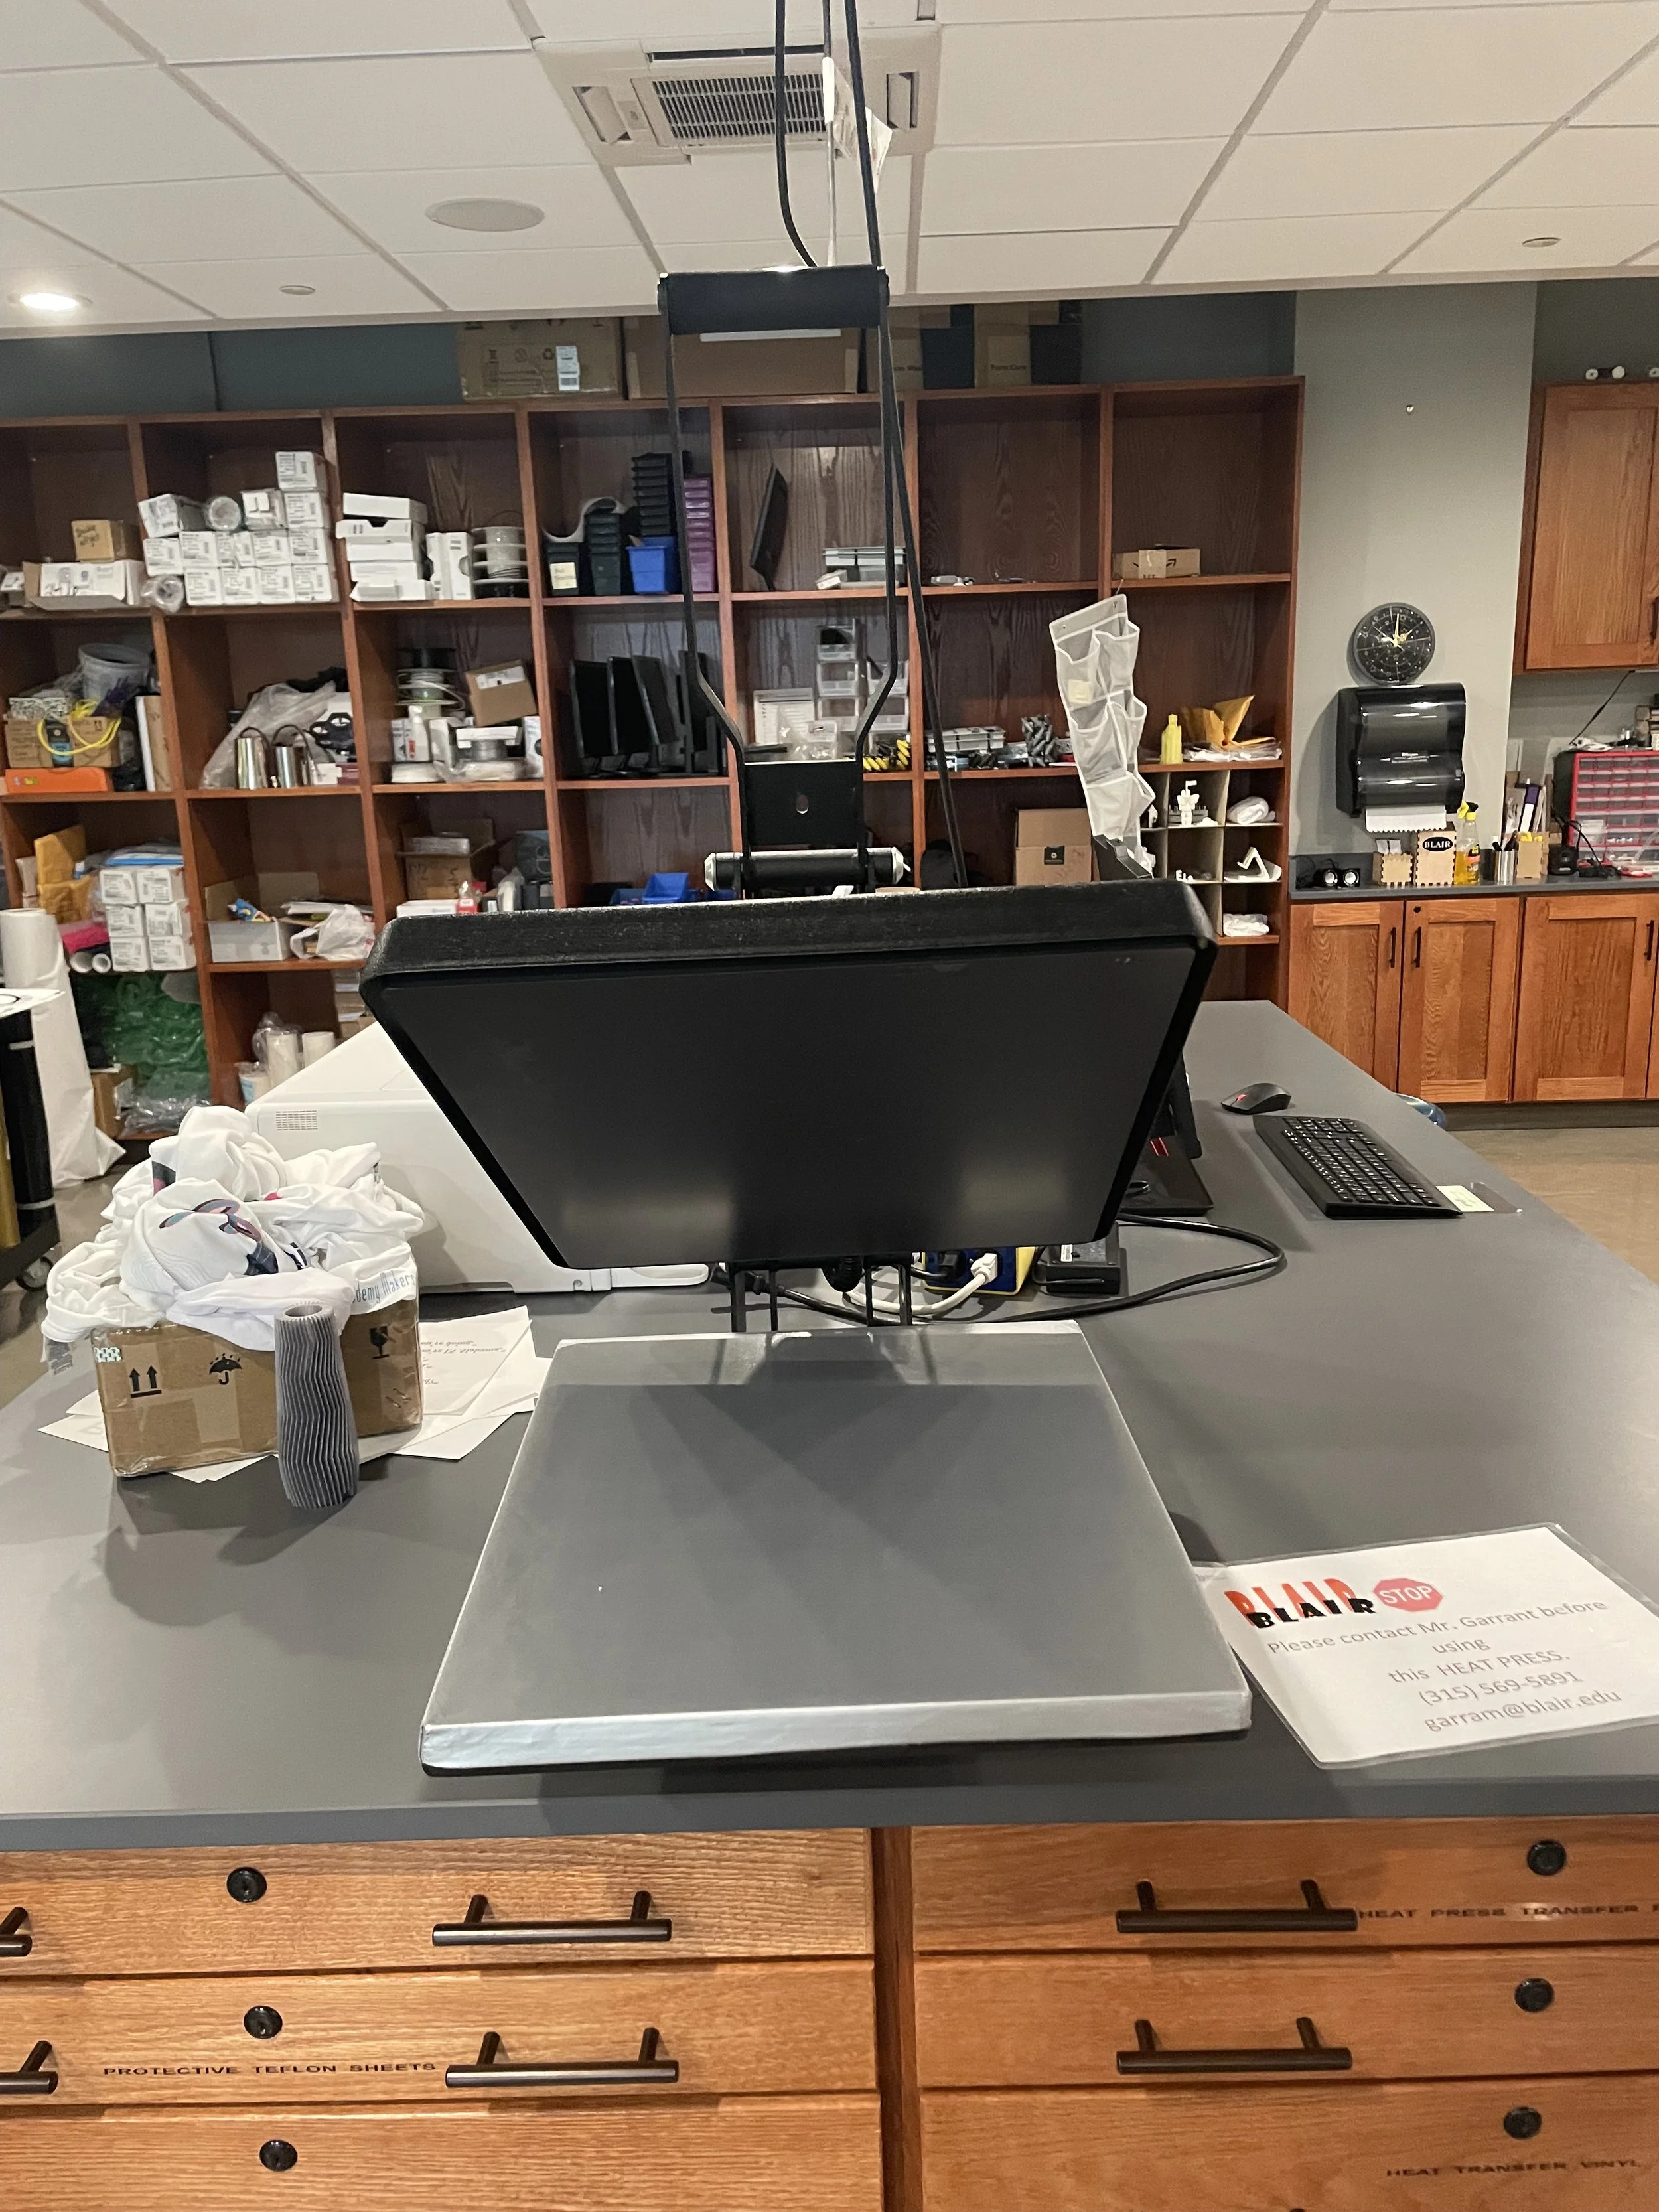
Now, connect and turn on the heat press and let it heat for 20-30 minutes or until it reaches a minimum temperature of 375 F.
While the heat press warms up look for a blank puzzle set in the wooden cabinets of the Makerspace.
Once the heat press has reached the necessary temperature place a stencil, the puzzle set (facing towards the roof), the legal-sized print (facing towards the floor), and another stencil on top.
Since the puzzle set is smaller than the legal paper, the final version of your puzzle print will be smaller than the final version of the actual print. Therefore, when laying the photo print onto the puzzle, it is crucial that you center and frame the parts of the image you want to be pressed on. Also, make sure that the “shiny side” of the puzzle print is facing upwards.
Push the heat press down and wait for 30 seconds while the photo gets imprinted into the puzzle.
After you have removed your puzzle print from the heat press, scan the before and after scramble version of your puzzle on a scanner.


